Black Ops 6 Zombies: Liberty Falls Main Quest Guide – How to Complete the Easter Egg
The Liberty Falls Main Quest in Call of Duty: Black Ops 6 Zombies is a thrilling challenge for players seeking to uncover secrets while battling hordes of undead in this eerie West Virginian town. With complex steps, unique bosses, and hidden rewards, this quest will test your skills and perseverance. Here’s a complete guide on how to navigate the Liberty Falls Easter egg and secure your victory.
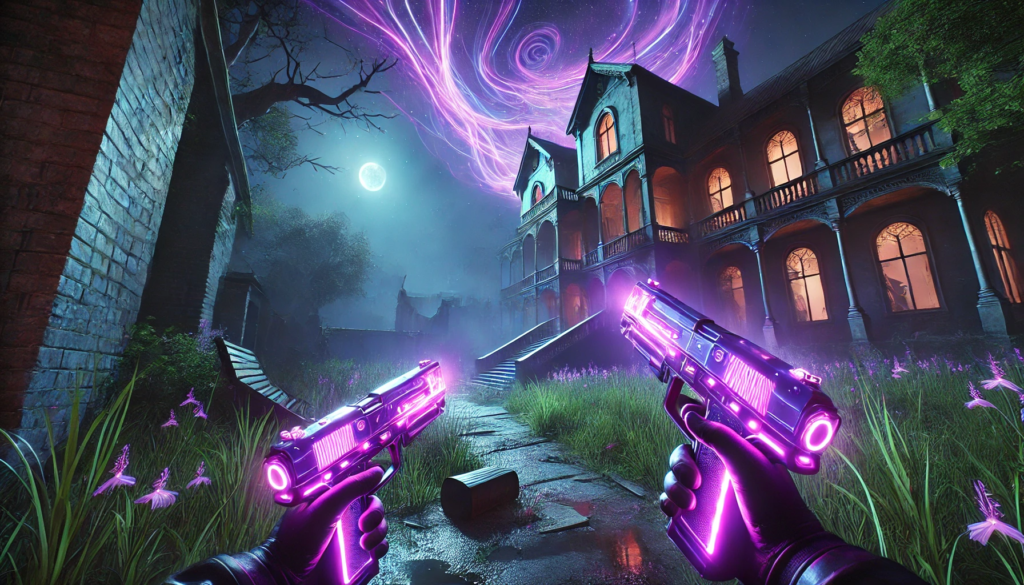
Introduction to the Liberty Falls Main Quest
Set in a zombie-infested version of Liberty Falls, the main quest immerses players in the ongoing saga of Call of Duty Zombies, packed with twists and turns. Though shorter than some past Easter eggs, it is full of secrets and obstacles as players discover more about Project Janus. To succeed, you must defeat various enemies, craft specialized weapons, and solve cryptic puzzles. This guide will walk you through the entire process step by step.
Step 1: Obtain the Jet Gun

How to Build the Jet Gun: The Jet Gun is a vital weapon for completing the Liberty Falls Easter egg. Though you may get lucky by finding it in the Mystery Box or using the Wonderbar! GobbleGum, it’s more reliable to craft it.
- Find the Water Pressure Gauge:
- Go to Lily’s Flowerpot on Washington Avenue, near Speed Cola. Pick up the Water Valve outside the shop.
- Head to Fuller’s Liberty Lanes (the bowling alley) and find the control panel on the right wall. Melee the panel to open it and activate the water pressure system. Defend yourself from non-stop zombies during this process.
- Once the gauge is full, grab the Water Pressure Gauge.
- Collect the Handbrake:
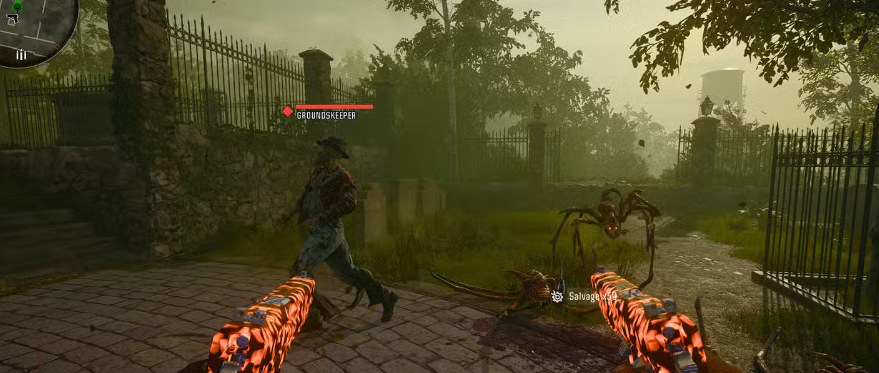
- Progress through the rounds until a unique zombie, the Groundskeeper, spawns in the Cemetery.
- Kill him to obtain the Toolshed Key. Use it to unlock the Groundskeeper’s Yard and find the Handbrake inside.
- Obtain the Electrical Wires:
- Equip a Mangler Cannon or Mutant Injection, as you’ll need one to blast open the gate of the Radio House in Riverside.
- After opening the door, interact with the piles of trash inside until you find the Electrical Wires.

Now that you have all three parts, return to Room 202 in the Motel, where you can assemble the Thrustodyne M23 (Jet Gun) at the workbench.


Step 2: Activate the SDG Generator in the Church
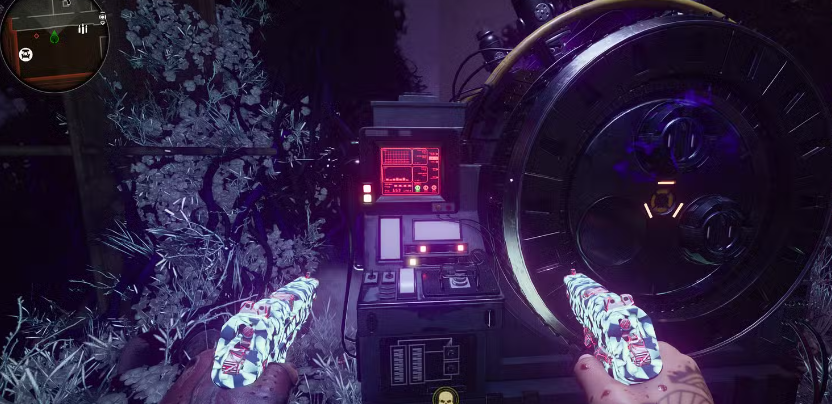
After crafting the Jet Gun, head to the Church, where the Pack-a-Punch is located. You’ll find the SDG Generator on the right side of the Church. Interacting with it will trigger an in-game cutscene, where Doctor Panos will instruct you to assemble the LTG Device.
Step 3: Collect the LTG Device Parts
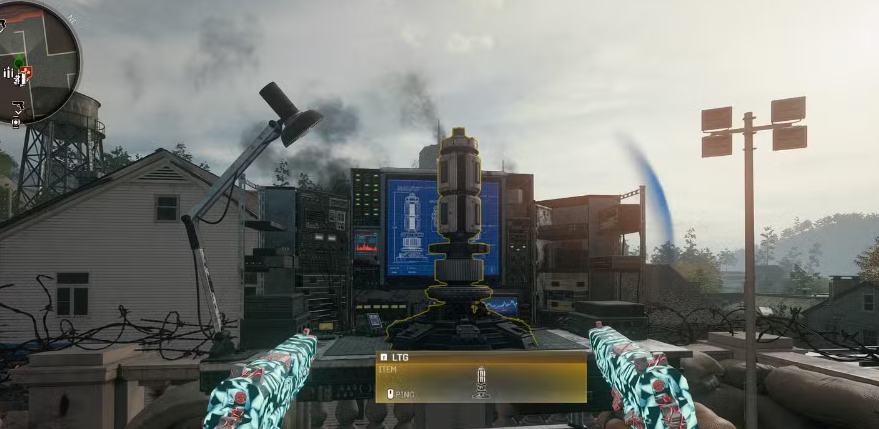
Now that you’ve been tasked by Panos to build the LTG Device, you’ll use the Jet Gun’s suction ability to gather three floating parts:
- Part #1 – Inside the Church, look up toward Doctor Panos’ balcony. Use the Jet Gun to suck the part from the air.
- Part #2 – In Olly’s Comics, look up at the ceiling where broken panels expose the second LTG part.
- Part #3 – Go to the rooftops along Washington Avenue, jump to a white van, and use the Jet Gun to suck the part from the barbershop window.
Once all parts are collected, go to the rooftop of the Liberty Falls Bank. At a workstation labelled “The Alamo,” craft the LTG Device.
Step 4: Capture the First HVT with the Aether Canister

After crafting the LTG Device, return to the SDG Generator in the Church. You’ll see a metallic tube extending from the generator this is the Aether Canister. Be cautious, as carrying the canister will slow you down.
- Take the Aether Canister to the Motor Lodge (spawn area) and place it near a Dark Aether Field Generator.
- Head to Riverside and interact with the Dark Aether cloud. Defend the portal from zombies for 60 seconds.
- After defending the portal, a Lythnor (a red variant of the Abomination) will spawn.
- Lure the Lythnor to the Aether Canister and activate the Dark Aether Field Generator for 1,000 Essence. Kill the Lythnor near the trap to transfer its essence into the canister.
- You now have 90 seconds to return the canister to the SDG Generator in the Church. If you fail, repeat the encounter by re-interacting with the LTG Device.

Step 5: Calibrate the Projectors Using the Strauss Counter

At the SDG Generator, you’ll now receive the Strauss Counter, which replaces your Tactical Equipment. Use it to locate three energy projectors around the map:
- Location 1: Hilltop Stairs near PhD Flopper.
- Location 2: The back of the Groundskeeper’s Yard.
- Location 3: Yummy Freeze Rooftop, accessible via Liberty Falls Bank.
When you find a projector, hold the Tactical Equipment button to activate the Strauss Counter. Match the colors according to the following system:
- Green on the Strauss Counter = Make the projector Red.
- Yellow on the Strauss Counter = Keep the projector Yellow.
- Red on the Strauss Counter = Make the projector Green.
After calibrating the projectors, return to the spawn area (Pump & Pay) and retrieve the second Aether Canister.
Step 6: Capture the Second HVT

Now, repeat the process from Step 4, but this time you’ll need to fight a Mangler. Take the Aether Canister to Hill Street, place it near the Dark Aether Field Generator, and lure the Mangler into the trap.
- Head to the Cemetery to trigger another Dark Aether cloud. Defend the LTG Device again for 60 seconds.
- Weaken the Mangler, but don’t kill it. Lure it to the generator trap and capture its essence in the canister.
- Once captured, take the canister back to the Church within 90 seconds and slot it into the SDG Generator.
Step 7: Prepare for the Final Encounter

Before activating the final stage of the Liberty Falls quest, make sure you’re fully equipped. This is your last chance to grab any necessary upgrades:
- Ensure you have Tier 3 armor and all available Perk-a-Colas.
- Pack-a-Punch your weapons (aim for Legendary rarity and Tier 3).
- Consider adding the Mutant Injector Scorestreak to your loadout for extra defense during the final waves.
Step 8: Activate the SDG Generator for the Final Battle
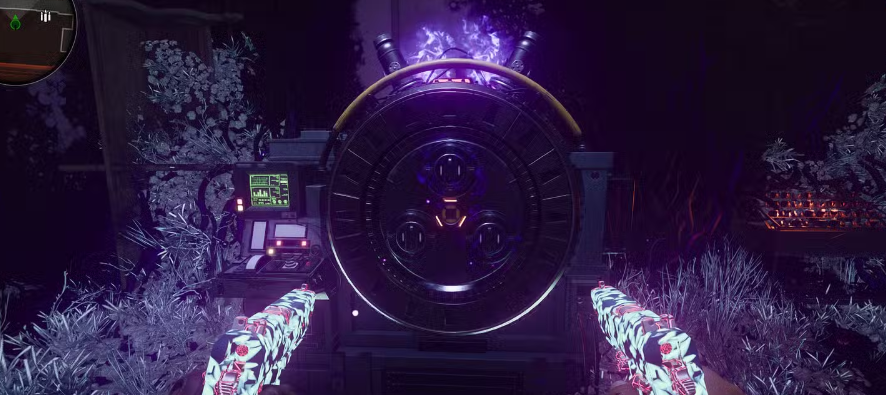
When ready, activate the SDG Generator to begin the final showdown. The exit doors will seal, and you’ll face three increasingly difficult waves of zombies:
- Wave 1: Standard zombies.
- Wave 2: Zombies accompanied by several Manglers.
- Wave 3: Zombies and a powerful Abomination.
Utilize your best weapons and perks to survive. The Jet Gun and a fully upgraded Pack-a-Punched weapon are essential to staying alive. If things get overwhelming, deploy your Scorestreaks for a quick recovery.
Rewards for Completing the Liberty Falls Main Quest
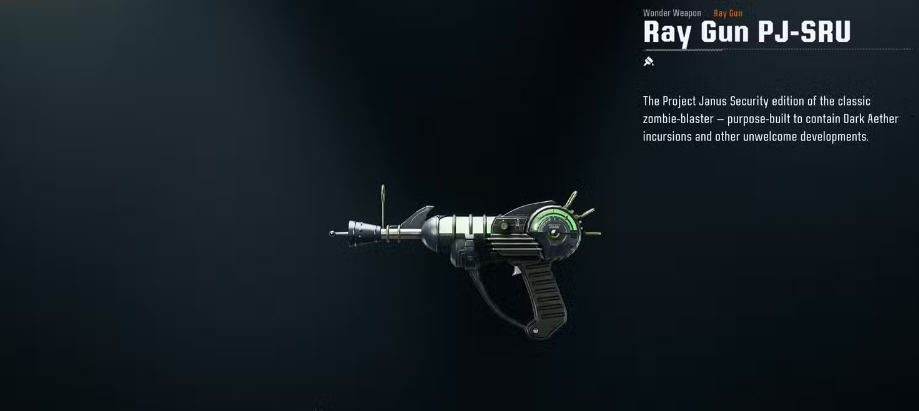
Once you complete the three waves of the final encounter, your character will be intentionally downed, leading to a cutscene. Upon finishing the cutscene and returning to the lobby, you’ll receive these rewards:
- Ray Gun PJ-SRU: A special skin for the iconic Ray Gun.
- Liberty Falls Quest Complete Calling Card: Featuring a golden zombie skull (exclusive if completed within the first few days of release).
FAQs
Q: What is the hardest part of the Liberty Falls Main Quest?
A: The toughest part is defending the portals during the HVT capture. Zombies spawn relentlessly, making it crucial to have good weaponry and perks.
Q: How long does it take to complete the Liberty Falls Easter egg?
A: On average, it takes about 1.5 to 2 hours, depending on your skill level and how efficiently you can complete each step.
Q: Can I complete this Easter egg solo?
A: Yes, you can complete the Liberty Falls Easter egg solo, but it’s significantly easier with a full team to share the tasks and defend areas.
Key Takeaways
- Build the Jet Gun Early: Assembling the Jet Gun as soon as possible will save you time and make the rest of the quest easier.
- Master the Portal Defense: The HVT capture stages are the most difficult, requiring strategic defense and patience.
- Prepare for the Final Encounter: Ensure your loadout is fully upgraded before entering the final phase for the best chance of survival.
