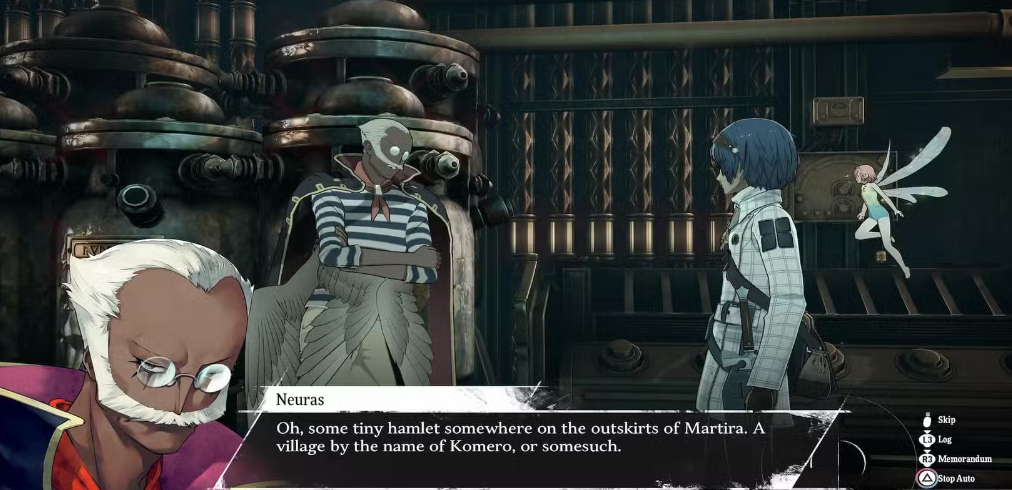
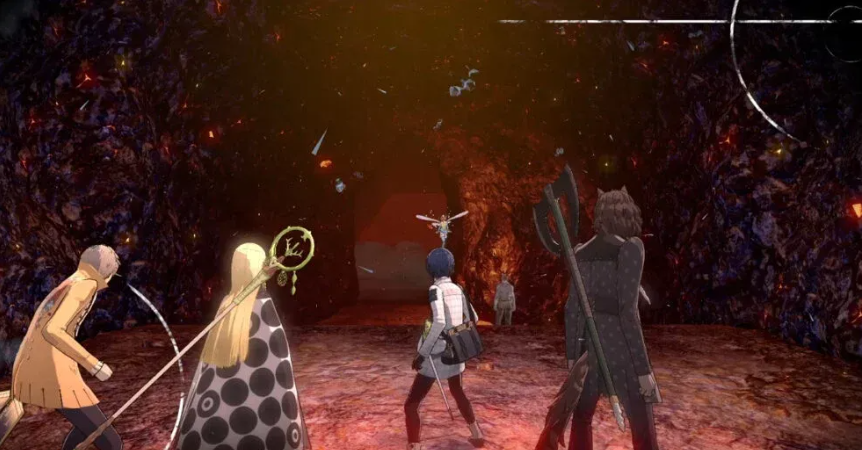
Metaphor: ReFantazio – Guide to Neuras Relics & Locations
Key Takeaways:
- Strengthening Neuras’s bond offers valuable progression benefits, including unlocking the Elite Gunner Archetype.
- Each Neuras Relic is tied to specific quests or bounties, making efficient tracking crucial for leveling up faster.
- This guide provides a full breakdown of Neuras’s relics, their locations, and step-by-step instructions to collect them.

Strengthening your bond with followers is a vital part of advancing in Metaphor: ReFantazio, and collecting relics for Neuras plays a major role in this process. By tracking down all eight of his relics, players can unlock Level 8 Bond, leading to unique insights into Neuras’s character and the highly desirable Elite Gunner Archetype for your arsenal. Here’s your comprehensive guide to all Neuras relics, their locations, and the quests needed to unlock them.
Neuras Relics and Locations
Each relic below is tied to a specific quest, offering various rewards and insights. Completing all relic quests also improves your bond with Neuras, giving you access to elite combat options. Here’s where to find each relic and the quests you need to complete.
1. Glass Ornament & Inventor’s Journal

Quest: Providing a Spark
Location: Komero Town, outside Martira
Start by speaking to Gloomy Youth in Thoroughfare Square, Martira, to unlock Komero Village. Begin the “Hatching a Plan” side quest and complete it to access the Glass Ornament & Inventor’s Journal relic. Return the item to Neuras to deepen your connection.
2. Screwed-Up Mineral
Quest: Man-Eater in the Mine
Location: Man-Eater’s Grotto
Initiate the “Man-Eater in the Mine” quest and head to the Man-Eater’s Grotto. Here’s the route:
- Go forward into the dungeon, then drop one level down.
- Take a left, then a right, following the path until you reach a slope.
- At the top, enter the left-hand opening, turn immediately right, and navigate the tunnel to find the chest holding the Screwed-Up Mineral.
3. Gypsum Cube

Quest: Superior Scrimshaw
Location: Tomb of Lament, Port Brilehaven
Upon starting the Superior Scrimshaw quest, make your way to the Tomb of Lament. Follow these steps:
- Enter the tomb and continue along the main path.
- Turn left and proceed until you reach a cell area.
- Take the path on the left side, turning right at the end to descend a level.
- Head through two tunnels to reach the Gypsum Cube’s chest.
4. Parquet Chest
Quest: Greater One-Eyed Scoundrel
Location: Scoundrel’s Hold, Grand Trad
After reaching Virga Island, begin the Greater One-Eyed Scoundrel bounty and head to the Scoundrel’s Hold:
- Walk straight ahead until you see a tunnel on the left. Enter it.
- Upon exiting, turn right and follow the path until you find the chest containing the Parquet Chest relic.
5. Mossy Pillar

Quest: Trial of Malnova
Location: Land of Ceremony, Virga Island
The Trial of Malnova quest takes you to the Land of Ceremony. Once inside:
- Walk the main path, turn right, and navigate up a zigzagging route.
- Enter the doorway on your right, then go left through another gate.
- Move forward, and you’ll spot the chest holding the Mossy Pillar relic.
6. Panhandled Ore
Quest: Fiend in the Frozen Forest
Location: Everfrost Forest
To obtain the Panhandled Ore, start the Fiend in the Frozen Forest bounty:
- Enter Everfrost Forest and follow the path to encounter the Icebeast Chimenzahn.
- Defeat this creature and proceed forward to locate the chest containing the Panhandled Ore.
7. Stitched Sphere

Quest: Wayward Shepherd
Location: Mt. Vulkano
For the Wayward Shepherd quest, head to Mt. Vulkano’s dungeon:
- Follow the right-side path and climb up the ladder near an NPC.
- Walk left, then turn right at the pit and skirt the edge of a second pit.
- Enter the next opening, and you’ll find the chest with the Stitched Sphere relic.
8. Track Down the Relic Thief Jin
Quest: Relic Thief
Location: Jin’s Gauntlet Runner, Nord Mine
To retrieve this relic:
- Locate the Recruitment Center in Grand Trad and speak to the guard there.
- Head to Jin’s marked location, engage in battle, and upon victory, retrieve the relic to complete your collection.
Neuras Relics Summary
| Relic | Quest | Location |
| Glass Ornament & Inventor’s Journal | Providing a Spark | Komero Town, outside Martira |
| Screwed-Up Mineral | Inventor’s Bequest | Man-Eater’s Grotto |
| Gypsum Cube | Dregs of Destiny | Tomb of Lament, Port Brilehaven |
| Parquet Chest | Youth’s Folly | Scoundrel’s Hold, Grand Trad |
| Mossy Pillar | Engineer’s Destiny | Land of Ceremony, Virga Island |
| Panhandled Ore | Bitter Memories | Everfrost Forest |
| Stitched Sphere | A Dream’s Origin | Mt. Vulkano |
| Track Down the Relic Thief Jin | Petty Thief | Jin’s Gauntlet Runner, Nord Mine |
Collecting each relic and returning it to Neuras not only builds your bond but also opens up Neuras’s powerful Elite Gunner Archetype, a fantastic option for any combat scenario in Metaphor: ReFantazio.
FAQs
How many relics are needed to unlock Neuras’s Elite Gunner Archetype?
You need to collect all eight relics listed in this guide to unlock the Elite Gunner Archetype.
Are the relic quests mandatory for game completion?
No, all of these quests are optional. However, completing them strengthens your bond with Neuras, unlocking special abilities.
What is the fastest way to level up Neuras’s bond?
The quickest way is by completing each relic quest in succession, as outlined here. Start with Providing a Spark and continue down the list to optimize travel time and story progression.


