How to Find Lancet in the “Warden’s Best Friend” Quest in Dragon Age: Veilguard
Key Takeaways:
- Finding Lancet involves navigating through several areas, overcoming obstacles, and battling darkspawn.
- Look out for hidden treasures along the way to aid your journey.
- The quest requires specific actions, like using Griffin Strike, to progress past obstacles.
If you’re taking on the “Warden’s Best Friend” quest in Dragon Age: Veilguard, you’re in for a blend of adventure and exploration as you hunt down Lancet. This guide will lead you through each step of the journey, help you tackle obstacles, and give some valuable tips on how to handle encounters with darkspawn.
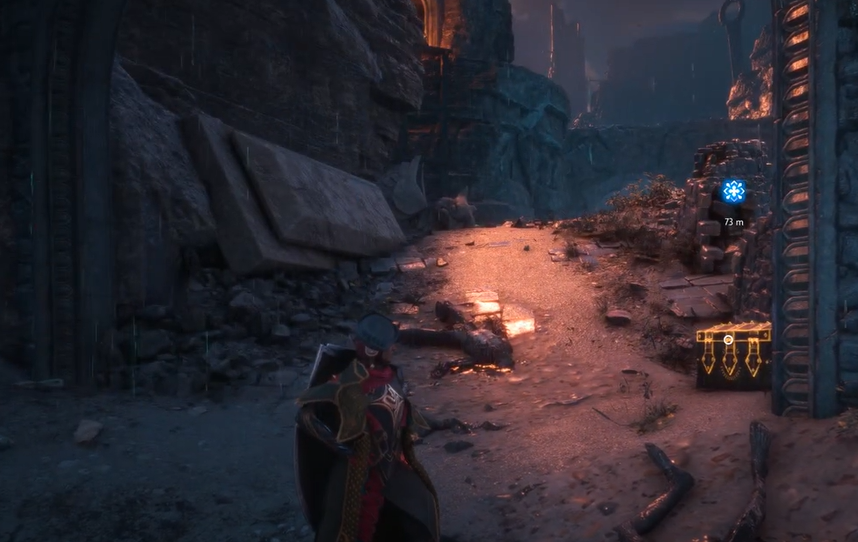
1. Begin with Treasure Hunting
As soon as you enter the quest area, take a moment to explore the treasure chests nearby. Often, these contain items that can make your journey easier, like health potions, weapon upgrades, or armor enhancements. Even if the loot seems ordinary, it might turn out to be useful later on in combat.
2. Cross the Bridge and Follow the Path
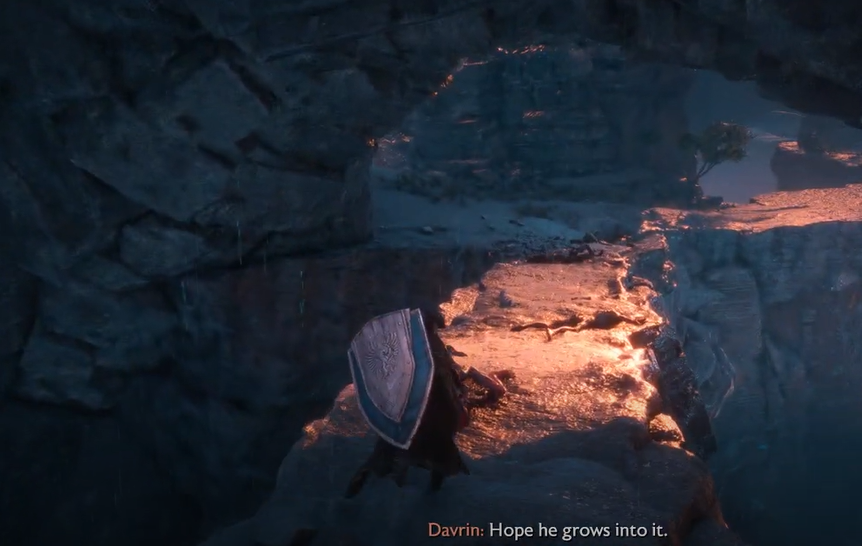
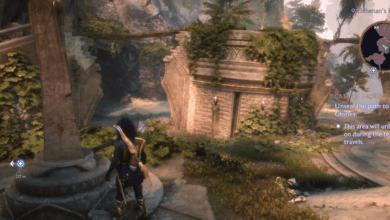
Head towards the bridge that’s marked with signs of previous battles defeated darkspawn lie scattered along the way. After crossing the bridge, make a right turn and continue forward. This will lead you to a broken-down bridge, but don’t worry; there’s a way through.
3. Use Griffin Strike to Clear the Path

Upon reaching the broken bridge, you’ll notice a woodpile that blocks your path. To clear it, hold down RB and use the Griffin Strike ability. This will lower the woodpile, allowing you to climb over it. Once you’re over, proceed up the wooden planks to reach a ladder that leads to the next area.
4. Encountering Darkspawn
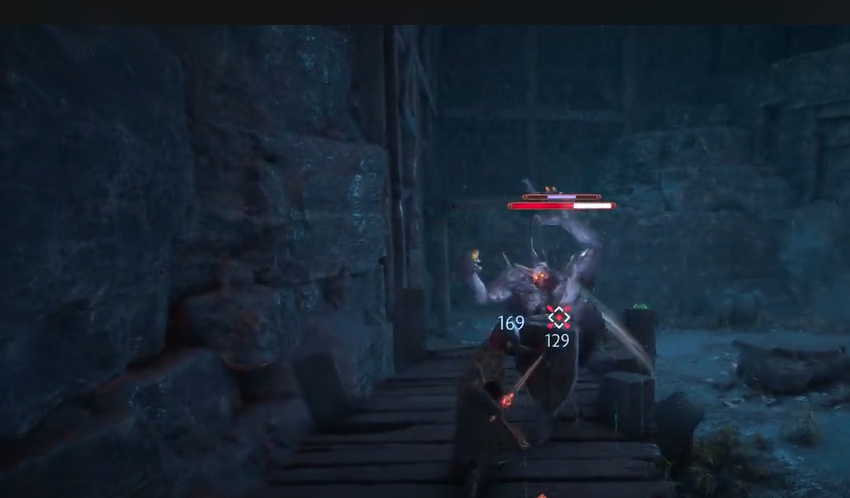
As you climb the ladder, prepare for an encounter with darkspawn lurking in the area. Thankfully, these are standard darkspawn enemies, so they’re relatively easy to defeat. Use quick attacks to clear them out and conserve your stronger abilities for tougher foes.
After clearing this area, move forward. Here, you may encounter a Berserker a tougher enemy. This is a good opportunity to use your ultimate ability, as the Berserker’s heavy attacks can be challenging if you’re overwhelmed by multiple enemies.
5. Destroying Blight and Collecting More Treasure
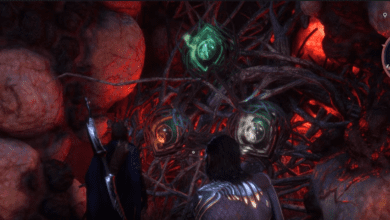
Continue on, taking a left and moving through a blighted area. Here, you’ll encounter another treasure chest. Loot it, as it may contain a useful weapon, like a great axe, or other items that can assist you in battle.

Nearby, there’s an elevator. As you approach it, a brief dialogue between your character and allies reveals more about the story like the Warden’s stubborn nature and the Gloom Howler’s interest in griffins.
6. Navigate to the Zipline Area
Head down into the next section, where you’ll encounter Griffins. Cross over the rocks in the area and look for a zipline nearby. Before taking the zipline, check for treasures on the right. Often, there’s a mysterious coin or other collectible that adds value to the journey. Once collected, take the zipline over to the abandoned construction site.

7. Clear Out the Lancer Darkspawn
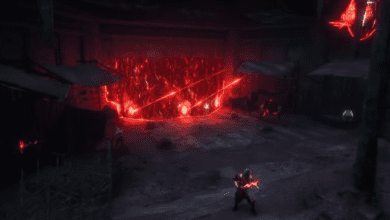
Upon reaching the construction site, you’ll face a group of darkspawn archers, also known as Lancers. These enemies can be tough in groups, so take them out one by one to make the battle easier. Use cover to avoid their ranged attacks, moving strategically to avoid getting overwhelmed.
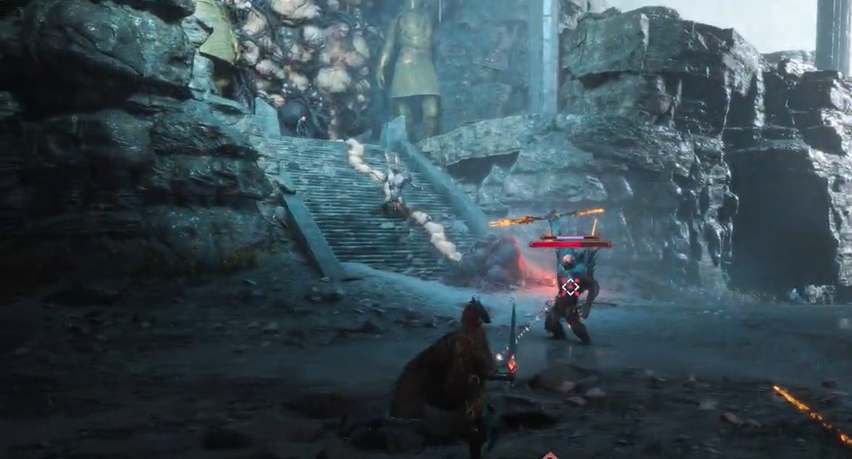
8. Locate and Confront Lancet
After dealing with the last of the darkspawn, destroy the final blight in the area. Here, you’ll find Lancet, who appears to have met a grim fate. Though Lancet’s story ends here, completing this quest provides valuable experience and insight into the ongoing struggles within Dragon Age: Veilguard.
And that’s it! You’ve successfully navigated the quest, “Warden’s Best Friend.” Hope this guide made your journey smoother!
FAQs
Q1: Where can I find useful loot during the quest?
Many useful items are hidden in treasure chests scattered throughout the area. Don’t skip any chests, as some contain weapons or coins that are beneficial for the quest.
Q2: What’s the best way to handle darkspawn enemies?
For regular darkspawn, standard attacks work well. Save your stronger abilities for tougher enemies like Berserkers or groups of Lancers.
Q3: How do I cross the broken bridge?
Use the Griffin Strike ability to lower the woodpile blocking your path. This will allow you to climb over and continue with the quest.

