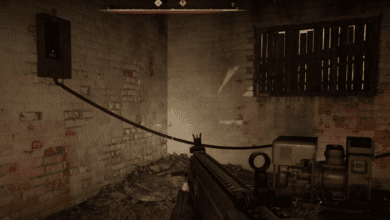
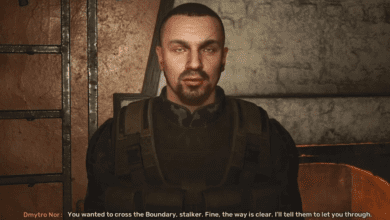
Stalker 2 Detention Center Guide: Unlock the Basement, Find Artifacts & Reach the Sheltered Stash
3 Key Takeaways:
- Unlocking Secrets in the Detention Center: The basement is the gateway to valuable artifacts like the Hypercube and Mother’s Beads. All you need is the right key and strategy to access it.
- Mastering Artifacts and Hazards: Navigating burner anomalies and taking down enemies like the Poltergeist requires careful planning and specific tools.
- Reaching the Sheltered Stash: The rooftop stash offers valuable loot if you know where to look and how to bypass obstacles like fire anomalies and locked doors.
The Detention Center is a major highlight in Stalker 2: Heart of Chornobyl, nestled in the Garbage Region. This rusted, loot-heavy structure is an essential stop for players navigating the post-apocalyptic world of Stalker. However, with its locked basement, hazardous anomalies, and hidden treasures, it’s not as straightforward as it seems. Whether you’re trying to unlock the basement to grab artifacts, battle enemies, or locate the Sheltered Stash, this guide has you covered.
Let’s dive into everything you need to know about the Detention Center in Stalker 2, from unlocking the basement to finding the best loot.
How to Unlock the Detention Center’s Basement
The Detention Center’s basement holds incredible rewards, including the sought-after Hypercube artifact. But gaining access requires some exploration and clever thinking. Follow these steps to unlock the basement:
- Enter Through the Right Doorway:
Look for the east wing entrance, which is the second doorway on the right side of the building. - Find the Heavy Key:
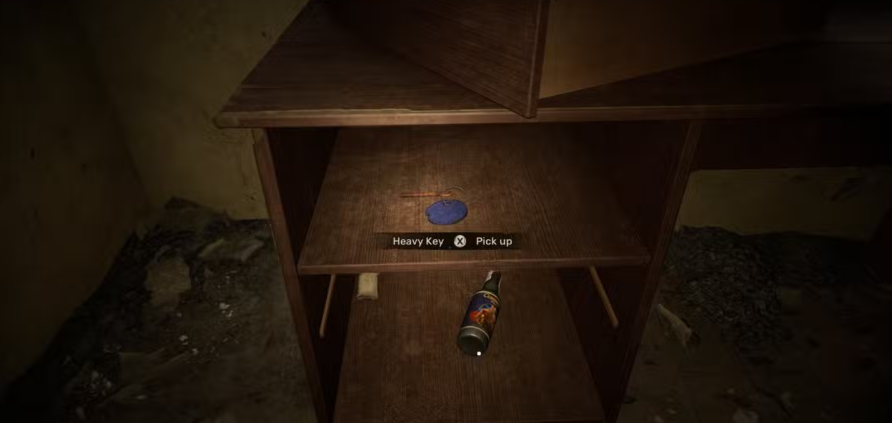
Inside the small office or reception area near the entrance, there’s a wooden desk. Open it to find the Heavy Key the essential item for unlocking the basement gate. - Unlock the Basement Gate:
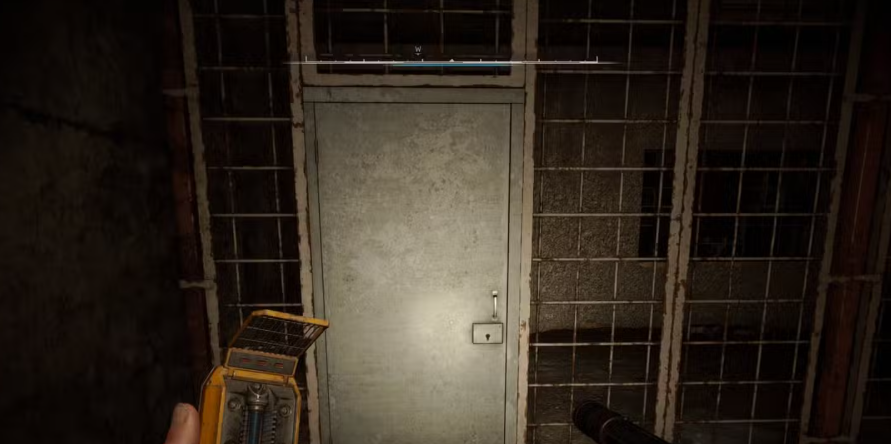
Exit the office and head downstairs to the basement. Use the Heavy Key to open the barred gate, giving you full access to the area.
How to Navigate the Basement and Collect Artifacts
Once inside the basement, players will encounter burner anomalies, a hostile Poltergeist, and the game’s valuable artifacts. This part requires preparation and careful movement. Here’s how to get the most out of your basement exploration:
Step 1: Equip the Right Tools
- Bring an Artifact Detector to locate the hidden treasures.
- Carry Bolts to test the burner anomalies’ area of effect.
Step 2: Deal with the Hazards
- Navigate Burner Anomalies: Throw bolts in the direction of anomalies to reveal their danger zones. Slowly make your way through, avoiding damage.
- Defeat the Fire Poltergeist: A fire variant of the Poltergeist lurks in the basement. Use a safe position to deal quick damage and eliminate it.

Step 3: Find the Hypercube Artifact
- The Hypercube artifact is located in the adjacent room to a dead body. Search the body to retrieve a key that unlocks a room on the Detention Center’s first floor near the cells.
Step 4: Secure the Mother’s Beads Artifact

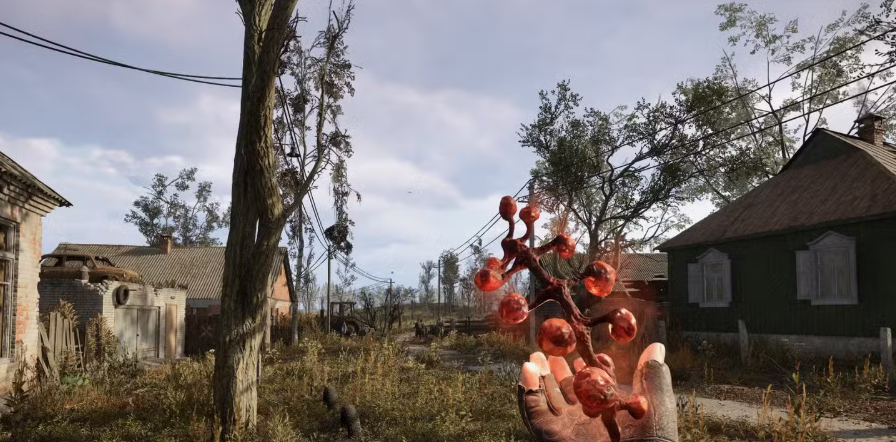
- After an Emission event, revisit the basement to locate the Mother’s Beads artifact. Use the same strategy of navigating anomalies and checking your Artifact Detector to find it.
Pro Tip: Always have plenty of medkits, bandages, and ammo when entering the basement. The combination of anomalies and enemies can take you out quickly if you’re unprepared.
How to Reach the Detention Center’s Sheltered Stash
Apart from the basement, the Detention Center’s Sheltered Stash is another point of interest that holds valuable loot. However, accessing it requires some creative problem-solving and a willingness to explore the building’s exterior and rooftop.
Here’s how to get there:
- Start at the Southwest Corner:
Navigate to the southwest exterior corner of the Detention Center. Enter through the door located here. - Climb to the Roof:
- Upon entering, walk forward until you reach a stairwell. Climb to the top floor.
- Turn right into a short corridor and then enter the decimated room on your left.
- Use the Concrete Pillar:
Inside the decimated room, you’ll find a diagonal concrete pillar. Walk up this makeshift ramp to access the roof. - Navigate the Roof Hazards:
- Sprint across the roof while avoiding fire anomalies.
- Turn left at the edge and follow the path forward and left again to reach the Sheltered Stash, hidden in a corner near a body.
- Loot the Stash:
- Inside, you’ll find high-value items like ammo, medkits, and bandages.
- Unlock Nearby Rooms:
- Use the nearby locked door to access a stairwell. Break the padlock with a weapon to return to the Detention Center’s friendly NPCs, including Star.
Bonus Loot Tip
Before leaving the roof, look for a backpack in the room adjacent to the decimated room. Use the concrete pillar to get onto the roof and drop into this room through a hole in the ceiling. Inside the backpack, you’ll find more supplies to aid your journey.
Why the Detention Center Matters in Stalker 2
The Detention Center isn’t just a random loot spot; it’s a pivotal location in Stalker 2: Heart of Chornobyl. Players visit it during the “Answers Come at a Price” mission, but it offers much more than quest progression. Its basement and roof are treasure troves filled with artifacts, supplies, and key items that can enhance your survival and progress in the game.
Whether you’re navigating the anomalies to secure artifacts or climbing to the rooftop stash, every part of the Detention Center demands focus, strategy, and preparation.
FAQ
1. How do I access the Detention Center’s basement in Stalker 2?
You’ll need the Heavy Key, found in the small office near the east wing entrance. Use it to unlock the barred gate in the basement.
2. What tools do I need to navigate burner anomalies?
Equip an Artifact Detector to locate artifacts and use Bolts to test the anomalies’ area of effect. Medkits and bandages are also crucial for surviving potential burns.
3. When can I find the Mother’s Beads artifact?
The Mother’s Beads artifact appears in the Detention Center’s basement after an Emission event. Return later to collect it.
4. How do I reach the Sheltered Stash on the Detention Center’s roof?
Enter through the southwest corner, climb the stairwell to the top floor, and use the diagonal concrete pillar in the decimated room to reach the roof.
5. What’s inside the Sheltered Stash?
The Sheltered Stash contains valuable items like ammo, medkits, and bandages. It’s a must-visit for players looking to gear up.
