Destiny 2: How to Defeat the Corrupted Puppeteer in Vesper’s Host Dungeon
Destiny 2 is no stranger to epic battles and intense encounters, but one of the most thrilling challenges Guardians face is the final boss fight in the Vesper’s Host dungeon. The Corrupted Puppeteer stands tall as one of the most complicated and rewarding encounters in the game, offering players a mix of strategy, teamwork, and skill-based gameplay. If you’re looking to beat this enigmatic boss, here’s a detailed guide to help you navigate this final battle.

What You Need to Know Before the Fight
Before diving headfirst into the fight with the Corrupted Puppeteer, you need to know that every aspect of this encounter requires cooperation and precise execution. Understanding the mechanics beforehand will drastically improve your chances of success.
Key Roles in the Encounter
- Operator Protocol (Red Role): Shoots keypads to trigger mechanics.
- Scanner Protocol (Yellow Role): Identifies the correct targets for keypads and clones.
- Suppressor Protocol (Blue Role): Creates decoys to distract enemies, allowing your team to eliminate otherwise immune foes.
These roles are carried over from earlier encounters in the dungeon, so if you’ve played the earlier sections, you should already be familiar with these mechanics. Each role is crucial to completing the encounter successfully.
Step by Step Guide to Defeating the Corrupted Puppeteer
Step 1: Shooting the Correct Panels

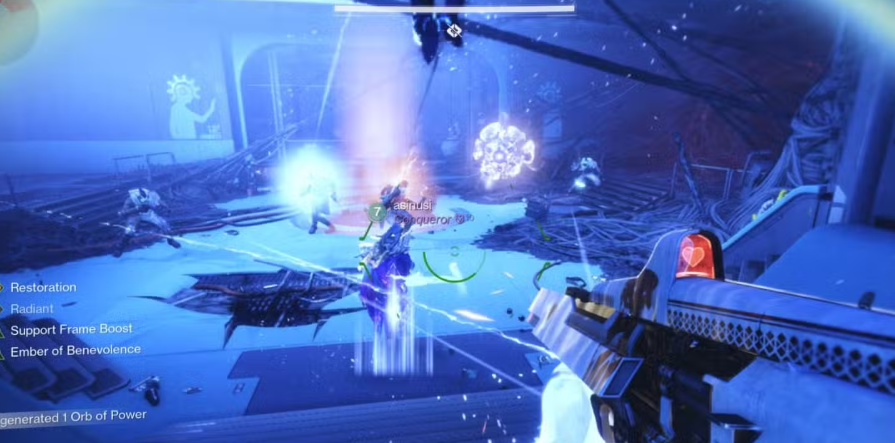
When the encounter begins, you’ll find yourself in the initial arena with the rally banner. As soon as the Puppeteer appears, two large, radiated enemies will spawn, covered in a force field that makes them immune to damage. Letting these enemies get close will quickly increase your radiation stacks, and once a player hits 10x radiation, they’re dead.
To handle these enemies, one player needs to pick up the Suppressor Protocol. This allows them to create decoys that will eliminate the radiation field around the enemies, enabling the team to take them down. As long as you stay in this phase of the encounter, these enemies will keep respawning, so be efficient in dealing with them.

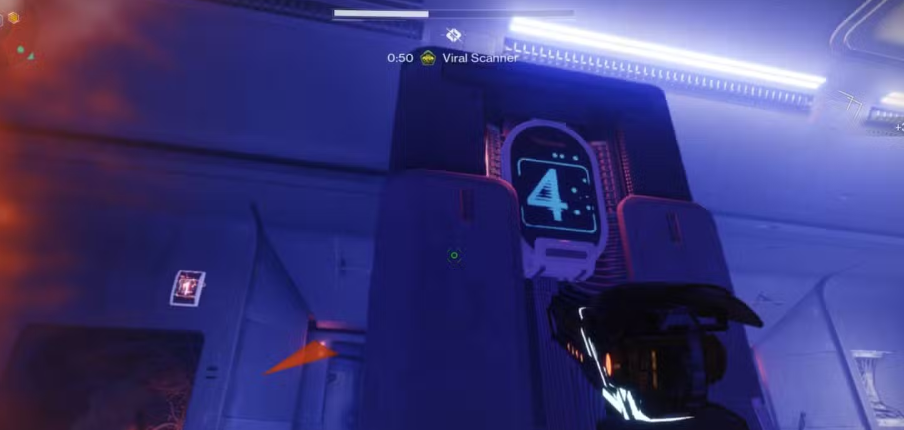
Simultaneously, another player should grab the Scanner Protocol, which allows them to identify which of the four numbered pillars (visible on the Scanner’s radar as yellow dots) is the correct one. Once the Scanner finds the right pillar identified by a white blink they must communicate the corresponding blue number to the Operator Protocol player.

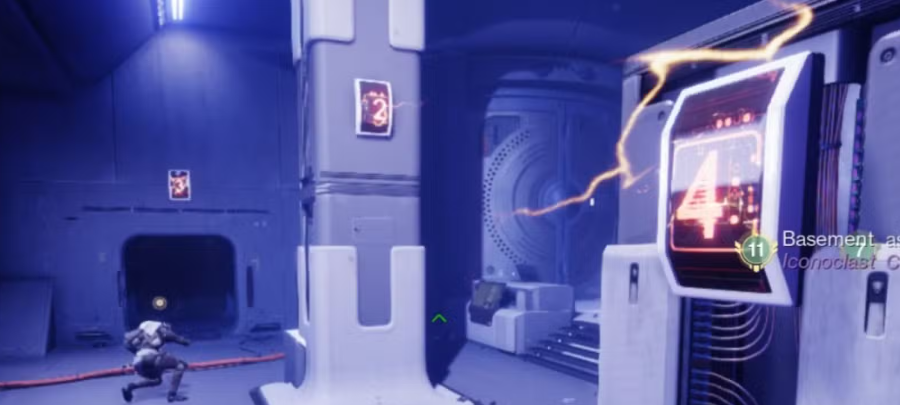
The Operator is then responsible for shooting four keypads marked with that number (e.g., if pillar 2 is the correct one, the Operator needs to shoot four keypads labelled with a “2”). Some of these keypads might be hidden behind objects or on the ceiling, so keep an eye out.
Step 2: Dropping Down to the Lower Stacks
Once the keypads are shot, the boss will teleport to the lower stacks, and the doors on the sides of the arena will open. Players should drop down on the side marked by blinking red lights. Inside, you’ll find more enemies, including radiated foes, but don’t get distracted your priority here is to reach the next room.

In this room, there will be terminals for all three protocols (Operator, Scanner, and Suppressor), keypads, and a central pod where you’ll need to dunk nuclear cores. Your team needs to pick up their respective roles once again, with the Suppressor focusing on keeping enemies at bay using decoys, while the Operator shoots keypads scattered around the room.

Once the Operator has shot all the keypads, the Scanner will check which of the four clones of the boss is the correct one to kill (indicated by a white flash when approached). Upon killing the correct clone, a nuclear core will drop. Your team now needs to quickly dunk this core into the pod in the middle of the room.
Step 3: Banking the Nuclear Core
Once the nuclear core is ready, you’ll have a few seconds to dunk it. Be sure to bank all roles back into the terminals before entering the pod to deposit the core. This will remove half of the Puppeteer’s shield.

Now, it’s time to move to the second room and repeat the process. To get there quickly, head down the hallway behind where the boss stood before. Be mindful of tripwires and mines blocking the path. These obstacles can be cleared or avoided, but watch out for more radiated enemies along the way.
If things get overwhelming, a player can pick up the Suppressor again to make the traversal smoother.

In the second room, repeat the same mechanics shoot the keypads, identify the correct clone, kill it, and bank the nuclear core.

Step 4: Dealing Damage to the Corrupted Puppeteer
Once both nuclear cores are deposited, you’ll trigger the DPS phase. Players need to return to the initial arena using a portal that will appear in the center of the room. Here, the boss will start communing with the anomaly, and the DPS phase begins.
The DPS phase gives you plenty of time to deal damage to the Puppeteer, but be careful of its clones and the lightning strikes that occur periodically. These strikes are telegraphed by your screen turning orange, so move quickly to avoid taking unnecessary damage.

One of the Puppeteer’s clones will be glowing, indicating that this is the one you need to kill to drop a third nuclear core. When the Puppeteer begins communing with the anomaly, a shockwave will emanate from it, signalled by a message on the left side of the screen. Your team must grab the core and deposit it into the pod to shield yourselves from the shockwave.

Once this phase is complete, continue dealing damage to the boss. When another shockwave arrives, and the airlock behind you opens up, drop down and repeat the encounter until the boss is finally defeated.
FAQs: Beating the Corrupted Puppeteer in Destiny 2
1. How long does the DPS phase last in the Corrupted Puppeteer fight? The DPS phase in this fight is generous compared to other Destiny 2 encounters, giving players enough time to deal significant damage. However, be aware of the Puppeteer’s clones and lightning strikes that can disrupt your damage output.
2. What are the best weapons for this encounter? Grand Overture, Anarchy, and Whisper of the Worm are commonly recommended due to their consistent damage output. Some players also opt for Grenade Launchers like Wither hoard to handle mobs during non-DPS phases.
3. What happens if we fail to deposit a nuclear core? If you fail to deposit a core, you’ll have to fight additional enemies to retrieve the lost Protocols, prolonging the encounter and making it more challenging.
4. Can this fight be soloed? While possible, soloing this encounter is extremely difficult due to the coordination required for handling roles like Scanner, Operator, and Suppressor simultaneously. It’s highly recommended to complete this encounter with a full fireteam.
5. How can I avoid the radiation stacks from the radiated enemies? Using the Suppressor Protocol is the key to managing radiation. The Suppressor creates decoys to remove the radiation field, allowing your team to take out these otherwise invulnerable enemies.
This encounter tests your ability to manage mechanics, communicate effectively, and maximize damage during DPS phases. With proper coordination and this guide, you’ll have the tools needed to take down the Corrupted Puppeteer in Destiny 2’s Vesper’s Host dungeon. Now, go gather your fireteam, sharpen your skills, and prepare for battle!


