Pit of Anguish in Diablo 4: Vessel of Hatred – Complete Guide
Diablo 4: Vessel of Hatred has brought new excitement to the game, adding a ton of fresh content and features. Among these, the Pit of Anguish is one of the standout challenges for players seeking to push their characters to new heights. This guide will walk you through everything you need to know about the Pit of Anguish, including how to start the quest, its objectives, rewards, and strategies to conquer this daunting dungeon.
What Is the Pit of Anguish in Diablo 4?
The Pit of Anguish is a side quest located in Nahantu, a region within Diablo 4: Vessel of Hatred. This dungeon serves as an endgame challenge, designed to test your character’s strength and push you further into the endgame. It’s also essential for unlocking the Torment difficulties, which are key to unlocking powerful gear and rewards.
In this guide, we’ll go over the starting location, objectives, and the best strategies to help you conquer the Pit of Anguish with ease.
How to Start the Pit of Anguish Quest
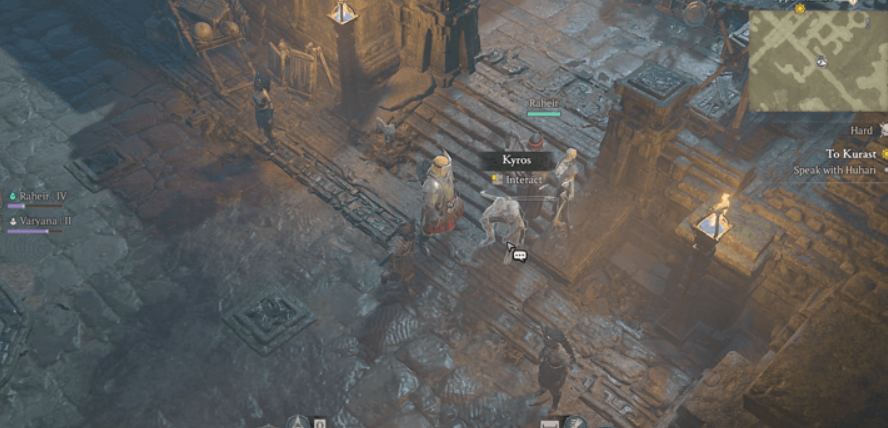
The journey begins with finding Kyros, an NPC located in Upper Kurast, Nahantu. He’s usually sitting on a set of stairs southeast of the World Tier Statue. Speaking to Kyros will trigger the quest and mark the beginning of your journey into the Pit of Anguish.
Key Quest Objectives:
- Clear The Festering Dark Stronghold: Start by eliminating enemies in the Festering Dark Stronghold. This will prepare you for the deeper challenges that lie ahead.
- Investigate the Pit of Anguish: After clearing the stronghold, your next mission is to delve into the Pit itself and uncover its dark secrets.
Pit of Anguish Walkthrough: Step by Step Guide
Now, let’s break down each part of this challenging quest, focusing on the key mechanics and what you need to do to succeed.
1. Enter The Festering Dark Stronghold
Once you’ve spoken to Kyros and accepted the quest, head towards the Festering Dark Stronghold. The path will be marked on your map, and you’ll need to fight your way through hordes of enemies. Keep your wits about you these enemies grow stronger the deeper you go.
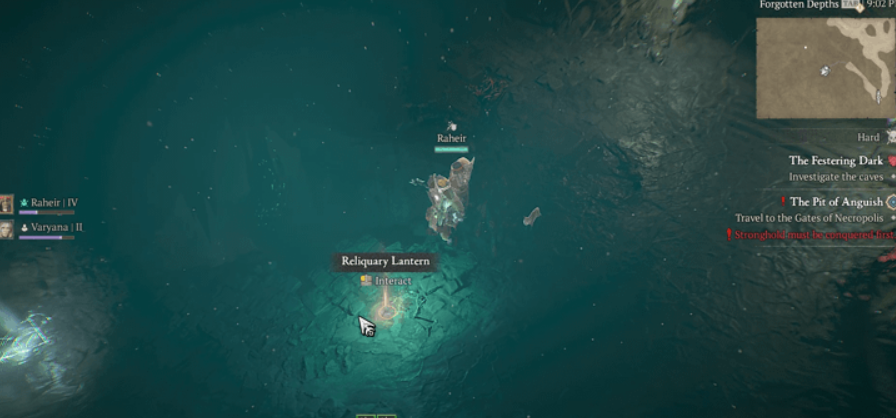
Once inside, you’ll need to find the Reliquary Lantern, which will guide you through the dark corridors of the stronghold. The Lantern is essential, as it can help clear obstacles in your path and light the way forward.
2. Place the Reliquary Lantern on the Warding Brazier
As you progress, you’ll encounter areas that are too dark or blocked off. To advance, place the Reliquary Lantern on the Warding Braziers scattered throughout the stronghold. These braziers will light up the area, allowing you to see enemies and continue forward.
Be prepared to drop the lantern occasionally and fight enemies, as the waves of monsters can be overwhelming if you’re caught off guard. Managing your timing and positioning is key here.
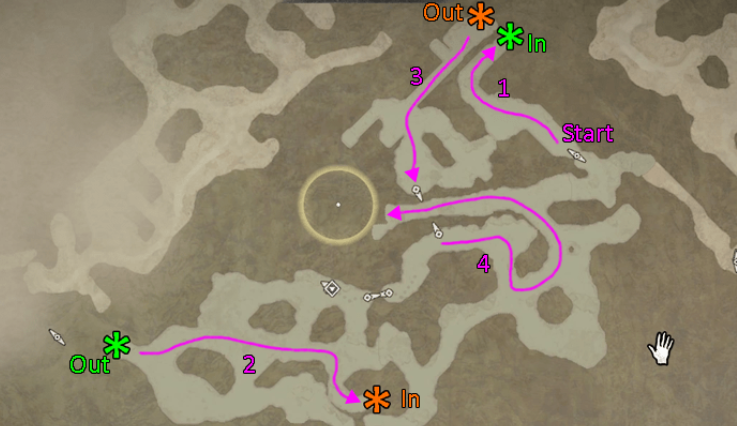
3. Navigate the Festering Dark Path
The stronghold’s layout can be tricky to navigate, so make sure to refer to your map frequently. Continue using the Warding Braziers to light your way and push deeper into the dungeon. The further you go, the tougher the enemies will become.
4. Defeat Maleficium, the Boss of the Stronghold
At the end of the stronghold lies the boss, Maleficium, a fearsome enemy with powerful attacks. To defeat him, you’ll need to use the Warding Braziers scattered throughout the arena. Maleficium cannot be damaged unless he’s within the light cast by the braziers, so make sure to keep them lit.
However, the Warding Braziers will fizzle out after a short time, so you’ll need to stay on your toes and keep relighting them as the fight progresses. Stay mobile and focus on avoiding the boss’s devastating attacks while keeping him within the lit area.
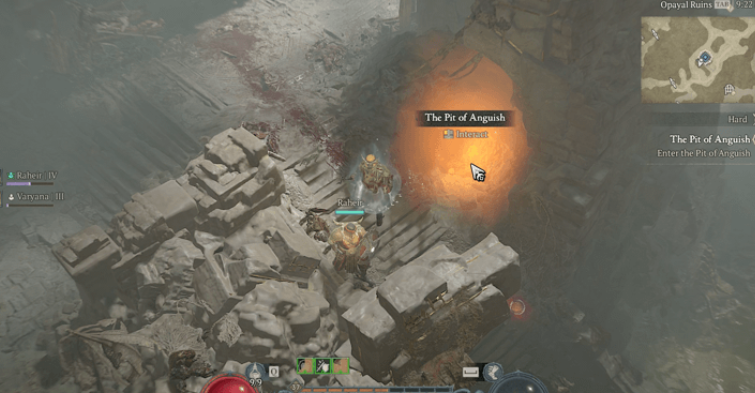
5. Investigate the Pit of Anguish
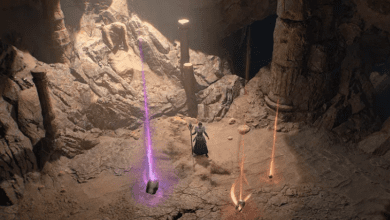
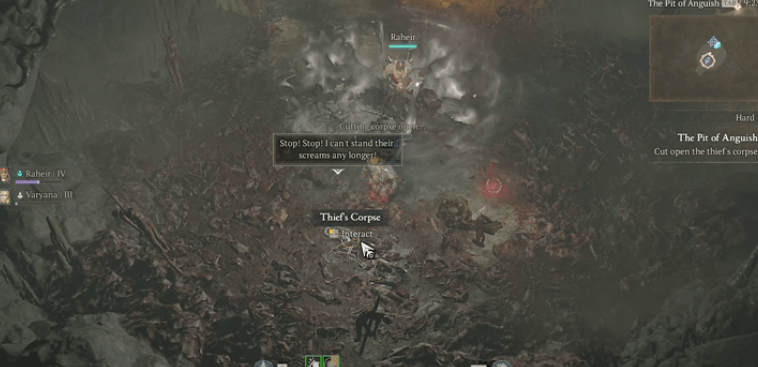
After defeating Maleficium, return to Kyros for your next objective. He will ask you to investigate the Pit of Anguish itself, located just north of the stronghold. Once you enter, you’ll find corpses scattered throughout the area. Interacting with these corpses will trigger waves of enemies, so be ready for combat at any moment.
As you progress through the Pit, one of the corpses will drop a special item called the Jeweled Finger of Ezra-Kan. This item is crucial for completing the quest, so make sure to pick it up before returning to Kyros.
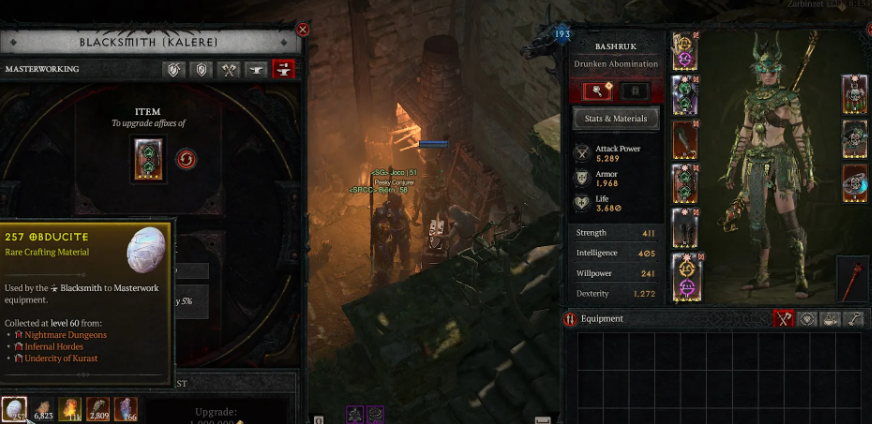
Rewards for Completing the Pit of Anguish Quest
Completing the Pit of Anguish quest comes with substantial rewards, including crafting materials, rare items, and reputation with key factions in Diablo 4. By defeating the enemies in the stronghold and the Pit itself, you’ll earn valuable gear that will help you progress through the game’s increasingly difficult challenges.
Additionally, the Jeweled Finger of Ezra-Kan is a rare item that can unlock further questlines and rewards, making it a must-have for any serious Diablo 4 player.
Unlocking Torment Difficulties Through the Pit
One of the most exciting features of Diablo 4: Vessel of Hatred is the introduction of Torment difficulties, which offer harder challenges and better rewards. To unlock these difficulties, you’ll need to progress through the Artificer’s Pit, a dungeon located in Cerrigar within the Emerald Chase zone of Scosglen.
Pit Levels and Torment Unlocks:
- Level 20: Unlocks Torment 1 difficulty
- Level 35: Unlocks Torment 2 difficulty
- Level 50: Unlocks Torment 3 difficulty
- Level 65: Unlocks Torment 4 difficulty
The Pit has a total of 200 levels, with each level scaling in difficulty, making it the perfect place to test your skills and gear. As you push deeper into the Pit, you’ll unlock new Glyphs, which are key to upgrading your character’s power.
Tips for Conquering the Pit of Anguish
Here are a few tips to help you succeed in this challenging dungeon:
- Stay Mobile: The Pit of Anguish is filled with fast and deadly enemies. Keep moving to avoid getting overwhelmed.
- Manage Your Resources: Keep an eye on your health potions and cooldowns, as the fights can be long and exhausting.
- Use the Environment: The Warding Braziers are key to your success. Use them strategically to manage enemies and keep the fight in your Favour.
FAQ: Pit of Anguish in Diablo 4
Q1: Where do I find Kyros to start the Pit of Anguish quest?
A: You can find Kyros in Upper Kurast, Nahantu, sitting on a set of stairs southeast of the World Tier Statue. Talking to him will trigger the quest.
Q2: What are the key rewards for completing the Pit of Anguish quest?
A: Completing the quest rewards you with valuable crafting materials, reputation points, and the Jeweled Finger of Ezra-Kan, which unlocks further questlines.
Q3: How do I unlock Torment difficulties?
A: Torment difficulties are unlocked by completing levels in the Artificer’s Pit, which can be found in Cerrigar in the Emerald Chase zone of Scosglen.
Q4: What is the role of the Warding Braziers in the Pit of Anguish?
A: Warding Braziers are crucial for lighting the dungeon and enabling you to damage enemies, especially the boss Maleficium, who can only be damaged within the light of the braziers.
Q5: How do I level up my Glyphs in the Pit?
A: The Pit of Anguish is a key location for levelling up your Glyphs. The new Glyph level cap is 100, so you’ll need to push deep into the Pit to fully upgrade them.
The Pit of Anguish in Diablo 4: Vessel of Hatred is a thrilling and challenging dungeon that offers significant rewards for those brave enough to face its dangers. By following this guide, you’ll be well-equipped to conquer the stronghold, defeat the fearsome boss, and unlock powerful rewards that will take your character to the next level.