Dragon Age: The Veilguard – All Lighthouse Puzzle Solutions for the Nostalgia Trip Trophy & Achievement
Key Takeaways:
- Three Puzzle Sections: Solving the Lighthouse Puzzle requires completing three sets of statue puzzles and a final Music Room puzzle.
- Statue Alignment: Each statue puzzle involves turning pairs of statues to face each other, unlocking new areas.
- Music Room and Trophy Unlock: Completing Chapter 7 and placing two wisps in the Music Room opens a portal to a secret area, unlocking the Nostalgia Trip trophy.
Dragon Age: The Veilguard challenges players with immersive puzzles, and one of the most intricate ones is the Lighthouse Puzzle, which grants players the Nostalgia Trip trophy upon completion. This guide will walk you through solving the entire Lighthouse Puzzle, covering statue positions, lever orientations, and the final Music Room solution.
Solving the Lighthouse Puzzle in Dragon Age: The Veilguard

The Lighthouse serves as a hub in Dragon Age: The Veilguard, where you’ll encounter various challenges and items that unfold as you progress through the main questline. Solving this puzzle requires locating three sets of statues and aligning them, as well as completing a final Music Room puzzle accessible later in the game.
Step 1: Locate the Mysterious Note
Begin by finding a Mysterious Note near the first statue. This note provides hints about the statue puzzle and sets the stage for solving each statue alignment.
Statue Puzzle Solution: Finding and Aligning Statues
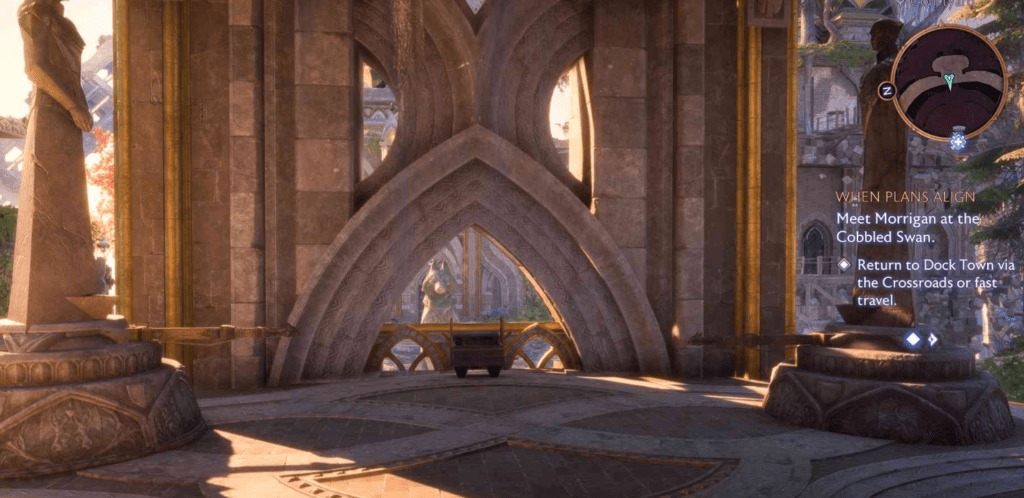
The main objective of the statue puzzles is to make three sets of statues face each other, which will eventually unlock the Music Room.
First Set of Statues (Above the Library)
- Head to the northwest side of the Lighthouse, above the Library.
- You’ll find two statues here, currently facing away from each other.
- Turn the levers at the base of each statue to make them face each other.
- This will complete the first statue set.
Second Set of Statues (Near the Workshop and Guesthouse)
- Make your way to the north side of the Lighthouse.
- Locate the first statue behind the Workshop (Neve’s Room) and turn it to face east.
- Head around to the opposite side to find the second statue and turn it to face west, so they align with each other.
- With this, you’ll complete the second set of statues.
Third Set of Statues (Southeast and Southwest)
- Head to the south eastern area and find the third statue set.
- Turn the statue in the southeast to face west.
- Move to the southwestern part of the area, go up the stairs, and turn the last statue in this set to face east.
- Once aligned correctly, this completes the final statue set.
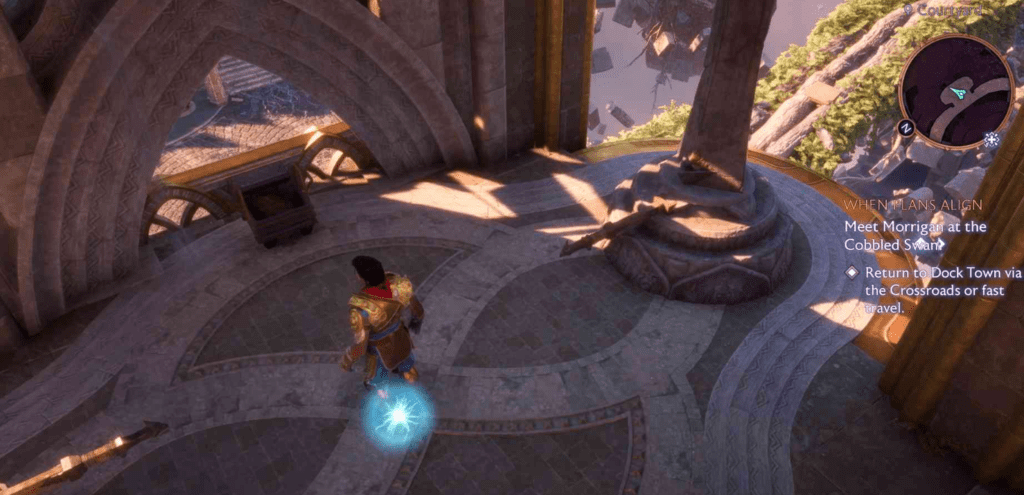
With all three sets of statues facing each other, you’ve now unlocked access to the Music Room within the Library. However, completing the Music Room puzzle requires progressing to Chapter 7 of the main quest.
Music Room Puzzle Solution
The Music Room Puzzle becomes available after completing Chapter 7: Where the Dead Must Go. Entering the Music Room, you’ll notice a floating wisp near the piano. Here’s what to do next:
Guiding Wisps to the Pedestals
- Place the first wisp on one of the pedestals near the door in the Music Room.
- For the second wisp, exit the library and ascend the stairs to the library’s roof, following the path to where the first statue puzzle was located.
- Capture the second wisp and bring it back to the Music Room, placing it on the remaining pedestal.
- Once both wisps are in place, a portal will appear in the room. Step into it to access the Library Balcony secret area.
Achieving the Nostalgia Trip Trophy
In the secret Library Balcony area, interact with the blue stone on the left. A cutscene will play, and you’ll encounter the Caretaker, who rewards you for solving the puzzle. Completing this will also grant 500 Caretaker Power.
To unlock the Nostalgia Trip trophy, simply jump off the balcony after the cutscene concludes. This final action completes the Lighthouse Puzzle and awards you the Nostalgia Trip achievement.
Related Quest: In Entropy’s Grasp
For players who enjoyed the Lighthouse Puzzle, the sidequest In Entropy’s Grasp is another rewarding exploration task in Dragon Age: The Veilguard. This quest involves locating Powerstones to unlock a doorway and access hidden content.
FAQ
Q: How do I access the Music Room in the Lighthouse?
A: Unlocking the Music Room requires aligning all three statue sets, which will automatically open the room. However, the Music Room puzzle itself only becomes available after progressing to Chapter 7 in the main quest.
Q: Where can I find the first wisp for the Music Room puzzle?
A: The first wisp will appear inside the Music Room near the piano. Place it on one of the pedestals near the door.
Q: How do I unlock the Nostalgia Trip trophy?
A: After completing the Music Room puzzle, enter the portal to the Library Balcony, interact with the blue stone, and then jump off the balcony. This will award you the Nostalgia Trip achievement/trophy.
Q: What is the purpose of the Mysterious Note?
A: The Mysterious Note provides hints about the statue alignment puzzle, guiding you in turning statues to face each other and unlock new areas.


