Dragon Age: The Veilguard – Complete Guide to Solving the Partners in a Dangerous Crime Brazier Puzzle
Key Takeaways:
- Unlock the Treviso Canals to kick off the Partners in a Dangerous Crime side quest.
- Follow specific clues and locations to find and light each brazier in the correct order.
- Complete this puzzle to access additional areas and rewards as you progress through The Veilguard.
In Dragon Age: The Veilguard, players are constantly drawn into new adventures, each one as captivating as the last. Whether it’s making tough choices or finding new allies, every decision in The Veilguard shapes your journey. Among these intriguing side quests is “Partners in a Dangerous Crime,” an adventure filled with mystery and a challenging puzzle involving braziers in the Treviso Canals area. This guide will walk you through each step of this quest, helping you locate, understand, and solve the Treviso Canals brazier puzzle.
Starting the Partners in a Dangerous Crime Quest
To begin the Partners in a Dangerous Crime quest, you’ll first need to unlock the Treviso Canals area during the main storyline. Follow the main quests until you reach Cantori Diamond, a bustling area within the Canals. Before the main quest can proceed, you’ll need to complete another side quest titled Spies Among Us. Here, you’ll search for a missing Crow and bring them back to an NPC named Chance Candide in Cantori Diamond. After this, a conversation with Chance will initiate the Partners in a Dangerous Crime quest, leading you into the heart of the Treviso Canals.
Solving the Treviso Canals Brazier Puzzle
Upon reaching the Grande Market within Treviso Canals, keep an eye out for torn-up papers scattered nearby. These notes, left near a beacon at your spawn location, hint at the puzzle’s location and solution. Follow the clues through the market, leading you to a small staircase near a merchant stand. The last note you find will confirm that you’re ready to tackle the brazier puzzle.
This particular puzzle requires you to observe a small but crucial detail: the number of lit candles on the tables beside each brazier. The count of candles at each table corresponds to the order in which the braziers should be lit. Now, let’s go over each brazier location step-by-step.
Brazier Location Guide
Brazier #1: Central Market Area

The first brazier is located in the central part of the Grande Market, directly in front of a large staircase. It’s hard to miss, as a performer stands nearby. Take note of the number of candles on the table next to it, as this will determine the lighting order for this brazier.
Brazier #2: Western Side of the Staircase
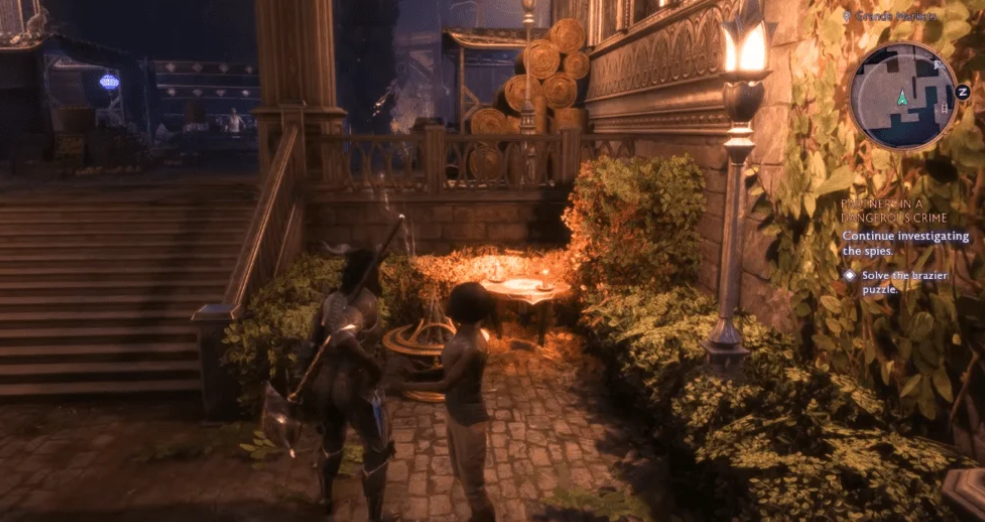
After lighting the first brazier, turn around and head west, just past the main staircase. Here, you’ll spot the second brazier waiting to be lit. Again, check the table beside it for the number of lit candles.
Brazier #3: Northern Alleyway
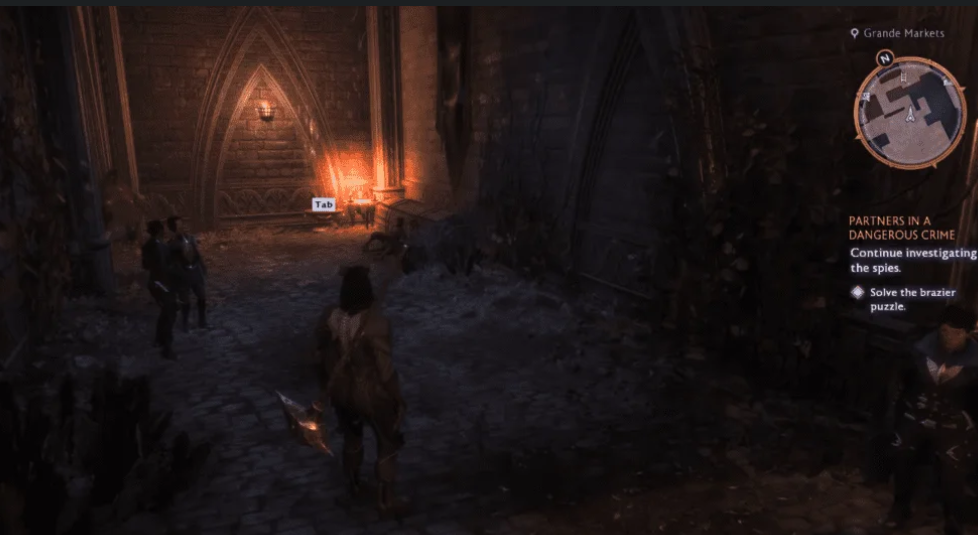
For the third brazier, make your way to the north side of the staircase and enter a narrow alley. The brazier here will be close to two NPCs chatting nearby, so use this as a helpful landmark.
Brazier #4: Eastern Exit
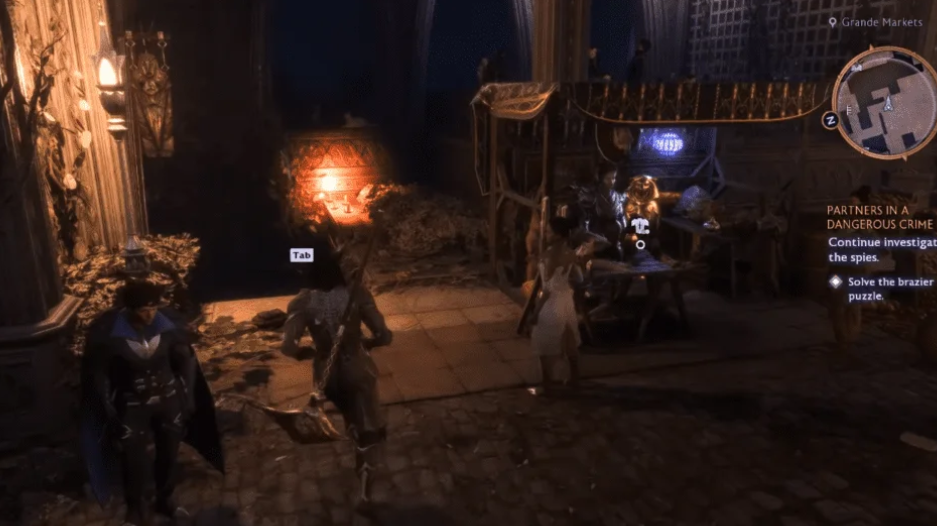
The fourth and final brazier can be found by exiting the alleyway and heading east down another set of stairs. Check the candle arrangement to ensure you’re lighting this last brazier in the correct sequence.
Lighting the Braziers in Order
To complete the puzzle, use Taash’s Ignite ability to light each brazier in the precise order based on the candle clues you gathered. If done correctly, you’ll hear a click as the door beside the fourth brazier unlocks, granting access to a new area and bringing you one step closer to finishing the quest.
This isn’t the only brazier puzzle you’ll encounter in The Veilguard additional puzzles, like one at the Tide Flats, will test your skills further. With practice, these puzzles become valuable opportunities to gain unique items, experience, and story insights.
Frequently Asked Questions (FAQs)
Q1: How do I unlock the Treviso Canals area in Dragon Age: The Veilguard? To unlock the Treviso Canals, follow the main storyline quests until you reach Cantori Diamond, which leads you into this vibrant area.
Q2: What ability do I need to light the braziers? You’ll need Taash’s Ignite ability to activate each brazier and solve the puzzle.
Q3: Why won’t the door open after lighting all the braziers? Ensure you’ve lit the braziers in the correct order based on the candle arrangement beside each one. If the order is wrong, extinguish and relight them according to the number of candles.
Q4: Are there more puzzles like this one in The Veilguard? Yes, you’ll find other brazier puzzles throughout the game, each with its own unique solution and rewards. The Tide Flats is one example where you can further test your puzzle-solving skills.


