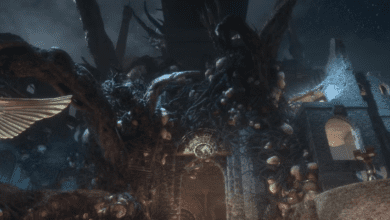
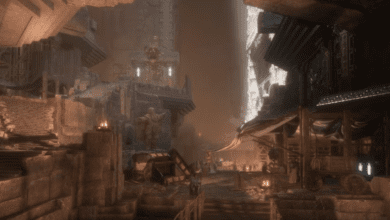
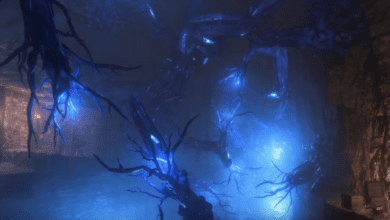
Dragon Age: The Veilguard – Cornered in the Catacombs Walkthrough
Key Takeaways
- Understand the Mission’s Goal: Help the Grey Warden clear the blight from the catacombs in Dock Town, with plenty of darkspawn battles and puzzles along the way.
- Efficient Strategies: Focus on eliminating blight boils rather than all enemies, use companion abilities strategically to progress.
- Puzzle Solutions: You’ll encounter light-guiding and rock-moving puzzles that are key to unlocking further sections.
In Dragon Age: The Veilguard, the “Cornered in the Catacombs” side quest takes you on an intense journey through the underground catacombs of Minrathous, filled with blight and darkspawn enemies. This guide breaks down each step you need to complete this quest, offering tips for efficient progression, puzzle-solving, and battle strategies.
Starting the Quest

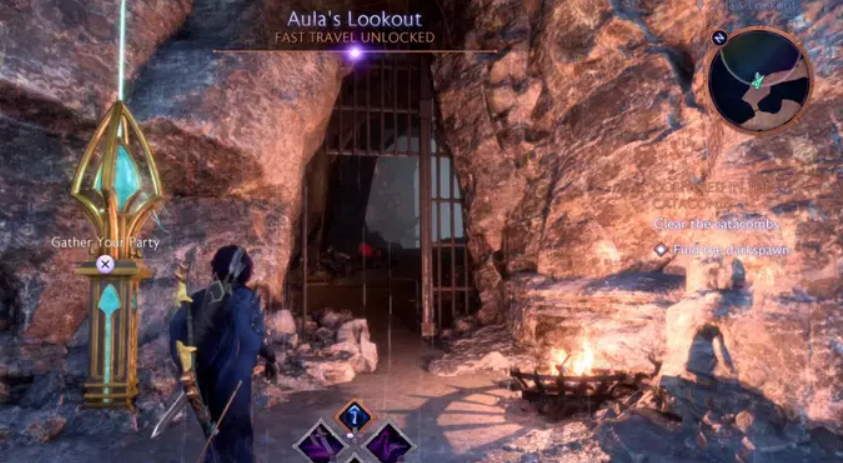
To begin, head to Glandivalis Square in Dock Town, where you’ll find an injured Grey Warden seeking your help to clear blight from the catacombs. Accept her request, and the mission, “Cornered in the Catacombs,” will be added to your quest log. Track the quest to reveal the catacombs entrance location on your map.
Entering the Catacombs and Preparing for Battle
Upon entering the catacombs, prepare for constant encounters with darkspawn who resist necrotic damage. Avoid bringing Emmerich if you’re looking to make faster progress through these enemies. Assan is an effective companion here due to his specific blight-targeting abilities.

Clearing Blight Boils and Advancing
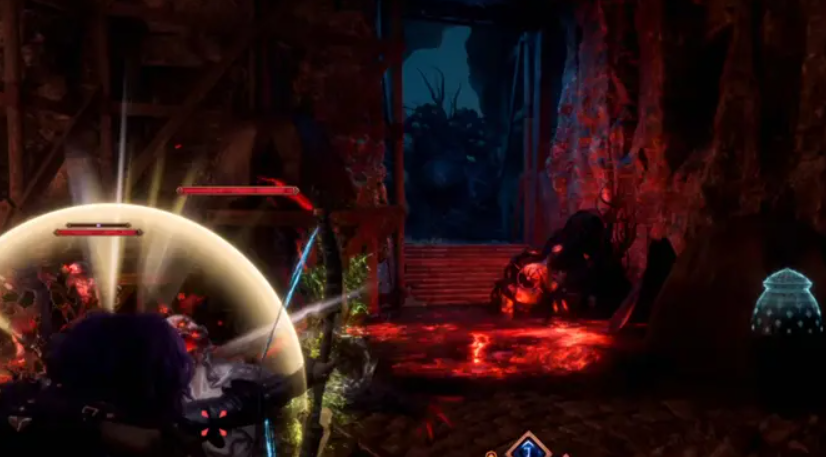
The catacombs are riddled with “blight boils,” red-glowing growths that you must destroy to stop the continuous spawning of darkspawn. Follow these steps to clear each room effectively:
- First Room: You’ll encounter your first set of blight boils when you reach a room with an Evanuris Statue.
- Boil Locations:
- The first is to the left as you enter the room.
- The second is on the pillar across the room.
- Look above to find another boil on a blighted structure in the center.
- Use Davrin’s ability to summon Assan and destroy the boil above.
- Boil Locations:
- Evanuris Statue Challenge: Complete the challenge associated with this statue to unlock a health upgrade, which will prove useful for the rest of the quest.
Solving the Rock Puzzle
After clearing the blight boils in the statue room, you’ll need to solve a rock puzzle to progress further. Here’s how to complete it:
- Move down the rock formation near the beam of light.
- Adjust the rock above it.
- Move down the two formations in front to redirect the light beam and unlock the door.
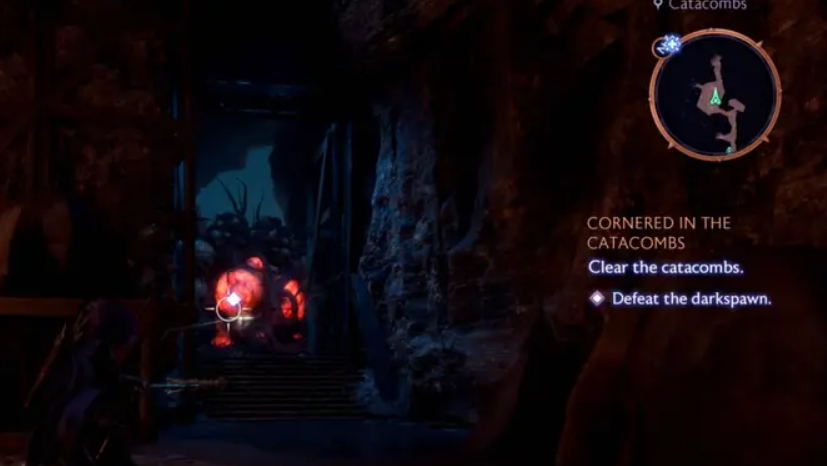
Take the nearby elevator to reach the next area, where you’ll encounter a blight boil that drops and explodes from above. Dodge it quickly to avoid damage and clear the remaining boils in the vicinity.
Reaching Ghilan’nain’s Sanctum
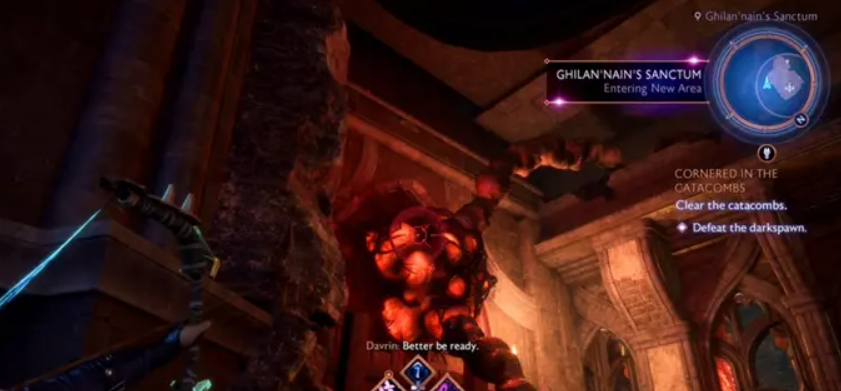
Continue following the path through the catacombs until you enter Ghilan’nain’s Sanctum, where you’ll face more darkspawn. Prioritize destroying the blight boils rather than engaging every enemy:
- Boil Locations:
- First boil is to your left on the wall as you enter.
- Second is at the base of a pillar in the next section.
- A third is directly above the same pillar.
- The final boil is high up on the ceiling near the tall statue in the center.
Use Davrin’s Blight Hunter ability to destroy the boil on the ceiling, which will then activate the remaining boils.
Navigating Blight Doors and More Darkspawn Battles
After clearing Ghilan’nain’s Sanctum, you’ll reach a room with a blight wall. Destroy it to access the next area. Follow the path and clear any darkspawn you encounter until you reach another rock puzzle.
Rock Puzzle Part Two
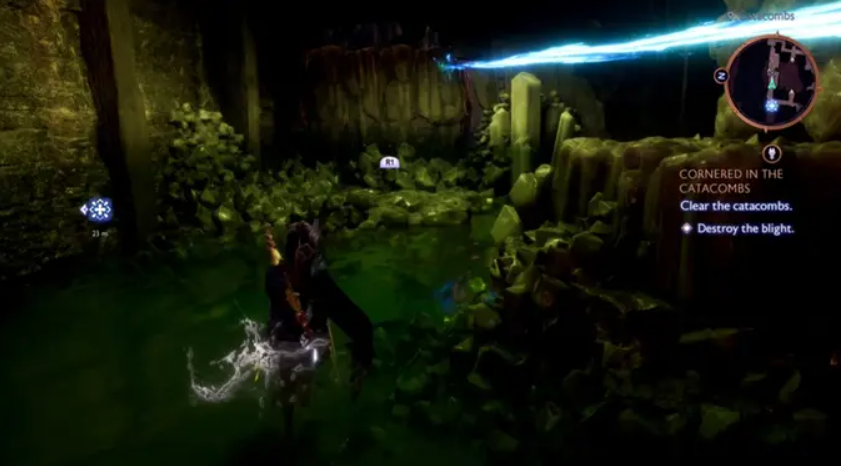
Here, you’ll use Harding’s Stone Song ability to manipulate rocks:
- Lower the rock nearest to the beam.
- Pull out the rock above it.
- Finally, move the rock formation furthest from you back into the water, directing the beam to another device on the wall.
Head up the stairs, destroy the blight boil at the top, and return to the previously blocked blight door.
Final Battle in the Back Alley

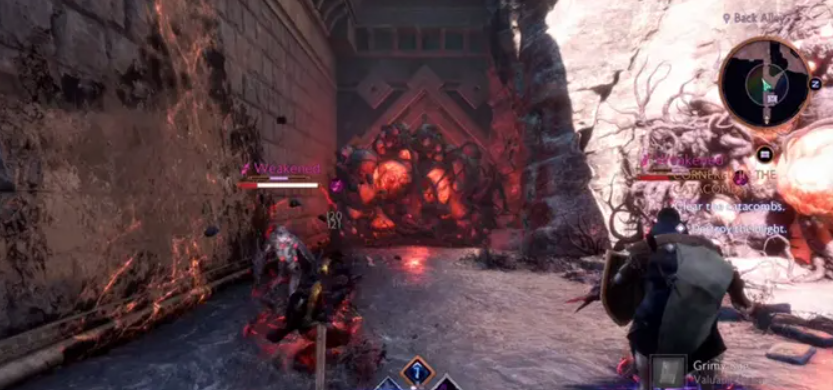
Once you’ve exited the elevator and entered the back alley, you’ll face your final challenge with darkspawn and blight boils.
- Boil Locations:
- Above the elevator exit, attached to fallen scaffolding.
- To the left in the middle of the alley, once you’ve defeated the large darkspawn.
Clear these boils and then remove the blight walls to access the final path. Follow it to reach Warden Vesta and report back to complete the quest.
Quest Completion
Once you’ve cleared all blight boils and darkspawn from the catacombs, return to the Grey Warden at your starting location. She’ll thank you for your efforts, marking the end of the “Cornered in the Catacombs” side quest.
FAQ
1. Do I need specific companions for this quest?
- No specific companions are required. However, Assan and Davrin have abilities that make handling blight boils easier.
2. What happens if I miss a blight boil?
- Darkspawn will continue to spawn if all blight boils aren’t destroyed. It’s essential to locate and eliminate each one before progressing.
3. Are there rewards for completing the Evanuris Statue challenge?
- Yes, completing the statue challenge rewards you with a health upgrade, which is helpful in dealing with the numerous enemies in the catacombs.
4. Can I return to the catacombs after completing the quest?
- Yes, you can revisit the catacombs if you wish, but all main objectives must be completed in one playthrough for the quest to count as completed.
5. Is there a recommended level for attempting this quest?
- The catacombs are challenging, so it’s best to attempt this quest after leveling up adequately and having decent gear.


