Dragon Age: The Veilguard Guide: How to Open the Warden Vault & Claim Rare Rewards
Key Takeaways:
- Mastering Puzzle Mechanics: This guide breaks down each puzzle and how to solve it, from activating torches to tracking ghostly spirits.
- Efficient Path to the Vault: Step-by-step directions help you navigate the Warden Castle efficiently, saving time and avoiding unnecessary battles.
- Unlocking High-Value Rewards: Completing the Warden Vault quest grants unique gear, valuable items, and bonus experience points.
In Dragon Age: The Veilguard, one of the game’s most rewarding quests is unlocking the elusive Warden Vault, a hidden cache filled with treasure and valuable items. To gain access to this vault, players must solve three intricate puzzles within Warden Castle in Rivain, each unlocking a seal necessary to open the final door. Here’s your ultimate guide to successfully navigating this side quest, solving each puzzle, and claiming the coveted rewards.

Getting Started with the Warden Vault Quest
To start this quest, head to Rivain and locate Warden Castle, where you’ll tackle three distinct puzzles to unlock the vault. Each puzzle reveals a Grey Warden seal activating all three seals will grant you access to the vault’s contents. You’ll find the vault beneath the main hall’s floor, which is accessible via a staircase on the west side of the hall. Be prepared to encounter various obstacles, from blockades to enemies, as you work through each puzzle.
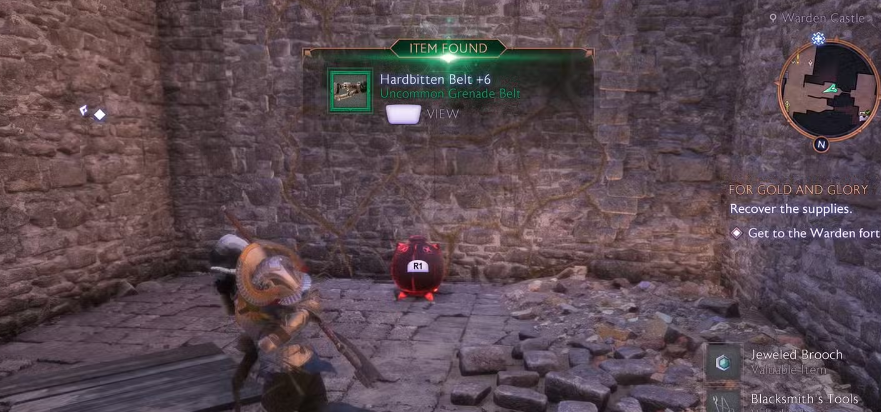
Puzzle 1: Breaking the First Lock
The first puzzle involves igniting specific items and interacting with hidden torches.
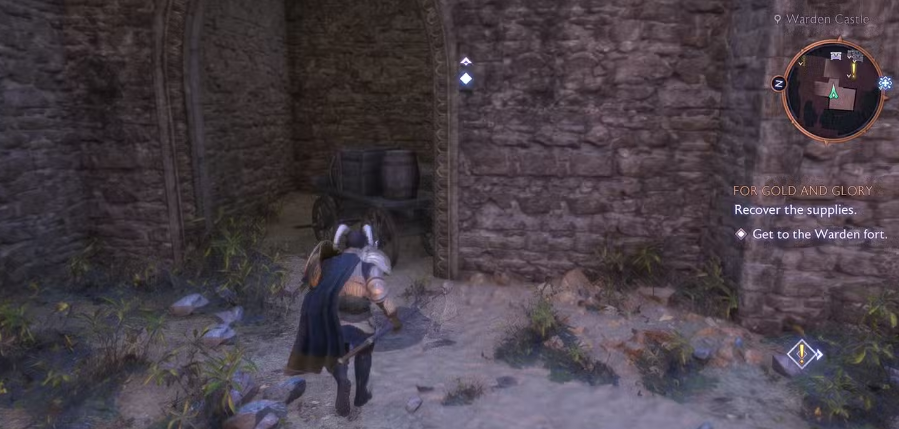
Steps to Complete the First Puzzle
- Start at the Fast Travel Beacon: From the beacon, move to the right and go through a small archway until you reach a cracked stone wall with a Gaatlok Barrel nearby.
- Ignite the Barrel: Use either the Lyrium Dagger or Taash’s fire ability to explode the barrel, clearing a path through the wall.
- Find the Torch Room: Continue forward and turn left through a tall archway, entering a room filled with barrels and boxes. Destroy these to reveal three Grey Warden crests with unlit torches.
- Light the Torches in Order: Activate the torches in the sequence of middle, right, left. This opens up the next part of the puzzle.
- Access the First Seal: Head up the stairs, then to the left until you reach a castle wall with a door on the right. Go through it, knock down the ladder, and pull the lever to open a gate. The first Warden seal awaits on the other side activate it to unlock the first lock.
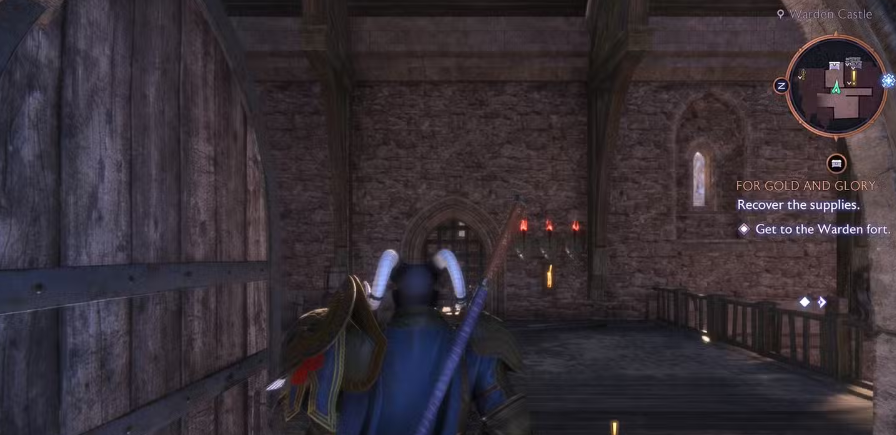
Puzzle 2: Solving the Ghost Puzzle for the Second Lock
This ghostly puzzle leads you to a sequence of apparitions, each guiding you closer to the second seal.
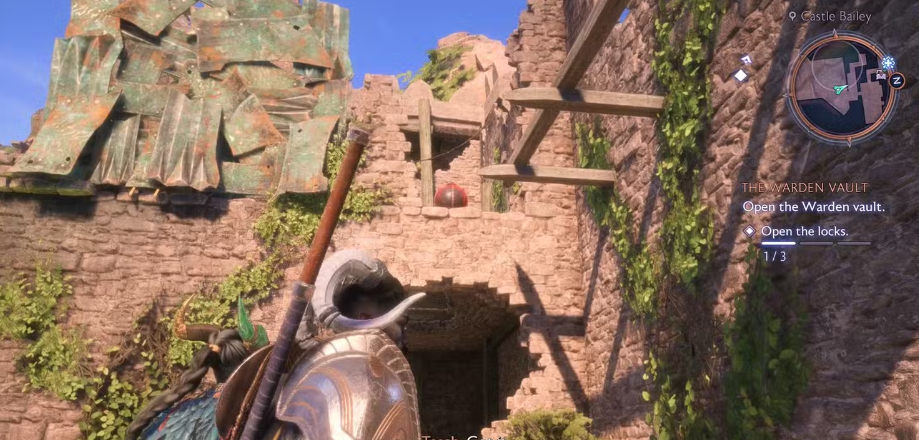
Steps to Complete the Second Puzzle
- Head to the Main Hall: Jump down to the main hall and head south. Engage any enemies you encounter.
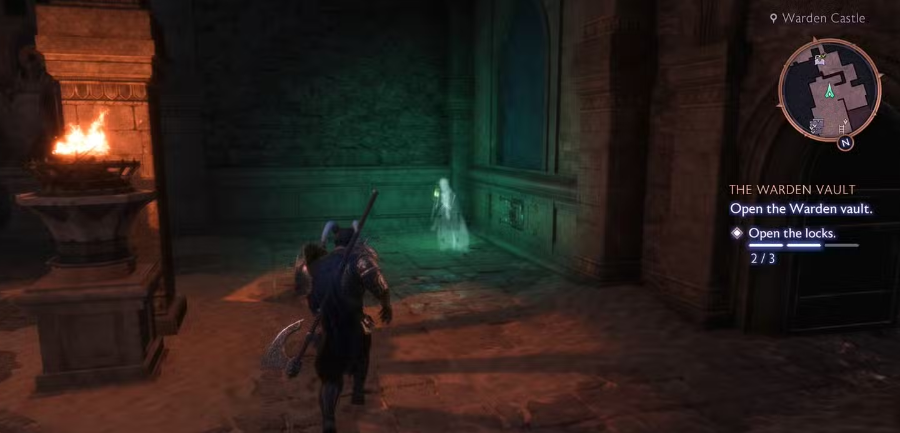
- Locate the Skeleton: Enter a room on the right with a skeleton surrounded by green butterflies. Interact with it to summon a ghost that will float through a nearby wall.
- Follow the Ghost: Return to the main hall, go up a ladder, and continue down the stairs on the left. You’ll find another skeleton in a corner.
- Trigger the Ghost’s Path: Interact with the skeleton again to make it move. Follow it down more stairs, then north and to the right.
- Unlock the Second Seal Room: Interact with the ghost near the statue at the main entrance. This will open a room with a lever pull it to unlock the second lock of the Warden Vault.
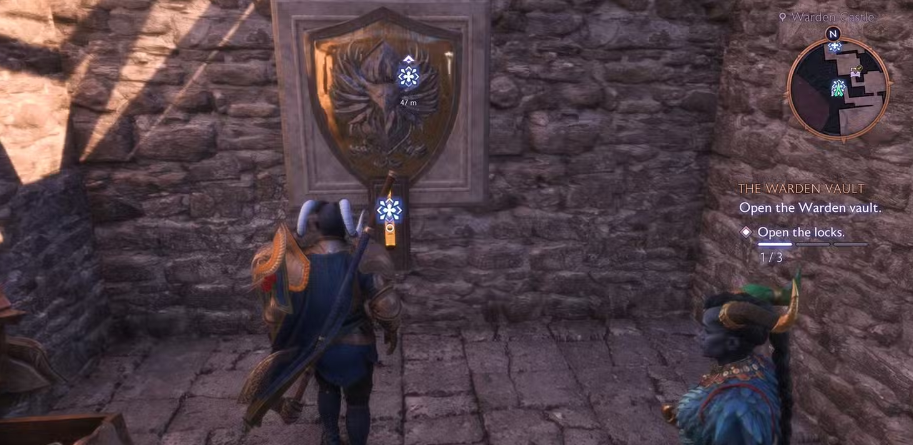
Puzzle 3: Finding the Wisp for the Third Lock
The third puzzle combines wisp collection and combat as you work through Warden Castle’s corridors.
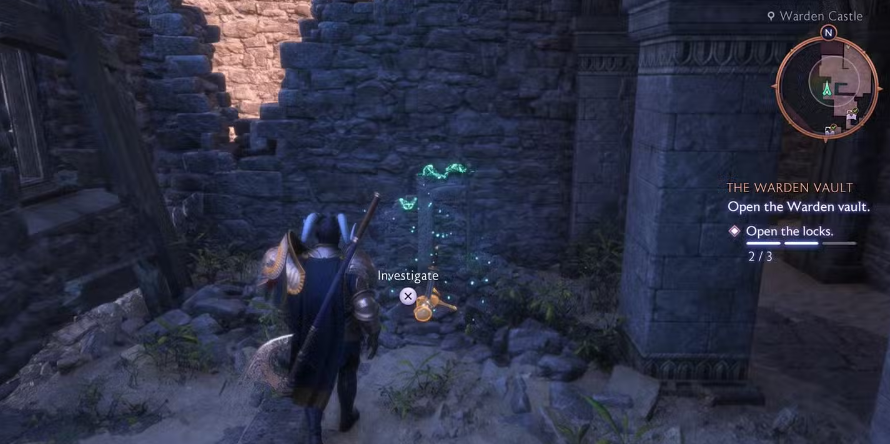
Steps to Complete the Third Puzzle
- Return to the Starting Point of the Ghost Puzzle: Move south from there until you find a hallway leading to an open area filled with Antaam. Clear out any enemies in your way.
- Locate and Detonate the Pot: Stand behind the statue overlooking the courtyard and use Taash’s ability to explode a nearby pot, which knocks down a ladder.
- Retrieve the Drakestone: Head to the right and immediately turn left to find blistering drakestone. Melt it with Taash’s fire to clear a path.
- Collect the Wisp: Ascend the ladder you just knocked down to find a wisp. Take the wisp back down and carry it to the skeleton in the hall, where you can interact with a lever to unlock the final lock of the vault.
Entering the Warden Vault: Claim Your Rewards
Once all three seals are activated, the Warden Vault will open. Inside, you’ll find several treasure chests, each containing rewards and valuable items for your efforts.
Warden Vault Rewards:
- Experience Points: 500 XP, boosting your character’s level.
- Follower Bond Increase: A reward enhancing your bond with followers.
- Strength Enhancements: Gain +50 Grey Warden Strength and +100 Lords of Fortune Strength.
- Power Boosts: An increase of +50 Caretaker Power.
- Rare Materials: Obtain 4 Etheric Remnants and Vhenadahl’s Tears (a rare material).
- Gold: 399 gold pieces.
- Unique Gear: Receive the Crookytail’s Rest ring and Trussed Finery armor for Taash.
- Rook’s Warrior Armor: Weisshaupt’s Wall armor for Rook is a rare find within the vault.
Each of these items offers unique enhancements, making this questline well worth the effort for those who want to maximize their characters’ strength and inventory.
FAQ: Frequently Asked Questions
Q1: Where do I start the Warden Vault quest? To begin the Warden Vault quest, travel to Warden Castle in Rivain. This castle serves as the main location for all three puzzles required to unlock the vault.
Q2: Do I need specific abilities or characters to complete the puzzles? Yes, certain abilities like Taash’s fire skill are essential for progressing through blocked paths. Additionally, having Rook in your party helps, especially when interacting with some areas requiring warrior abilities.
Q3: What’s the best way to approach each puzzle? To save time, follow the steps in this guide closely. Each puzzle follows a specific sequence, with the first requiring torch activation, the second involving ghost tracking, and the third focused on gathering a wisp.
Q4: Are there any enemies I need to prepare for in the castle? Yes, throughout Warden Castle, you’ll encounter various enemies, particularly near the second and third puzzles. Be prepared for combat by equipping high-damage weapons and keeping your health potions stocked.
Q5: What’s the total reward for unlocking the Warden Vault? Completing this quest rewards you with multiple valuable items, experience points, and unique armor pieces for your characters. Additionally, it grants you rare materials and a notable increase in character stats, making this one of the most rewarding side quests in Dragon Age: The Veilguard.


