Horizon Zero Dawn Remastered: The Grave-Hoard Walkthrough
Key Takeaways:
- The Grave-Hoard quest uncovers significant insights into Project: Zero Dawn, deepening Aloy’s understanding of the world’s history.
- To proceed, players must solve challenging holo lock puzzles to unlock pathways and restore power to locked doors.
- Strategy is crucial in combat, especially when facing tough enemies like Eclipse cultists and a mobile Deathbringer.

In Horizon Zero Dawn Remastered, Aloy’s journey takes her to The Grave-Hoard, an underground facility teeming with clues about Project: Zero Dawn. This guide walks you through the main elements of The Grave-Hoard quest, including exploration tips, puzzle solutions, and combat strategies. Be prepared for spoilers as you dig into Aloy’s discoveries and unlock the secrets of Horizon’s ancient world.
Journey to the Grave-Hoard
After completing Maker’s End, Aloy’s next step is The Grave-Hoard, located far north of Mother’s Crown, near the region featured in The Frozen Wilds DLC. On the way, you’ll encounter Shell-Walkers and a Watcher; you can engage them for supplies or stealthily avoid confrontation. The path becomes more dangerous as you approach the entrance, where a group of Eclipse guards waits.

Upon defeating these guards, move up the path toward the ruins. Look for a hole in the ground south of a campfire. Here, you’ll find a couple of guards and a Corrupted Watcher that stand in your way. Dispatch them, then take the zipline to descend into the depths of The Grave-Hoard.

Restoring Power to the Bunker Door
Inside the ruins, explore thoroughly to collect valuable datapoints left behind. As you proceed, a second zipline leads you down to a locked bunker door that needs power. To restore it, head left and continue into a spacious chamber filled with holo lock terminals four on the upper level and eight below.

Solving the First Holo Lock Puzzle
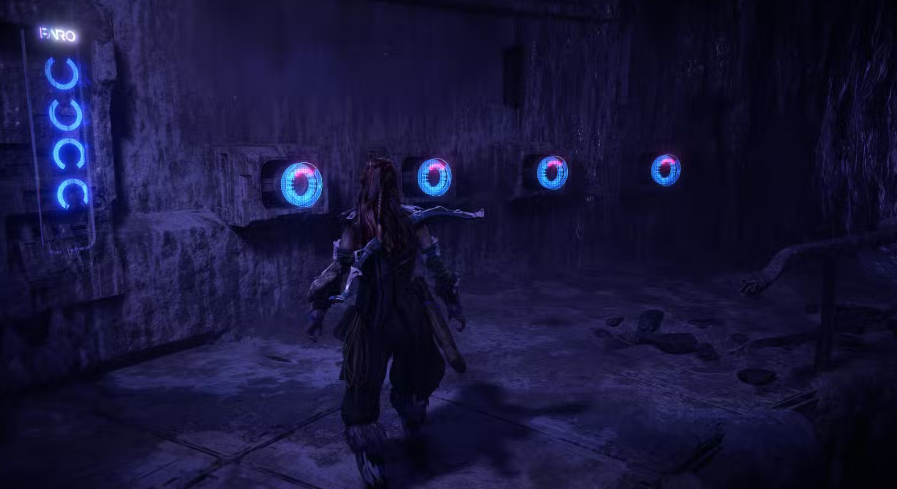
The first set of holo locks is straightforward. On the left terminal, a display shows the required positions for the locks. Adjust them to have the red marker positioned in this sequence: Up, Up, Down, Down. The locks will light up in blue once correctly aligned.

Solving the Second Holo Lock Puzzle
The second puzzle on the lower level requires some clever thinking. A nearby audio datapoint provides a cryptic hint: “Bird flies north in summer, east in spring, west in fall, and south in winter.” Here’s the solution for each lock position, left to right: Up, Right, Left, Down.
Solving the Third Holo Lock Puzzle
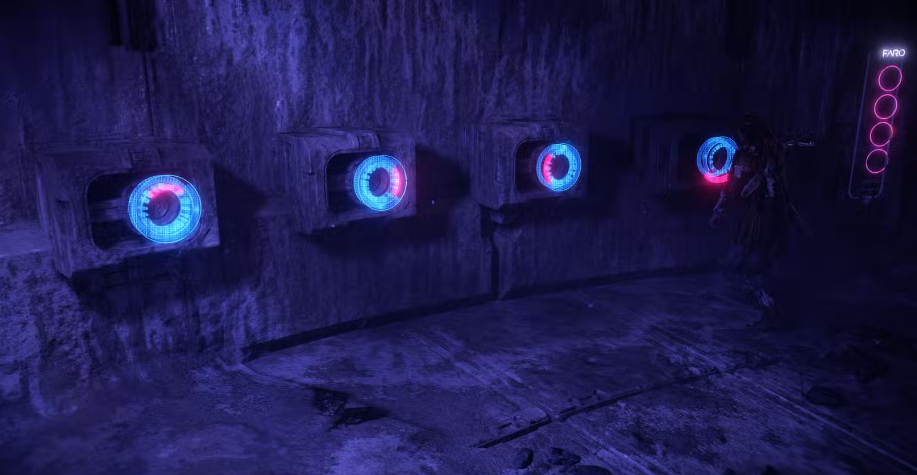
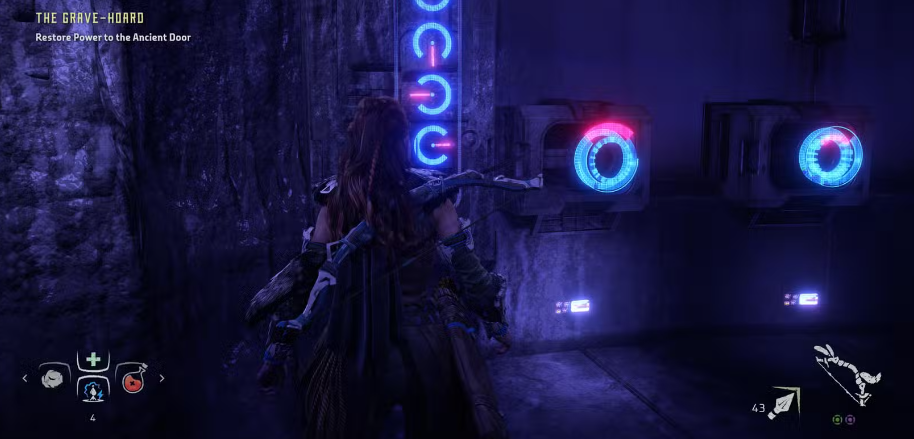
On the upper level, you’ll find the third set of holo locks. The terminal displays the correct positions: Up, Down, Left, Right. After correctly configuring all three sets, power will be restored to the bunker door, allowing you to continue.
Exploring the Depths of The Grave-Hoard
Beyond the unlocked door, you’ll encounter another significant item: one of the power cells needed to obtain the Shield Weaver armour. You’ll also face more Eclipse cultists and a Corrupted Watcher. Use stealth to eliminate enemies one by one, if possible, as one of the cultists wields a Deathbringer Gun a powerful weapon that can complicate direct combat.

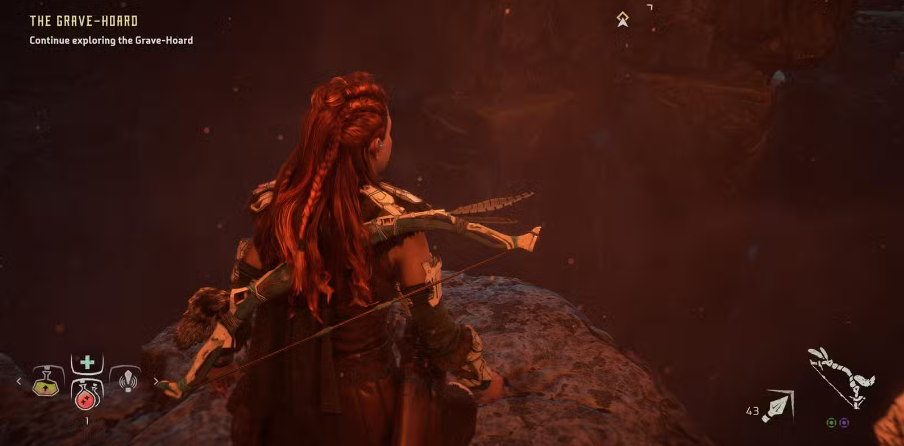
When the enemies are cleared, navigate across the walkway and leap to the adjacent ledge. On the left, find a climbable rock wall; ascend carefully, then proceed to an area lit by daylight filtering in. You’ll encounter a split path here: one route leads to a room with additional datapoints, while the other takes you closer to your objective. Collect the datapoints before advancing.
Facing the Mobile Deathbringer
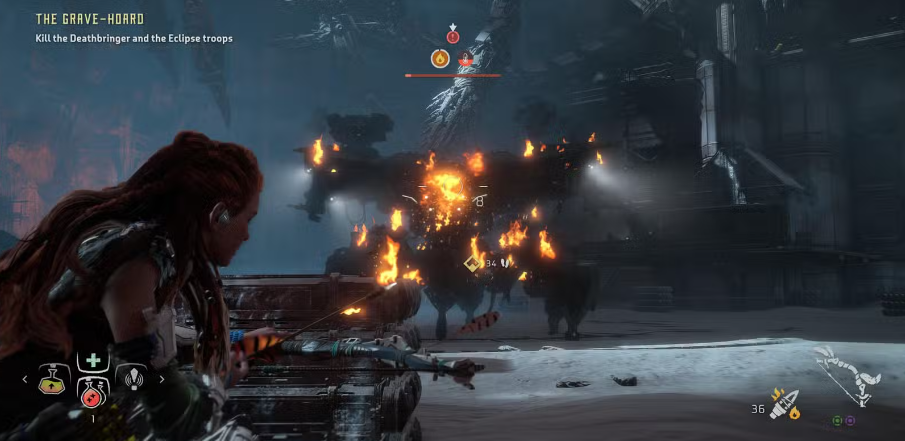
Your next big challenge is a mobile Deathbringer unit, accompanied by five Eclipse cultists. Head around the platform and rappel down, but be mindful of the Deathbringer’s line of sight; its attacks are relentless and powerful. Stealthily eliminate the nearby cultist, then focus on setting the Deathbringer aflame with Fire Arrows. Utilize cover, keep moving, and watch out for any remaining Eclipse cultists.
Unlocking the War Room
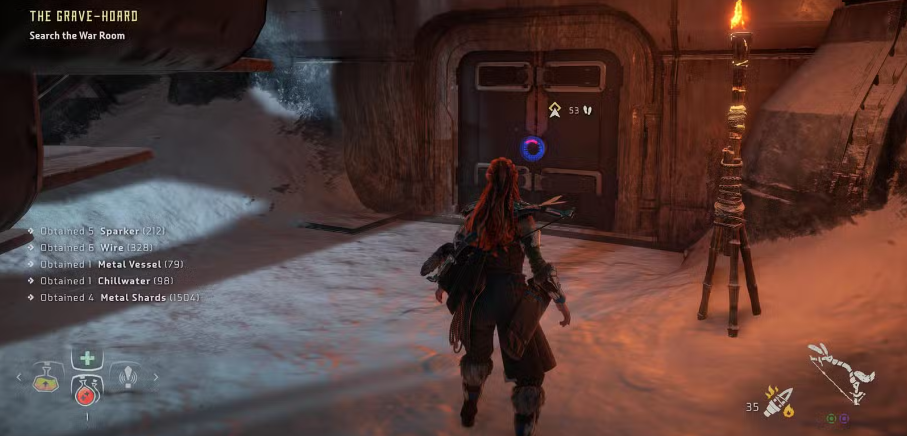
After defeating the Deathbringer, head through the door beneath the stairs. Navigate the hallways until you reach the War Room, where a holo projector reveals a crucial video about Project: Zero Dawn. After the video finishes, a door will open, leading to a ladder. Climb up to emerge back outside, marking the completion of The Grave-Hoard quest.
FAQs
Q: What is the significance of the holo lock puzzles? A: The holo lock puzzles are integral to progressing through The Grave-Hoard, unlocking doors and allowing Aloy to explore the facility’s secrets related to Project: Zero Dawn.
Q: How do I find all the datapoints in The Grave-Hoard? A: As you explore, be thorough and examine all rooms, hallways, and bodies for datapoints. These contain valuable lore that enriches Aloy’s journey and adds context to the storyline.
Q: Is there a strategy for fighting the Deathbringer? A: The best approach is to use Fire Arrows to exploit its weaknesses while staying mobile. Target its cooling vents and keep moving to avoid its attacks. Utilize cover and eliminate other enemies first if possible.
With this guide, you’re well-prepared to conquer The Grave-Hoard and uncover the mysteries of Horizon Zero Dawn Remastered.

