Horizon Zero Dawn Remastered: The War Chief’s Trail Walkthrough
Key Takeaways:
- Navigate Aloy’s quest to investigate the massacre site and hunt down cultists for justice.
- Discover side points of interest, essential items, and powerful gear that will enhance your journey.
- Tackle challenges strategically, using stealth or power to defeat enemies at the dig site.

Horizon Zero Dawn Remastered offers a thrilling adventure filled with breathtaking landscapes, ancient mysteries, and challenging quests. In The War Chief’s Trail, Aloy sets out on a mission to track down cultists responsible for a brutal attack during the Proving. This guide will take you through every step of the quest, from locating crucial sites to facing off against enemies at the dig site. Let’s dive in!
Starting the War-Chief’s Trail Quest
Up to this point, Aloy’s journey has been relatively straightforward, focusing on one main objective at a time. However, now you’ll have several tasks to tackle en route to Mother’s Crown. Aloy’s immediate objective in The War Chief’s Trail is to respond to the massacre of Nora braves. This quest requires sharp focus and a keen understanding of the dangers that lie ahead.
Heading to the Massacre Site
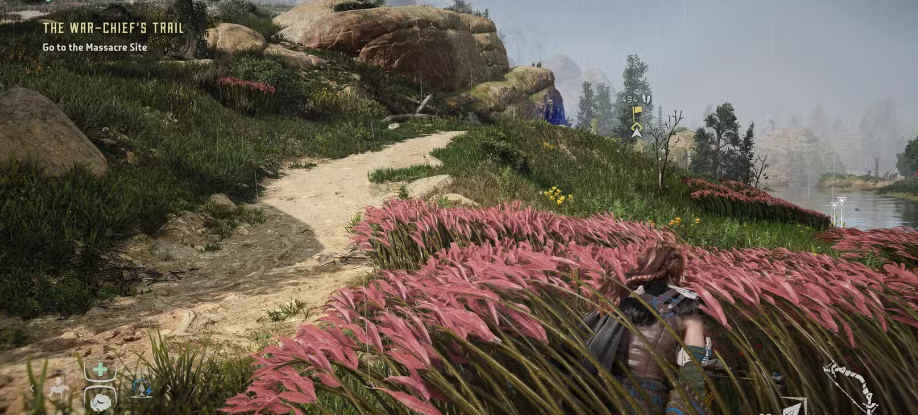
To begin, make your way from the gate where you met Varl. A trail will lead you toward the Massacre Site. If you’re missing your Strider, there’s a nearby Strider site north of the Main Embrace Gate, so you can get a new mount if needed. Stock up on resources like Ridge-Wood and herbs for healing; keeping a good supply will make the journey much smoother.
Key Points of Interest on the Way:
- Meet Nil: You’ll encounter a Carja named Nil who will give you the coordinates to a Bandit Camp, a side quest that rewards experience and loot.
- Tallneck at Devil’s Thirst: Tallnecks are towering machines that provide crucial map data. Climbing one at Devil’s Thirst can be beneficial for getting a lay of the land.
- Metal Flower and Bunker: Near the Tallneck, you’ll find an area with a Metal Flower and a Bunker housing the Shield Weaver armor. Although you won’t be able to access this armor yet, note the location for later.

As you proceed, you’ll encounter new machines, such as Scrappers with weak points on their backs and tails, and the powerful Sawtooth patrolling Devil’s Thirst. Use caution, especially when approaching the Grazer site, as these machines can quickly turn hostile.
Investigating the Massacre Site
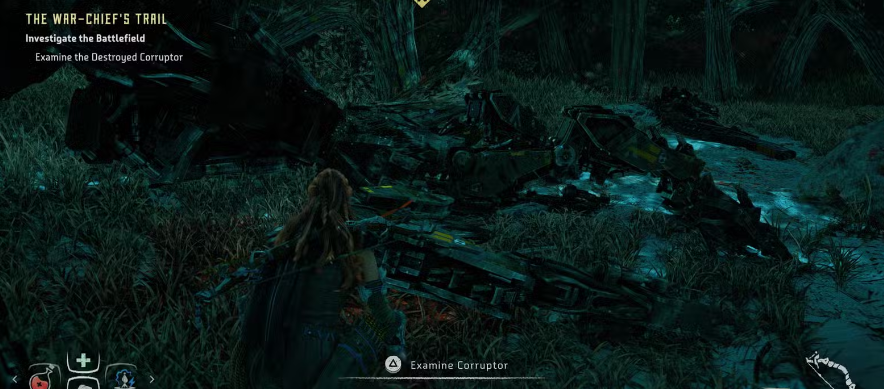
Upon arriving, use Aloy’s Focus ability to scan the destroyed machines for clues. Examine each one to collect information. During this investigation, a survivor will appear, providing you with a lead on where War Chief Sona was last seen.

Locating Sona’s Trail
Following the survivor’s tip, head southeast through Devil’s Thirst. Pass the metal tower and head up a rocky path to find an abandoned campsite. Here, use your Focus to examine items, including a campfire, bow, bandages, and arrowheads. After investigating, Aloy will hint at the presence of a blood trail, which you can follow using the Focus.
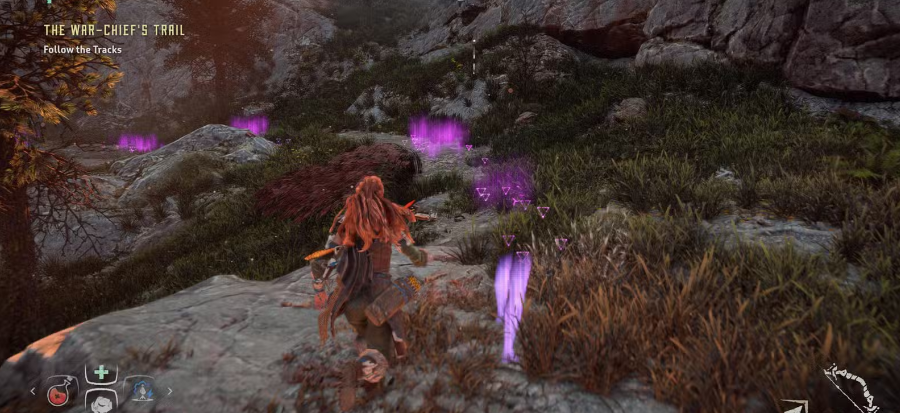
On the trail, be vigilant of corrupted Watchers patrolling the area. Eventually, this path leads you to a destroyed Sawtooth, triggering a cutscene as you get close.
Teaming Up with Sona
After locating Sona, follow her along a ridge where you’ll soon overlook a dig site with cultists and corrupted machines. The next part is all about strategy. Here are two approaches you can take to tackle the enemies:

- Stealth Approach: Carefully navigate the site, taking out enemies one by one without drawing attention. This approach is slower but allows for a quieter takedown.
- Direct Attack: Engage the enemies directly, potentially using Blaze barrels for explosive damage. If you’re detected, Sona and her allies will support you in the fight, providing valuable backup.
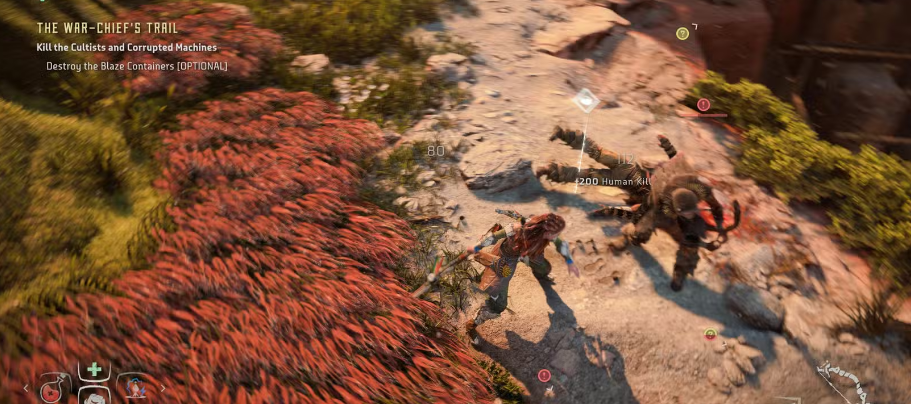
Clear all enemies in the area, then speak to Sona to continue the quest.
Investigating the Dig Site
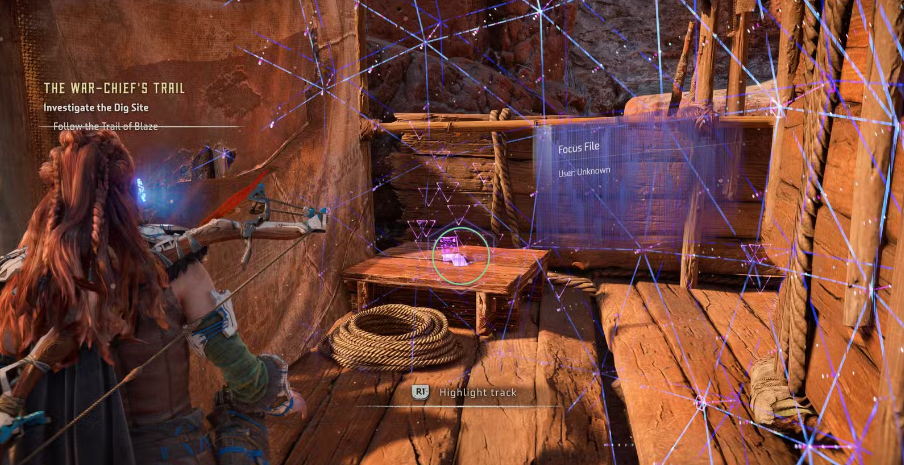
With enemies cleared out, activate your Focus and look for tracks in the area. Follow the trail into a tent, where you’ll find a Focus file on a table containing an audio message about a Blaze stockpile. Listen to the recording for critical information and return to Sona and Varl to complete this main quest.
FAQ
What rewards do I get for completing The War Chief’s Trail?
- Completing this quest grants experience points, items, and potentially new resources that will help in upcoming challenges.
Is it possible to find the Shield Weaver armor during this quest?
- You can locate the Bunker where the armor is kept, but it won’t be accessible until later in the game.
What’s the best strategy for fighting corrupted machines?
- Use fire-based attacks, as corrupted machines are particularly vulnerable to fire damage. Make sure to use your Focus to locate weak points.

