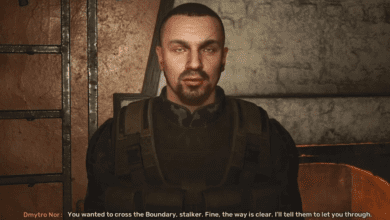
“Hot on the Trail” Mission in Stalker 2: Heart of Chornobyl – How to Locate Strider
3 Key Takeaways
- Understanding your choices during pivotal moments can greatly alter the mission’s progression, offering different challenges and outcomes.
- Preparation is vital: managing resources, understanding environmental hazards, and strategizing combat will make a significant difference.
- The “Hot on the Trail” mission leads to some of the game’s most thrilling moments, including encounters with mutated creatures and uncovering valuable loot.
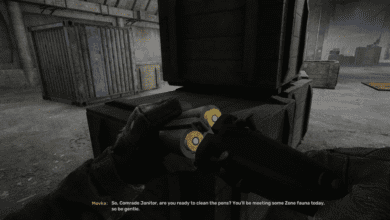
Stalker 2: Heart of Chornobyl immerses players in a hauntingly atmospheric, post-apocalyptic world, forcing them to make tough choices, engage in tactical combat, and navigate treacherous terrain. One of the standout missions, “Hot on the Trail,” is a thrilling journey through the Wild Lands as you search for Strider and uncover secrets along the way. This guide will walk you through every step, decision, and challenge, so you can emerge victorious and claim your rewards.
Starting in the Garbage Area
Before you dive into the Wild Lands, you’ll spend some time in the Garbage area, where your adventure begins with small tasks for Diode. This serves as a warm-up, introducing you to the game’s mechanics and environment. Once you complete these minor errands, you’ll meet an important NPC who will send you on a high-stakes assassination mission. From here, you’ll start progressing to more dangerous regions of the map.
Exploring the Wild Lands and Entering the Noontide Base
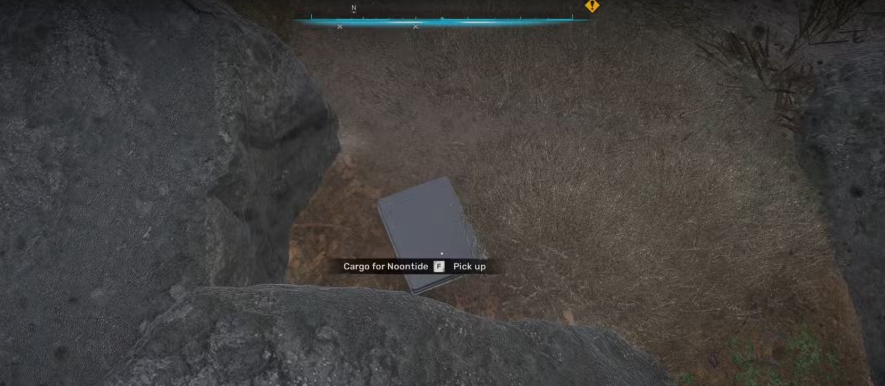
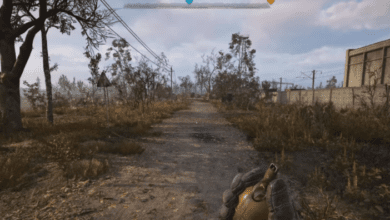
The Wild Lands, the third major area in Stalker 2, will test your survival skills with its sprawling terrain and unpredictable enemies. Your primary goal in this section is to infiltrate the Noontide Base as part of the “Hot on the Trail” quest. How you approach this depends on decisions you’ve made earlier in the game.
Routes Into the Base
- Show the Broken PDA to the Colonel: If you brought the broken PDA to the Colonel in Slag Heap, he’ll give you a Warden Badge. Present this badge at the Noontide Base’s gate, and you’ll gain easy access without bloodshed.
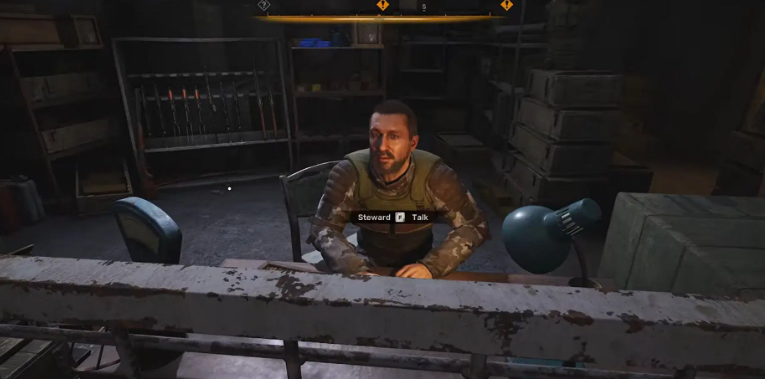
- Find the Cargo in the Heavy Burden Quest: If you skipped showing the PDA to the Colonel or showed it to Scar instead, you’ll receive the “Heavy Burden” quest, requiring you to find Noontide’s cargo.
Locating the Cargo
The cargo is marked on your map. Follow the blue marker to a location near some rocks by the water. Search the area to find a briefcase on the ground and a PDA on a dead body. Beware of lurking threats, as you’ll need to fend off three Bloodsucker mutants along the way. These creatures are tricky due to the tall grass and swampy terrain that can slow your movements. On top of that, watch for tripwires near the base triggering one will set off a grenade.
Inside the Noontide Base: Meeting Key Characters

Once you gain access to the Noontide Base, your next steps will vary slightly:
- With the Warden Badge: Speak with random NPCs to progress.
- With the Cargo: Deliver it to Professor Lodochka.
Either way, the story converges as you’re tasked with finding Dubny, a key figure in the mission.
Finding Dubny
To locate Dubny, head to the main base building, climb a flight of stairs, and take the first path on your left. Eventually, you’ll encounter a section with wooden planks leading into a hole. Follow this route to meet Dubny, who will provide instructions for the next phase: finding Strider.
Tracking Down Strider
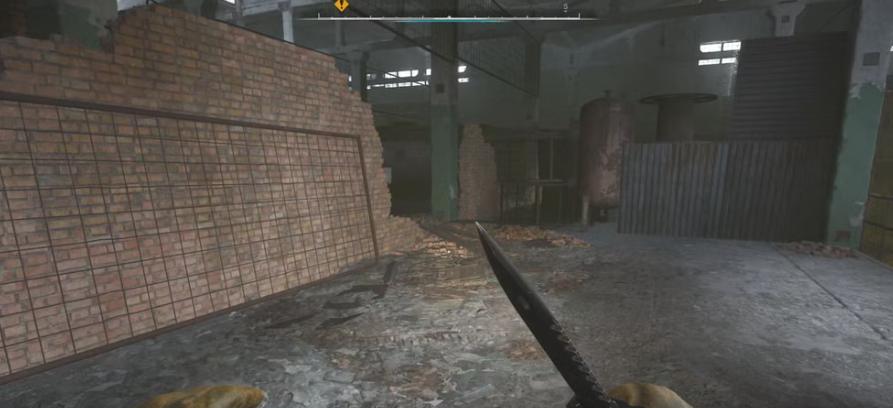
Strider is a critical character tied to the “Hot on the Trail” mission. You’ll find him in a hazardous area filled with obstacles, radiation, and enemies.
Steps to Locate Strider
- Return to the main base and follow the yellow quest marker.
- Enter a large area where injured guards rest near the entrance.
- From here:
- Move toward the far end of the area via the path to the left of a minivan.
- Skip the first gap in the wall on your left and enter the second one.
- Proceed through a small fence gap, crouch through cylinders, and move past hollow boxes on the ground.
- Continue forward through the room with acid fumes, then navigate past wooden platforms through the train area.
When you reach Strider, show him the PDA. He will instruct you to speak with Lodochka again, who will direct you to the WPS building for the final part of the mission.

The WPS Building: Surviving the Underground Area
The WPS building is a dangerous hotspot, where mutants, zombies, and environmental hazards await.
Entering the WPS
- When you approach the WPS, you’ll receive a radio update instructing you to talk to survivors. Find them in a small building near the entrance.
- Speak with the survivors to learn about a mutant breach in the facility and the need to retrieve a key from the rooftop.

Retrieving the Key
- Head to the smaller building with staircases and ladders leading upward.
- Look for a broken floor that allows you to jump onto a container, then climb further.
- Fight through zombie enemies along the way.
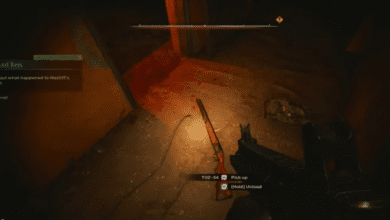
- On the rooftop, locate a corpse lying on red pipes to collect the key.
With the key in hand, you can open North’s cabin (found near the container) for additional loot before heading to the underground area.
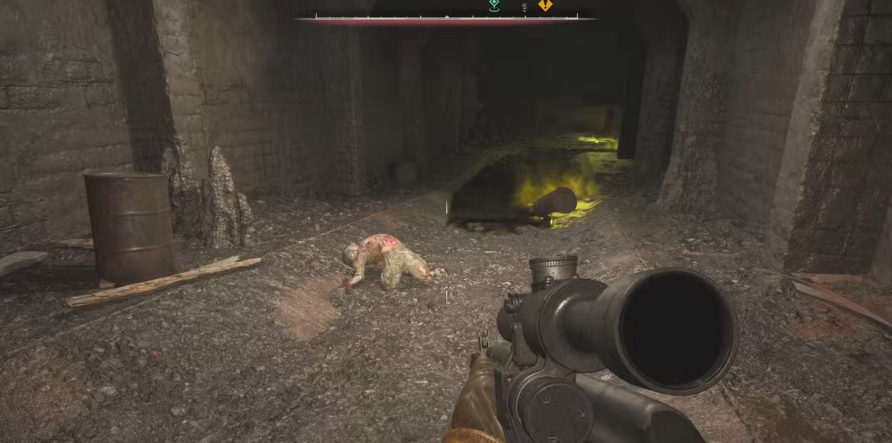
Facing the PSI Mutant and Finding the Monolith Stash
Navigating the Basement
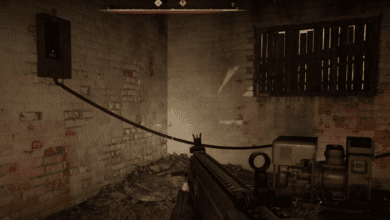
The basement area in the WPS is a labyrinth of acid-filled sewers, tight spaces, and enemies. Follow the marker, climb ladders, and push through waves of foes until you reach the boiler room for the boss fight.
The PSI Mutant Boss Fight
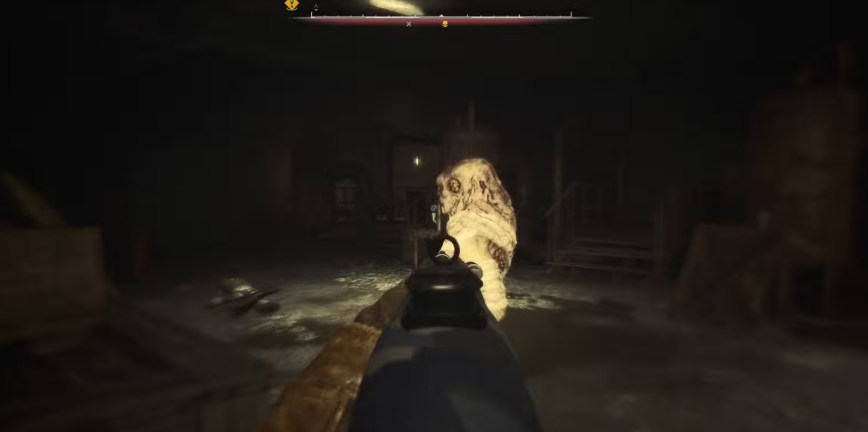
This battle is among the toughest in the game. The PSI mutant not only spawns zombies but also emits PSI radiation, which steadily drains your health and disorients your vision.
Tips for Success:
- Hide behind objects when the mutant turns toward you, then unload bullets in short bursts.
- Use a shotgun for close-range attacks and a scoped weapon for dealing with the zombies.
- Keep plenty of anti-radiation pills and medkits on hand.
Once you defeat the mutant, search the area for the Inductor and PSI radiation pills. You’ll also find the Monolith Stash nearby. Unfortunately, the stash has been looted, but you’ll still recover guns and ammo.
Concluding the Mission
Return to Strider with the Inductor to complete the mission. If you also accepted the “Shift Change” side quest, you’ll need to fight through Hog and his allies on your way out.
After handing over the Inductor, you’ll receive a Lynx sniper rifle and 2,699 Coupons as your reward.
FAQs
How do I survive radiation in Stalker 2?
Always carry Anti-Rad pills or injectors. Avoid standing in highly radiated areas for too long, and use protective gear to minimize exposure.
What weapons are best for the PSI mutant boss?
A combination of a shotgun (for close-range bursts) and a scoped rifle (to pick off zombie enemies from a distance) works best.
Are there alternate ways to complete the “Hot on the Trail” mission?
Yes, depending on how you handle the broken PDA and your interactions with NPCs like the Colonel or Scar, your route into the Noontide Base and subsequent tasks may change.
Can I revisit the Monolith Stash later in the game?
Yes, but the stash remains looted, and its contents will not replenish.
