How to Complete Informed Means Armed in Escape from Tarkov: Full Quest Guide
Key Takeaways:
- Informed Means Armed is a tactical camera-placement quest that involves high-traffic areas and potential encounters with powerful NPCs.
- Wi-Fi Cameras must be placed in precise locations on Woods, Customs, and Interchange, requiring stealth and patience.
- Completing the quest rewards players with valuable items and increases Skier reputation, which is essential for unlocking further tasks and items.
Escape from Tarkov’s Informed Means Armed Quest Guide
In Escape from Tarkov, the mission “Informed Means Armed” might appear simple compared to the grueling early quests of the game, but it requires strategic planning and patience. Given by the trader Skier, this task challenges players to plant three Wi-Fi Cameras on three different maps. The objective is to install these cameras at Woods, Customs, and Interchange. This guide will walk you through each location with strategies for completing each objective smoothly.
Understanding Informed Means Armed and Preparations
Before diving into the location-specific details, players should understand the task requirements and ensure they are well-prepared:
- Quest Level Requirement: Players must reach at least Level 24 to begin this quest.
- Purchase of Wi-Fi Cameras: Wi-Fi Cameras for this quest can be purchased from the Mechanic at Loyalty Level 1.
- General Advice: Each location is frequented by other players and NPCs, so it’s advised to approach stealthily or with backup if possible.
1. Planting the Wi-Fi Camera at Woods – Sawmill Dock
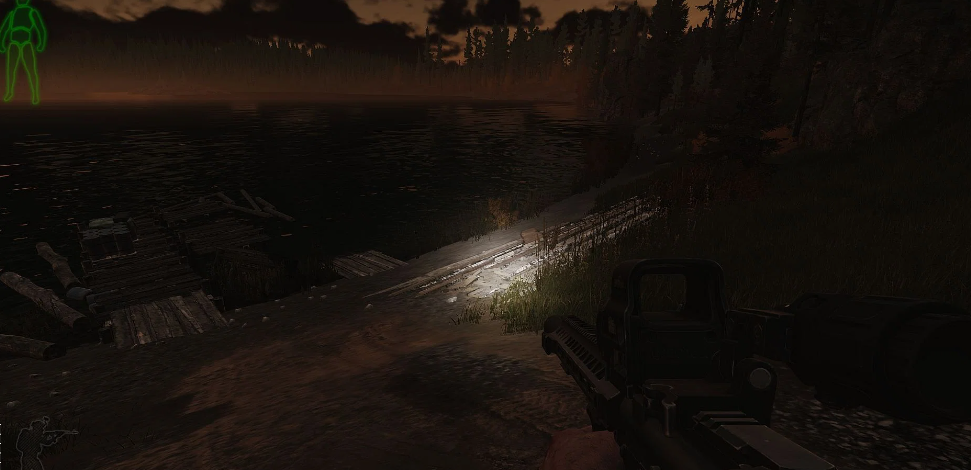
The first Wi-Fi Camera must be planted at the dock in Woods. This location is perilous due to the frequent presence of Shturman, a powerful Scav boss known for his lethal aim and aggressive tactics.
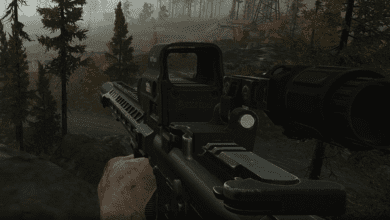
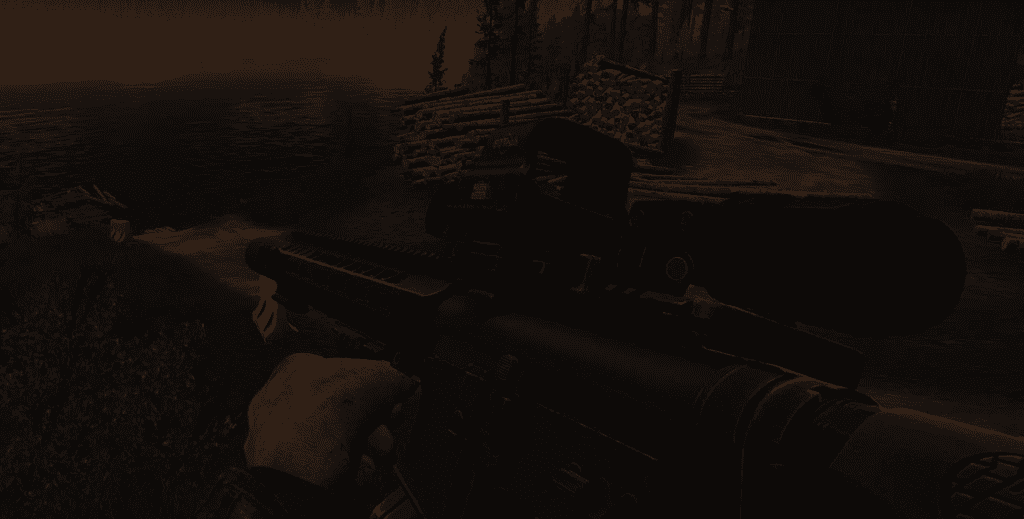
- Location Details: Head to the Sawmill, a central point in Woods that overlooks a lake. The dock area you’re looking for is near the wooden planks by the shore, familiar to players who have completed Ragman’s “Gratitude” quest.
- Camera Placement: Approach the pile of wooden planks located right before the dock. Once there, a prompt will appear to plant the Wi-Fi Camera. The planting process takes 20 seconds, so you must remain stationary and vigilant.
- Tips for Survival: Keep an eye out for Shturman and his guards, as they tend to patrol around the Sawmill. Try to time your planting when the area is less populated by enemies, or bring a friend to help clear the area and keep watch.
2. Installing the Wi-Fi Camera on Customs – Road to Port
Next, head over to Customs, where you will install the Wi-Fi Camera near a specific container setup on the map.
- Location Details: The designated spot is on the road between the Smuggler’s Boat extraction and the Sniper Roadblock. Look for the blue storage containers along this road as a landmark.
- Camera Placement: Find the small bush beside the blue container and crouch inside it to place the camera. It’s critical to be in the right position; otherwise, the prompt might not appear.
- Survival Tips: The Sniper Roadblock is often patrolled by player Scavs and other enemies. Approach carefully, ideally when traffic is low or early in the raid, and avoid drawing attention.
3. Installing the Wi-Fi Camera on Interchange – Kiba Arms Shop Entrance
The third and final Wi-Fi Camera location is in the Interchange mall, at the entrance of the Kiba Arms shop, which is notorious for player activity and potential conflict with the Killa boss NPC.
- Location Details: Enter the ULTRA shopping mall, navigate through the first floor toward the Kiba Arms store. Brutal Shop is located across from Kiba, adjacent to popular locations like Mantis and German.
- Camera Placement: Head to the Brutal Shop and locate a wooden ramp that overlooks the Kiba entrance. Stand on the ramp, and you should see the prompt to plant the Wi-Fi Camera. This will take 20 seconds to complete.
- Survival Tips: The mall is a hotspot for PvP encounters, particularly around the Kiba Arms store. Killa, a Scav boss, may spawn in the area, so proceed with caution. Try planting the camera after scouting the area or waiting until other players have moved on to reduce the risk of an encounter.
Quest Completion Rewards
Once you’ve successfully planted all three Wi-Fi Cameras, return to Skier to claim your rewards. Completing Informed Means Armed in Escape from Tarkov provides you with the following:
- Experience Points: 14,000 EXP
- Skier Reputation: +0.05
- Roubles: 45,000 (increased to 47,250 with Intelligence Center Level 2 and 51,750 with Intelligence Center Level 3)
- Equipment:
- 2x AKM/AK-74 UAS stock
- 4x AK CNC 5.56×45 muzzle adapters
- 1x EOTech Vudu riflescope
These rewards are not only valuable for progression but also useful for weapon customization and future quests.
Additional Tips for the Informed Means Armed Quest
- Be Patient and Strategic: Each of these locations is high-traffic, and engaging enemies is likely, especially on Interchange. Avoid rush times when players are likely to be moving through these areas, or bring a buddy to provide cover.
- Use Backup Gear: Since these camera placements occur in dangerous areas, bring only the essential items to avoid major losses if you’re killed in action.
- Levelling Up Skier: Completing tasks like Informed Means Armed helps raise your Skier loyalty, which is essential for accessing better gear and higher-level quests.
FAQs
What level do I need to be to start the Informed Means Armed quest?
- You need to be Level 24 to unlock this quest from Skier.
Where do I buy the Wi-Fi Cameras for this quest?
- Wi-Fi Cameras can be purchased from the Mechanic at Loyalty Level 1.
Are the camera placements permanent, or can they be disrupted?
- The camera placements can be interrupted if you move during the planting process or if you’re attacked. Remain still for the 20-second duration to ensure each camera is planted successfully.
Can I complete this quest solo, or is it better with a team?
- While solo completion is possible, bringing a teammate for cover is helpful, especially for the Interchange location where PvP encounters are common.
What’s the best strategy to avoid Shturman and Killa while completing this quest?
- Try planting cameras early in the raid before NPCs spawn or become active. For Interchange, monitor Killa’s usual spawn spots to avoid him or time your entry into Brutal Shop when there’s a lull in activity.
Completing the Informed Means Armed quest opens up more options with Skier, providing players with a greater selection of missions and gear. Approach each camera site with caution and plan ahead, and you’ll successfully complete one of Escape from Tarkov’s trickier tasks.

