How to Find All Six Orbs in Dragon Quest 3 Remake: Detailed Guide
Key Takeaways:
- Discover the key steps to find and acquire all six orbs, essential for progressing through Dragon Quest III HD-2D Remake.
- Prepare for challenging boss fights and utilize the Echo Flute and Ultimate Key to make your quest more efficient.
- Learn effective strategies and approaches to tackle each orb’s unique challenge, ensuring your success as you journey to awaken Ramia.
In the sprawling world of Dragon Quest III HD-2D Remake, exploring is both rewarding and essential to completing your quest. One of the game’s pivotal moments arrives when you acquire a ship, allowing you to explore previously inaccessible parts of the world. At this stage, the hero must gather six powerful orbs, each hidden in a different corner of the realm, and each with its own obstacles and bosses guarding it. Here’s your comprehensive guide to finding every orb, facing challenging bosses, and ultimately awakening Ramia to reach Baramos.
1. Preparing for the Orb Hunt
Before diving into each orb’s location, it’s important to gather a few helpful items: the Ultimate Key and the Echo Flute. The Ultimate Key allows access to locked areas where orbs are hidden, and the Echo Flute helps identify if an orb is nearby, speeding up your search. Once you have these, you can start hunting for orbs in any order.
2. The Green Orb: Jailbreak in Theddon
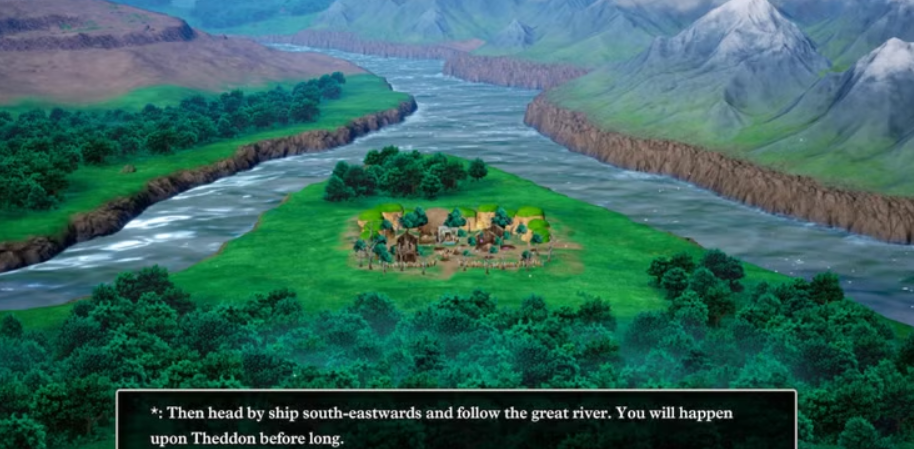
Location: Theddon’s jail at night
Requirements: Ultimate Key
Boss Fight: Dying Fire & Phantasms
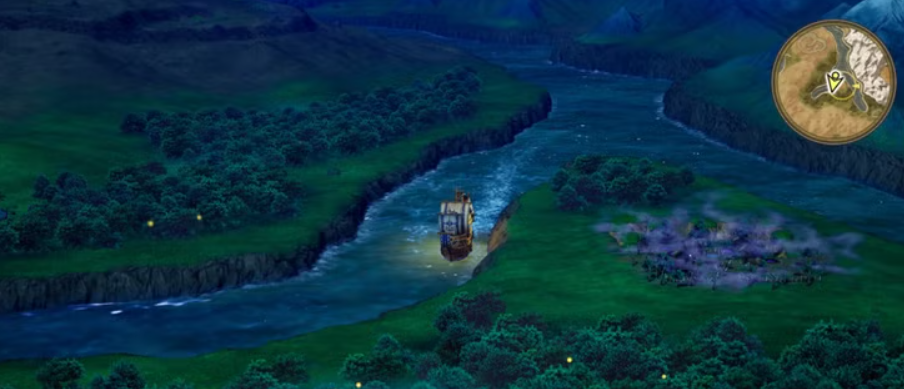
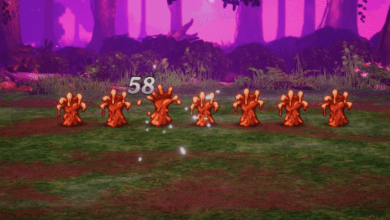
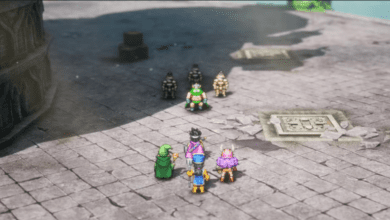
Head to Theddon, a lively town at night. The Green Orb is hidden in a jail cell where a mysterious prisoner is kept. During the day, you can observe the jail layout, but at night, guards block access to the prisoner. Use the Ultimate Key to unlock the cell door, and prepare for a battle against three Dying Fires and three Phantasms.
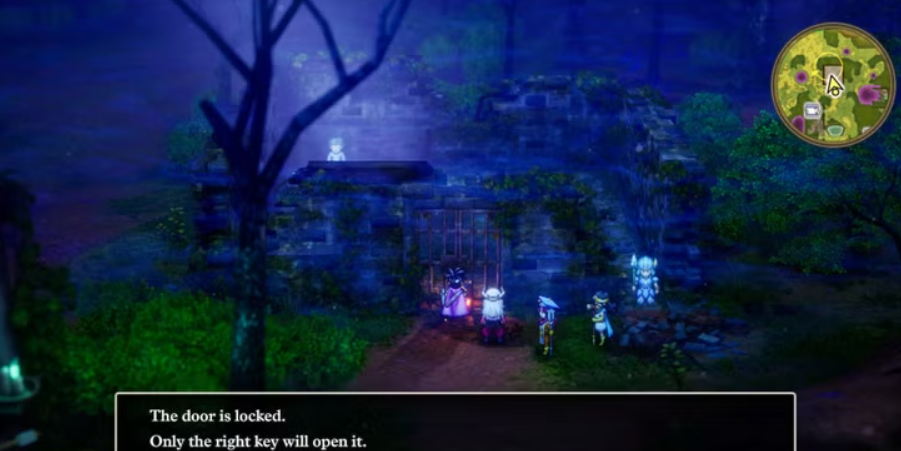
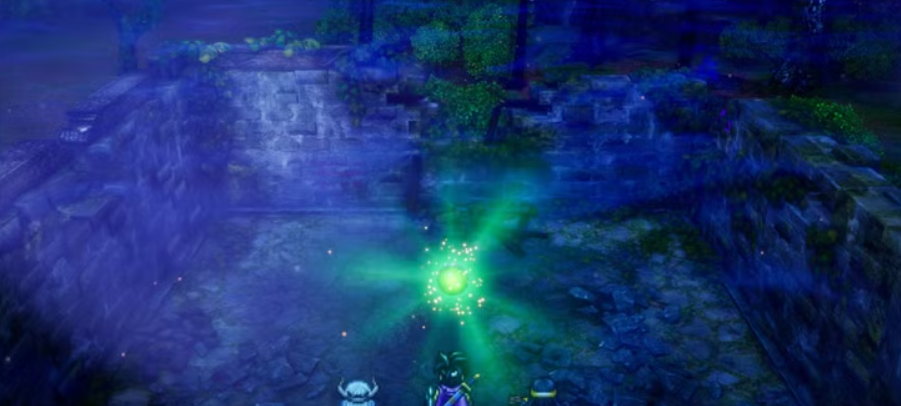
Strategy: Dying Fires can summon additional enemies, making this fight potentially long and draining. Prioritize Magic Barrier to reduce spell damage, and focus on healing. Take out the Dying Fires first to limit reinforcements, and once you’ve cleared them, the Green Orb will be yours.

3. The Blue Orb: Trial of the Hero in Lanson
Location: Gaia’s Naval near Lanson
Requirements: Solo trial with Hero, Ultimate Key
Boss Fight: Chiromancer and Mad Vlad
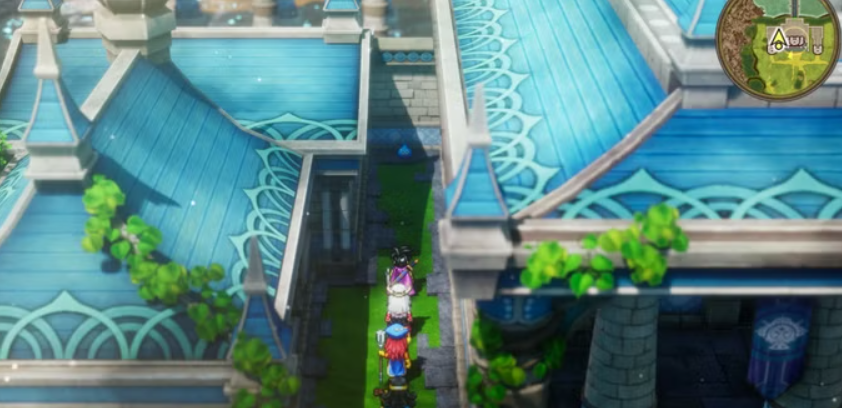
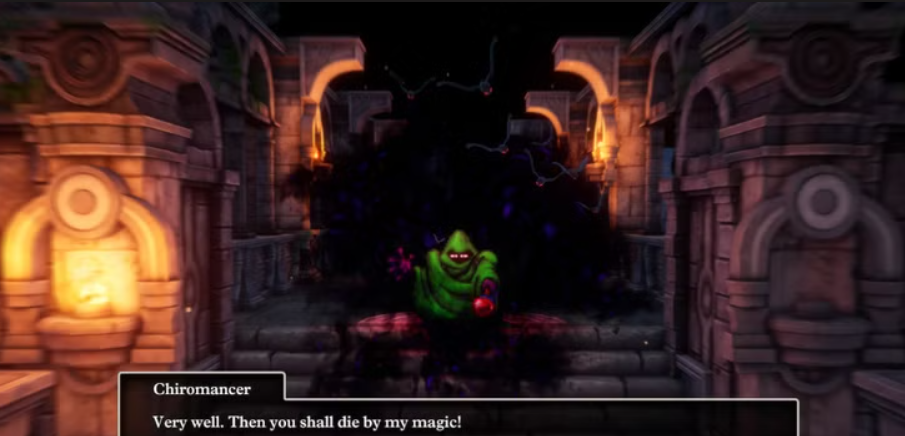
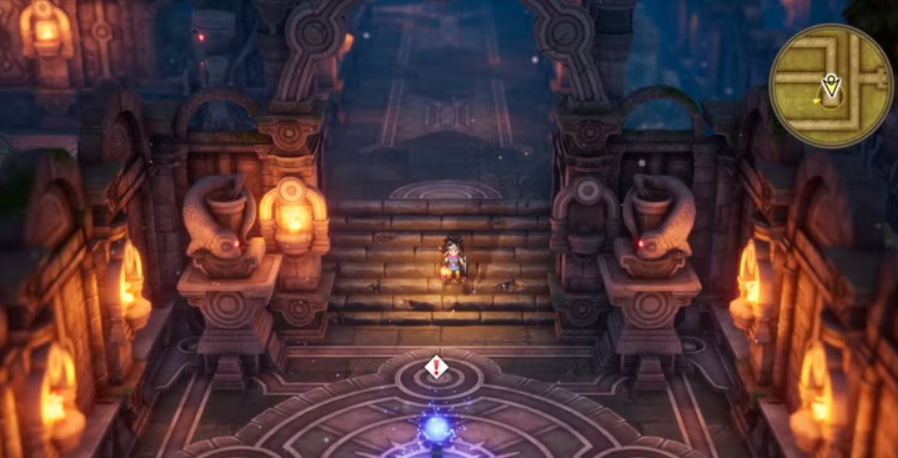
After unlocking the Ultimate Key, travel to Lanson. There, a priest will challenge the hero to a solo trial. Equip the Hero with healing items and status-protection accessories, as you’ll need to venture solo to Gaia’s Naval. This cavern is filled with relatively weak monsters, but a final boss, the Chiromancer, awaits.
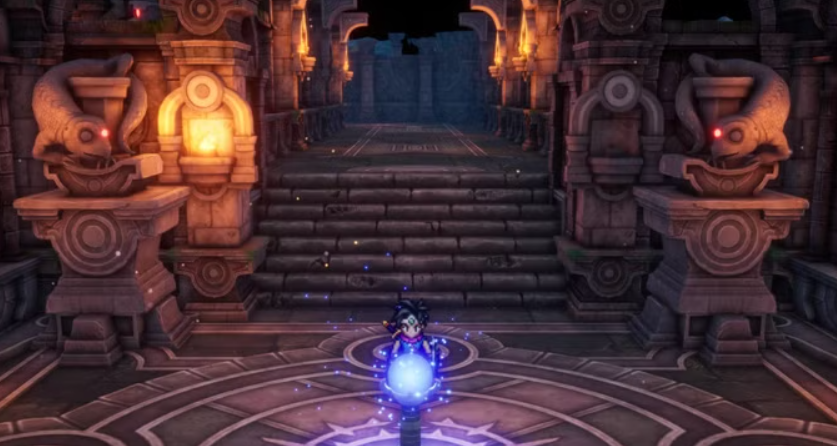
Strategy: Enter the final chamber just after leveling up for a health and MP boost. In the boss fight, target Mad Vlad first; his Zing spell often fails but can be annoying if successful. Use Zapple for offense, and switch to Meditation to heal. Defeat the Chiromancer to claim the Blue Orb.
4. The Purple Orb: Battling Orochi in Jipang
Location: Jipang
Requirements: Assist Yayoi
Boss Fight: Orochi (twice)
The town of Jipang is plagued by a dark tradition of sacrificing women to the demon Orochi. After meeting Yayoi, the maiden set for sacrifice, explore the village and find her hiding spot in a northwest cellar. Follow her directions to a cave east of Jipang, where you’ll face Orochi.
Strategy: Orochi uses powerful attacks, so bolster your defenses with Kasap, Insulate, Kabuff, and Oomph to enhance your damage output. After a tough battle, Orochi will escape to Jipang’s main hall. Return there, heal up, and prepare for Round 2. Defeat Orochi once more to finally secure the Purple Orb.
5. The Red Orb: Pirate’s Den Shortcut
Location: Pirate’s Den
Requirements: None
Steps: Push the statue, claim the orb

Among all the orbs, the Red Orb is the easiest to obtain. Go to the Pirate’s Den, find a statue emitting a red glow, and push it aside. Go down the stairs, where treasure chests await, including the Red Orb. No boss battle or special quest is necessary here.
6. The Yellow Orb: Building Nettieburg
Location: A newly developed town north of Romaria
Requirements: Recruit a Merchant
Steps: Develop the town through quest triggers
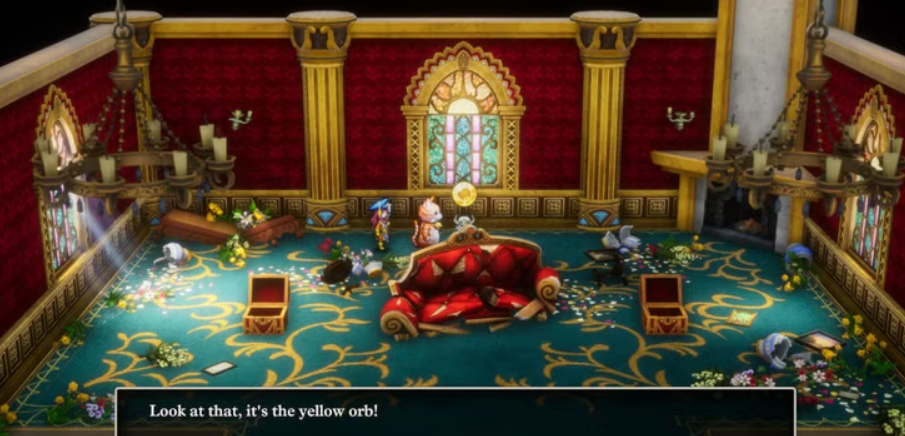
Sail north of Romaria to find a budding settlement led by a man with a dream to build a town. If you have a merchant in your party, you can give them to the townsfolk to aid the development, though creating a new, temporary merchant at Patty’s Party Planning Place in Aliahan is recommended. As the town, now named after your merchant, grows, you’ll be prompted to check on it periodically.
Strategy: Visit the town when prompted. Eventually, you’ll find the townsfolk have imprisoned the merchant due to unfair practices. Speak to them in jail, then check behind the throne in the merchant’s mansion for the Yellow Orb.
7. The Silver Orb: Erupting the Volcano in Necrogrond
Location: Maw of the Necrogrond
Requirements: Mountain Cleaver
Boss Fight: Garboyle
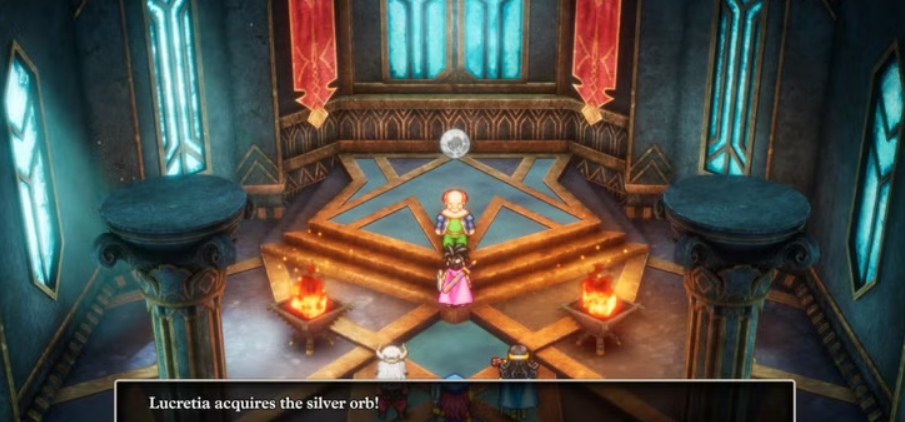
The Silver Orb’s quest is among the toughest. Once you’ve acquired the Mountain Cleaver, sail south of Ashem to a volcano. Toss the sword into the volcano, and be prepared for an eruption that creates a new pathway to the Maw of the Necrogrond. Navigate this challenging dungeon filled with dangerous enemies and traps.
Strategy: The Garboyle boss can take three actions per turn, including casting Frizzle, Boom, and Burning Gas. Keep up Magic Barrier and heal regularly. Swoosh is effective against Garboyle, so prioritize casting it. After defeating Garboyle, use the lava-solidified path to reach the Necrogrond Shrine, where the Silver Orb awaits.
Awakening Ramia: The Payoff
With all six orbs in your possession, head to the snow-covered Shrine of the Everbird on the southern island. Place the orbs on the pedestal to awaken Ramia, a majestic bird who allows you to fly. This newfound mobility allows you to reach Baramos and conclude your journey.
FAQ: All About the Orbs in Dragon Quest III HD-2D Remake
Q: What is the best order to collect the orbs?
A: There’s no strict order, but a recommended progression is to start with the Green and Blue Orbs, as the Ultimate Key and healing items are helpful early on. Collect the Red Orb next for a quick boost, followed by the Purple, Yellow, and lastly the Silver Orb due to its difficulty.
Q: Is the Echo Flute necessary for finding the orbs?
A: While the Echo Flute isn’t essential, it’s incredibly helpful. Using it in dungeons or towns can confirm if an orb is nearby, saving you time and preventing unnecessary battles.
Q: Do I need to level up significantly before each orb fight?
A: Leveling helps, but strategy is crucial. The hardest fights, like the Garboyle and Orochi battles, benefit from defense spells, so focus on boosting your resistances as well as attack power.
Q: What’s the advantage of Ramia’s flight?
A: Ramia allows you to fly over the world map quickly, avoiding encounters and reaching otherwise inaccessible areas. It’s especially useful for preparing to face Baramos.

