How to Reach the Docks in the Smuggled Relic Quest – Dragon Age: Veil Guard Walkthrough
Key Takeaways:
- Follow this step-by-step guide to reach the docks efficiently during the Smuggled Relic Quest in Dragon Age: Veil Guard.
- Learn how to activate levers, open locked gates, and deal with demons along the way.
- Discover hidden treasures and shortcuts to make the most out of this quest.
This walkthrough will take you through the Smuggled Relic Quest in Veil Guard, guiding you step-by-step to reach the docks. Follow these instructions to breeze through levers, demons, treasure chests, and some unexpected twists.

Step 1: Starting Out – Collecting the Second Remnant
After you’ve collected the second Remnant, head toward a mysterious area nearby. Here, you’ll find a lever pull it to call an elevator, which will lead you closer to your destination.
Step 2: Follow Nave for Direction
Once the elevator arrives, follow your companion, Nave. She’ll lead you toward a locked gate, essential for progressing further. This gate is your next challenge, but don’t worry; with Nave’s magic, you’ll soon get through.
Step 3: Using Cross Binding to Open the Locked Gate
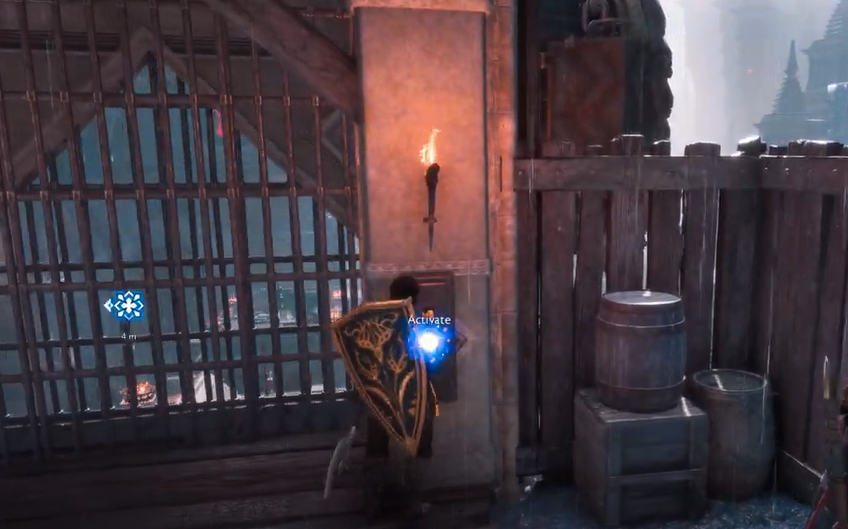
When you reach the gate, you’ll notice it’s locked. Here’s where Nave’s Cross Binding spell comes in handy. Have her cast it, and the spell will unlock the gate for you. Once it’s open, pull the lever to keep it that way and proceed.
Step 4: Collecting Treasure in the Area
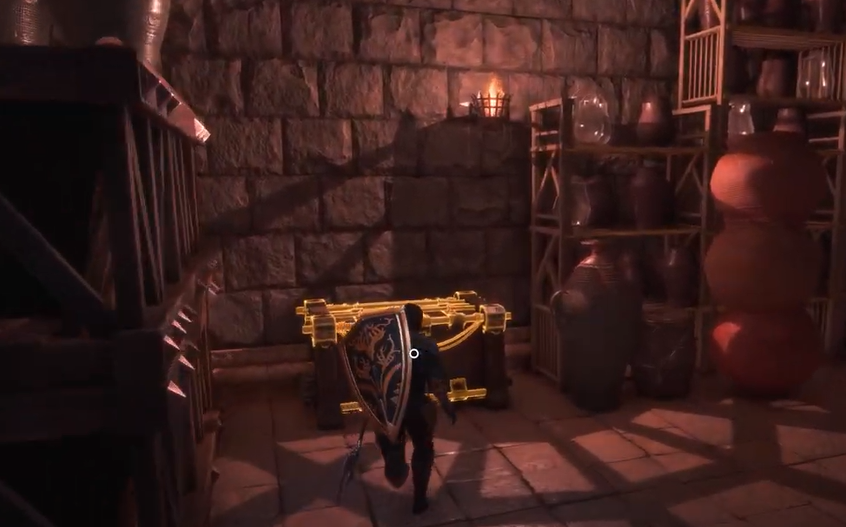
As you make your way through the now-open gate, keep an eye out for a treasure chest nearby. Inside, you’ll find some useful loot that might come in handy later. Equip any valuable items and continue moving forward.
Step 5: Navigate the Warrens and Watch Out for Demons
Press on through the Warren the underground section can be tricky. Expect to face demons as you progress, so stay prepared for battle. Once you’ve defeated them, you’re free to move ahead without interruption.

Step 6: Climb the Ladder and Jump Across Gaps
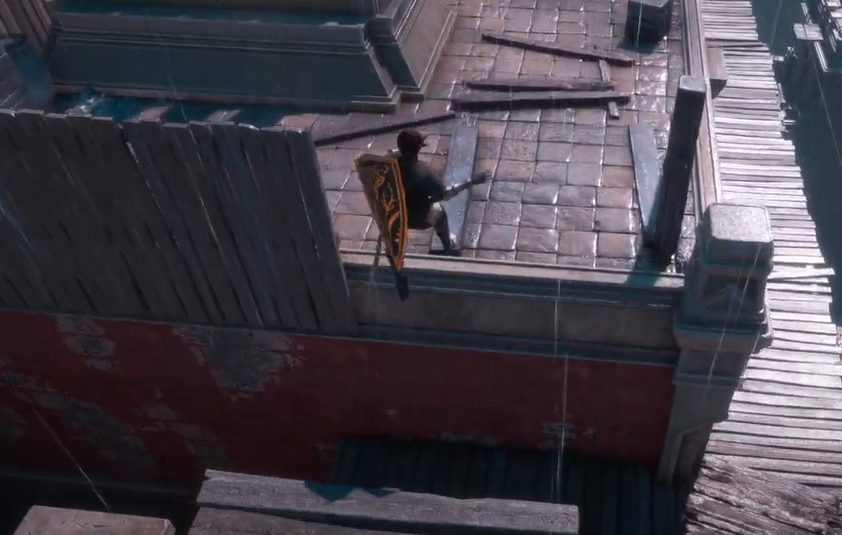
Continue heading through the Warrens, and you’ll come across a ladder. Climb it and be ready for some platforming action, as you’ll need to make a few jumps along the way. Be cautious as you jump; a misstep could lead to a setback.
Step 7: Find More Treasure and a Zip Line
After climbing and jumping through this area, you might spot another treasure chest. Don’t skip this one loot it for more items! Nearby, you’ll also find a zip line, which might be a shortcut to explore later.
Step 8: Final Stretch to the Docks
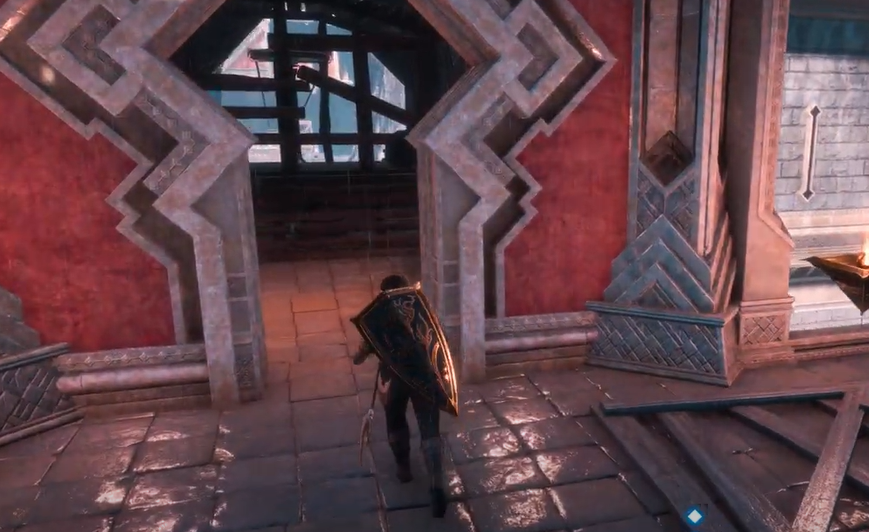
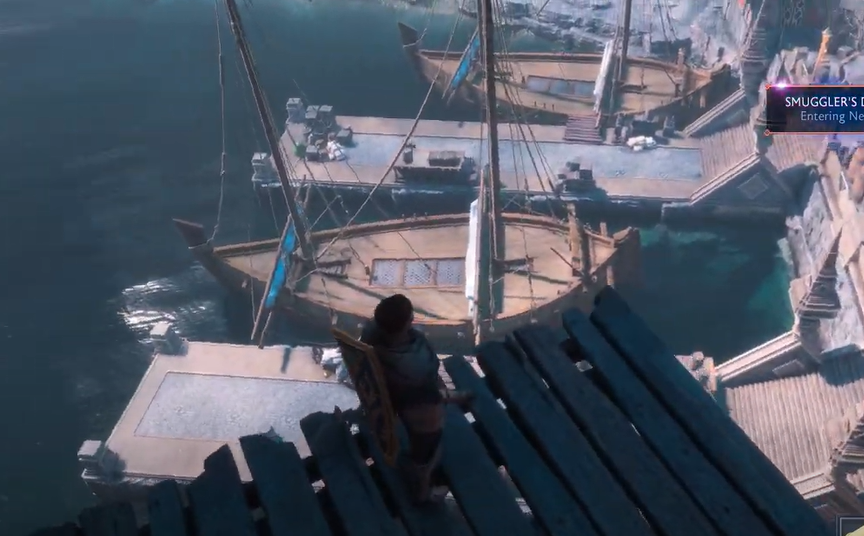
Keep moving forward through another section of the Warren, passing through a small bar area. Just beyond this, you’re nearly at the docks. The path will become clear, and you’ll see a zip line that will take you down to the docks directly.
Step 9: Take the Zip Line to the Docks
Once you’re ready, hop on the zip line, and it will bring you right to the docks. Congratulations! You’ve successfully navigated through the Smuggled Relic Quest and reached the docks, ready for whatever lies ahead.
FAQs
Q: Do I need to take the zip line to reach the docks?
A: Yes, taking the zip line is the quickest and most direct way to reach the docks once you’ve made it to the final area.
Q: What should I do if demons keep respawning?
A: Make sure to clear each wave as they come and stay prepared for a few extra enemies in case they respawn unexpectedly.
Q: Are there any hidden items in this quest?
A: Yes, keep an eye out for treasure chests, as they often contain valuable loot that can be equipped or saved for later use.
Q: Can I bypass certain sections by jumping?
A: In some areas, you may be able to jump down instead of taking ladders, but proceed with caution to avoid taking unnecessary damage.


