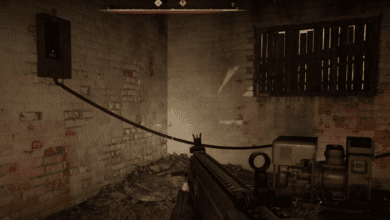
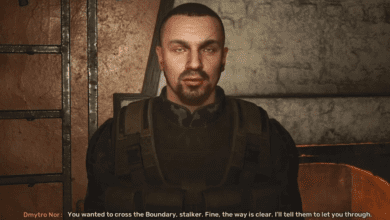
Secret Stash in the Agriculture Workshop – Where to Find the Workshop And Finding All Keys
3 Key Takeaways
- Plan Your Route: Avoid unnecessary detours; follow the optimal path to access keys and loot efficiently.
- Combat Smartly: Manage shielded enemies by timing attacks and keeping powerful weapons safe.
- Loot Strategically: Make the most of your finds, ensuring you collect keys and valuable stash items.
Navigating the Agriculture Workshop to find the hidden stash can be challenging, with enemies, anomalies, and locked doors complicating your path. This guide walks you step-by-step through each challenge so you can successfully locate the stash and handle threats effectively.

Step 1: Locate the Agriculture Workshop
The secret stash lies within the Agriculture Workshop, perched atop a tricky-to-reach bridge. Before you begin, prepare for a series of encounters, including shielded enemies and environmental hazards. Ensure you’re stocked with healing items, explosives, and ranged weapons.
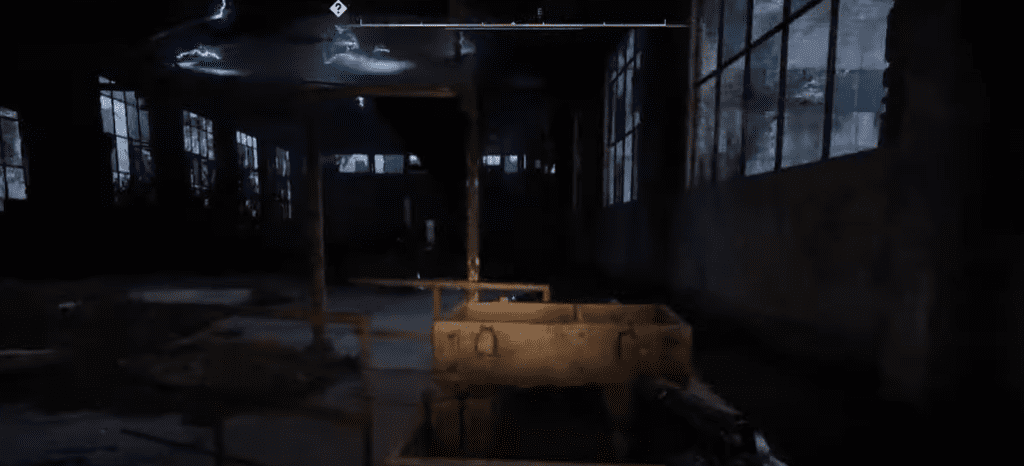
Step 2: Entering the Workshop and Handling the Portalist
- Initial Sprint: Start by sprinting through the workshop’s lower levels. Watch for flying objects thrown by the Portalist, an enemy you’ll face early on. Keep your eyes behind you, heal up when necessary, and navigate quickly but cautiously.
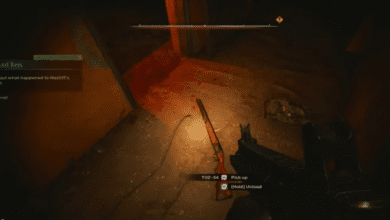
- First Key: Near a fallen body, you’ll find the first key. Loot the body for additional items before heading to the next building.
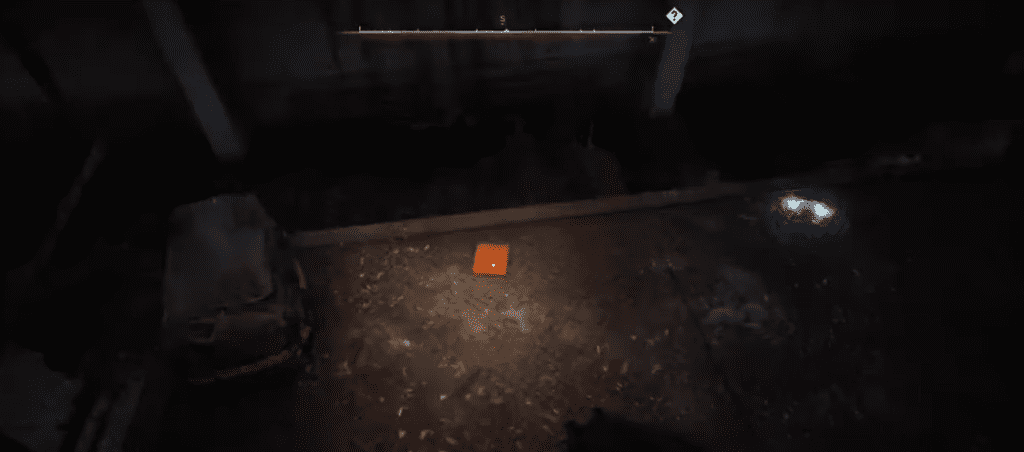
Step 3: Ascending to the Third Floor
Use the key to unlock the staircase leading to the third floor. Here, you’ll encounter a somewhat confusing puzzle.
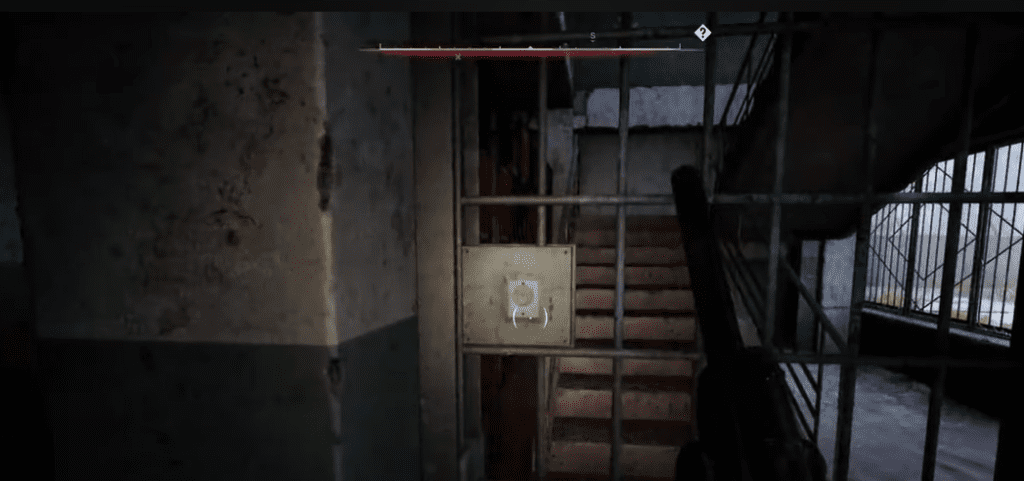
- Navigate the Scaffolding: Jump onto a nearby rail and onto a metal plate to access the next area.
- Battle the Burr: Inside this room, you’ll fight a shielded enemy known as the Burr. Avoid direct attacks until the shield dissipates. Using close-range weapons like shotguns is risky unless you have a clear shot, as weapons can easily fall through floors.
- Second Key: After defeating the Burr, grab the second key from the shelf.
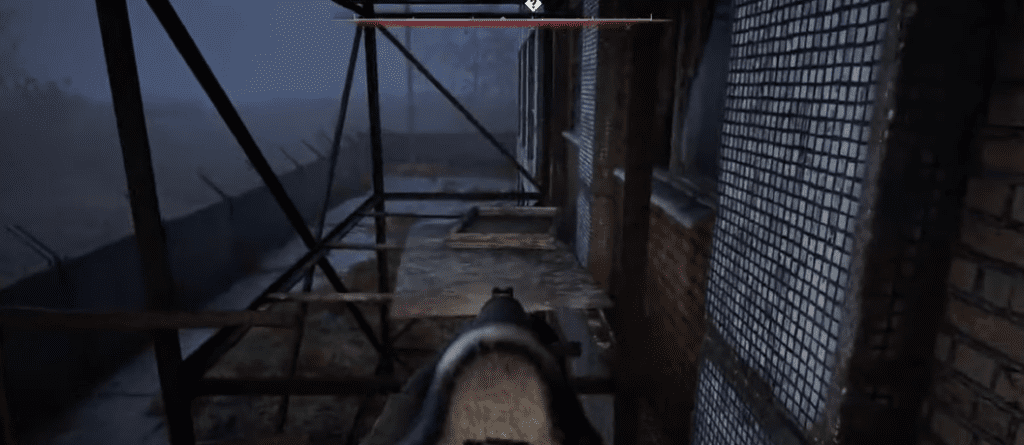
Step 4: Unlocking the Bridge Room

With the second key, head to the bridge area. The locked door is held by a visible padlock. You can either:
- Throw a grenade to break the lock (risking scattered items).
- Shoot the lock for better control over the area.
Inside, deal with the enemy guarding the third key. Once defeated, thoroughly loot the room for valuable items, including the third key.
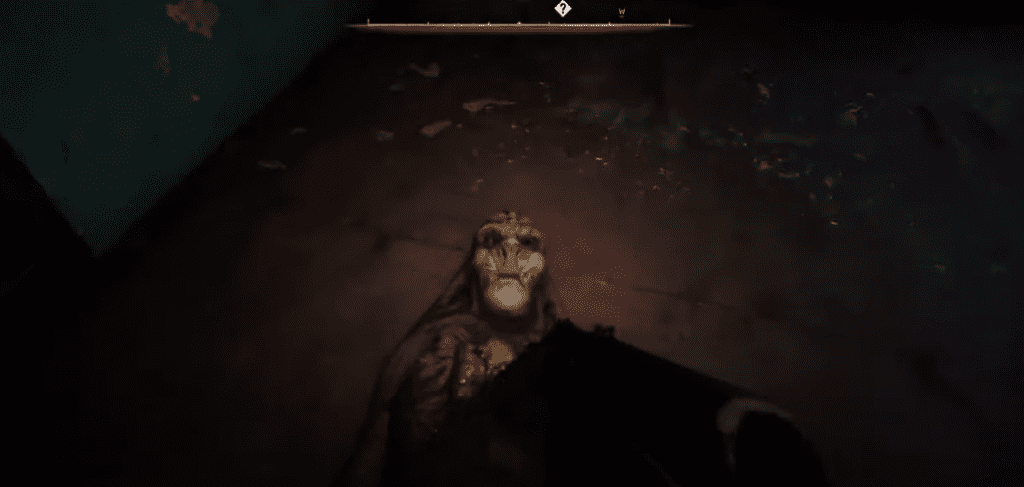
Step 5: Accessing the Roof and Secret Stash
- Use the third key to unlock the roof access door.
- Carefully navigate anomalies and narrow ledges to reach the hidden stash.
- The reward? A limited-edition energy drink and the secret stash you’ve been searching for.
Poltergeist Building: An Alternate Path
If you’re tackling both buildings in the area, here’s how to deal with the Poltergeist and Controller enemies:
- Controller Encounter: Skip the building on the left initially. Go around to the backside and navigate a series of catwalks while avoiding electrical anomalies. Collect a key from a fallen body before heading back to the main building.
- Second Floor Entry: Use the key to access the stairwell door, leading to the second floor.
- Jumping Challenge: To reach the Controller, jump across a tricky platform on the scaffolding. Wait for the Controller’s shield to drop before engaging in combat.
- Loot the Room: Collect a key from the table near a dead NPC to access the next area.
Facing the Poltergeist
The Poltergeist awaits in a locked room. Here’s how to take it down:
- Shoot the Lock: Open the door by shooting the padlock.
- Engage the Enemy: Be ready to dodge projectiles and use ranged weapons to eliminate the Poltergeist effectively.
- Clean Up: With the area secure, loot the room for valuable items and prepare for any remaining dogs in the area.
Pro Tips for Success
- Combat Readiness: Always carry a mix of weapons and prioritize mid-range ones to handle both shielded and projectile-throwing enemies.
- Avoid Anomalies: Use bolts to clear paths riddled with static or electrical anomalies.
- Loot Everything: Missing a key or stash can waste valuable time, so thoroughly explore every room and body.
FAQ
Q: How do I avoid getting overwhelmed by enemies?
A: Use cover effectively and focus on one enemy at a time. Keep your health topped off and avoid rushing into unknown areas.
Q: What’s the best way to deal with shielded enemies?
A: Wait for their shields to drop before attacking. Use high-damage weapons to make quick work of them once they’re vulnerable.
Q: How do I navigate electrical anomalies safely?
A: Use bolts to identify safe paths and stick to catwalks or elevated areas when possible.
Q: What’s in the secret stash?
A: The stash includes a rare energy drink and potentially other high-value loot, making it worth the effort.
