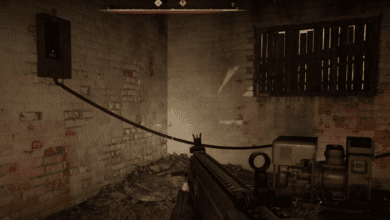
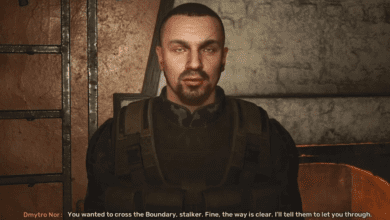
STALKER 2: Dead Frequency Mission Walkthrough – Guide to Camp Icarus and Beyond
Key Takeaways
- The “Dead Frequency” mission in STALKER 2 is pivotal, filled with interconnected objectives and requiring a mix of strategy, exploration, and combat.
- Choices made during the mission like acquiring the Ward Badge or opting for alternative routes heavily influence gameplay progression.
- The freedom to approach objectives differently allows for unique playstyles, adding depth to this already complex mission.
STALKER 2: Heart of Chornobyl thrives on its intricate storytelling, dynamic missions, and gripping environments. Among its standout main quests is “Dead Frequency,” a mission that pushes players to recover their scanner while navigating the challenges of Camp Icarus. This guide provides a comprehensive walkthrough to help you complete the mission efficiently, explore various routes, and maximize your rewards.

Understanding the Mission: Dead Frequency Overview
“Dead Frequency” takes place in the Zaton region and serves as a prime example of STALKER 2’s layered storytelling. You’ll venture into Camp Icarus, a location controlled by the Ward faction, to uncover information about Faust’s Agent and activate a device at Echo Station. The mission can branch into two main paths: with or without the Ward Badge. Your decisions here affect everything from how you gain access to Camp Icarus to the challenges you’ll face along the way.
1. Getting to Camp Icarus

Route with Ward Badge
- Prerequisite: Complete the “Back to the Slag Heap” mission to obtain the Ward Badge.
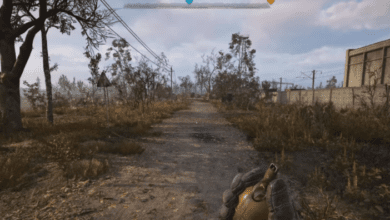
- Head southeast from the Azimuth Station tower to Camp Icarus. Stick to the main road, passing through the Ward checkpoint.
- At the checkpoint, show the Ward Badge to the guard to gain entry. This unlocks the “Like a Moth to the Flame” main mission, which is crucial to progressing “Dead Frequency.”
Route Without Ward Badge
- Players who skip the Ward Badge route must instead meet with Star from the Spark faction at a forest shack in Zaton.
- Star will guide you to find Ward Sensors from the body of Sergeant Orlowski in a nearby anomaly field. Return the sensors to Star to move forward.

2. Navigating Camp Icarus: Like a Moth to the Flame
Progressing through “Like a Moth to the Flame” is mandatory to complete “Dead Frequency.” This involves locating Faust’s Agent, Lt. Shterev, and advancing to Echo Station.
- With the Ward Badge:
- Show your badge to Alpha and Bravo Teams for safe passage.
- Follow the Kryvenko route, as it offers a more direct path to the Echo Station and avoids unnecessary detours.
- Optional: Get psi-pills from the camp’s medic for added utility.
- Without the Ward Badge:
- Instead of straightforward access, you’ll need to complete several tasks:
- Intercept the Wardens’ radio calls using a nearby device.
- Locate and interact with both Alpha and Bravo Teams. You can eliminate them or negotiate for information. Helping injured members, such as the Bravo Team soldier, can reward you with critical passwords to ease interactions with their commanders.
- Instead of straightforward access, you’ll need to complete several tasks:

3. Finding Alpha and Bravo Teams

Alpha Team Location (Gas Station)
- Head to the gas station east of Camp Icarus to find Alpha Team.
- Optional: Attack and eliminate the team, or negotiate for intel by showing your Ward Badge or using dialogue options.
Bravo Team Location (Underground Silo)
- South of Camp Icarus lies the silo where Bravo Team resides.
- Inside the tunnels, you’ll face Bloodsuckers, so prepare for combat.
- You can defuse hostilities with the Bravo Team Commander using the password “Titmouse,” which is obtained by helping the injured Bravo Team member.

4. Exploring Echo Station and Facing Lt. Shterev
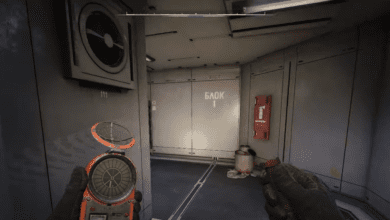
Once both teams are addressed, your next stop is the Echo Station. This location is east of Camp Icarus.
- Follow the walls of the building until you hear Shterev’s voice. Upon entering the room, you’ll discover that he’s under psychic influence.
- No matter your dialogue choices, Shterev will become hostile and attack. Be ready for combat, ideally with a shotgun for close-range effectiveness.
- After defeating Shterev, exit the room to find a switch. Activating it powers up the station, but also triggers waves of enemies.
5. Activating the Device and Contacting Faust
With the device activated, fend off waves of zombie stalkers or hostile soldiers. Use strategic cover and switch to assault rifles for medium-range defense.
- Once the area is secure, return to the room where Shterev was located. Use the computer to retrieve Faust’s recorded message, completing the mission objectives.
Key Challenges and Tips
- Combat Readiness: Ensure you have a well-balanced arsenal, including a shotgun for close-quarters combat and an assault rifle for enemy waves. Stock up on medkits and ammo before entering Echo Station.
- Exploration vs. Efficiency: While the Ward Badge route is more straightforward, the alternative path provides unique opportunities to gain extra rewards like coupons and valuable intel.
- Choice of Engagement: The option to negotiate or attack adds depth to the mission. Consider your playstyle stealthy and diplomatic players may prefer negotiations, while aggressive players can eliminate obstacles outright.
Rewards for Completing Dead Frequency
Depending on your approach, you’ll receive:
- Coupons: An in-game currency used for upgrades and purchases. The amount depends on the difficulty level.
- Faust’s Recorded Message: Crucial for progressing the main storyline.
- Additional loot from eliminated enemies and mission-specific bonuses.
FAQs
How do I get the Ward Badge in STALKER 2?
You can obtain the Ward Badge by completing the “Back to the Slag Heap” mission, which allows access to Camp Icarus without hostility.
What happens if I don’t help the injured Bravo Team member?
If you skip helping the Bravo Team soldier, you’ll miss out on the “Titmouse” password. This means you’ll need to either fight or navigate additional dialogue challenges with the Bravo Team Commander.
Which route is faster: Ward Badge or No Ward Badge?
The Ward Badge route is quicker and more direct. However, the No Ward Badge route offers extra opportunities to earn rewards and experience more of the game’s branching narrative.
What weapons should I bring for this mission?
A shotgun is ideal for close-range encounters with Lt. Shterev and tight corridors. For defending against waves of enemies, an assault rifle works best. Always carry medkits and extra ammunition.
