Stalker 2: Heart of Chornobyl – Complete Guide to Needle In A Haystack
Key Takeaways
- Dynamic Decision-Making: Your choices in Stalker 2 dramatically alter the story and gameplay, shaping alliances and future quests.
- Branching Missions: Major missions like “Needle in a Haystack” have multiple approaches, offering players the freedom to assist, betray, or take alternative paths.
- Replayability: Critical choices, such as siding with factions like the Ward or Free Stalkers, affect the game’s trajectory, encouraging multiple playthroughs.
Stalker 2: Heart of Chornobyl is a game that thrives on its intricate branching paths, moral dilemmas, and high-stakes decision-making. Each choice you make doesn’t just alter the immediate scenario but cascades into larger consequences that impact the overall story. Whether you’re allying with specific factions or determining the fate of key characters, your decisions will shape your journey through the Zone.
One of the standout missions early in the game is “Needle in a Haystack”, which sets the tone for how you’ll navigate choices and their consequences. Below is a detailed walkthrough, paired with insights on mission-critical decisions, side quests, and what they mean for your overall experience.
Navigating “A Needle in a Haystack”
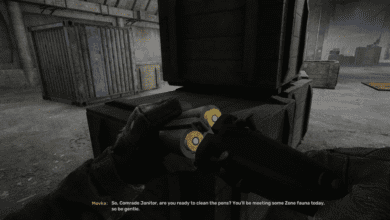
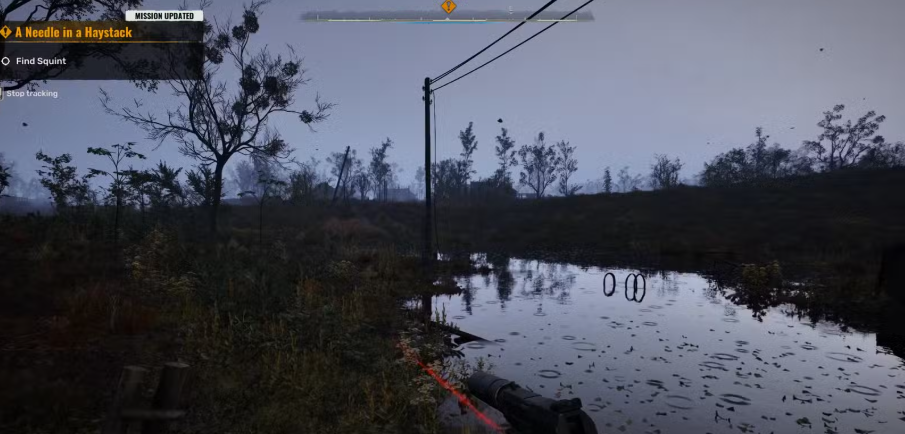
“Needle in a Haystack” kicks off with a quest to locate Squint, a rogue stalker who’s stolen trackers from the Ward. While the mission’s goal is clear retrieve the trackers how you approach this task significantly alters your game. From deciding whether to help Squint or kill him, to choosing which faction to side with, the stakes are high from the outset.
You can make the mission easier by first completing the “Invisible Nets” side quest, which pinpoints Squint’s location using an ARMS Antenna. Without it, you’ll need to rely on exploration and alternative methods to locate him.
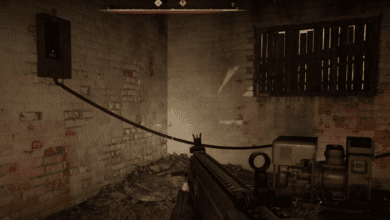
Exploring the Warehouse and Finding Squint
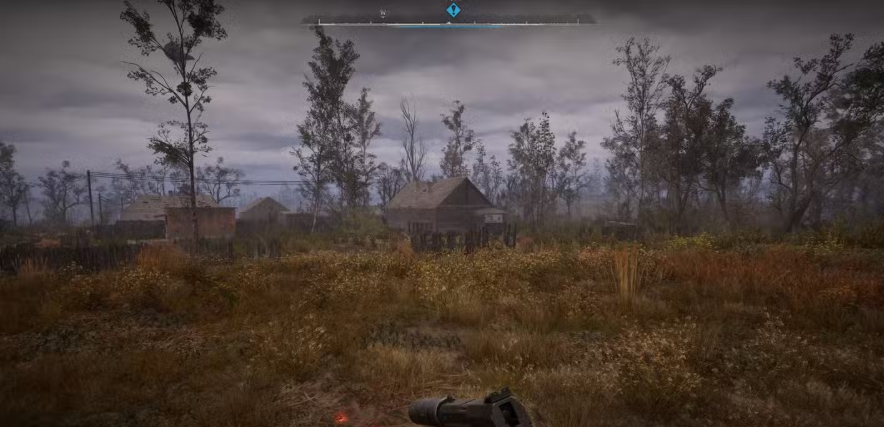
To begin, head to the warehouse northeast of Zalissya. While you can skip this step entirely and head straight to the windmill east of Zalissya, visiting the warehouse adds a layer of depth to the mission.

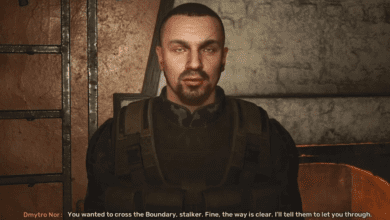
Encountering Mug
Inside the warehouse, you’ll meet Mug, who offers information about Squint’s location for a price. You have two options:
- Pay 1500 Coupons for the intel.
- Attack Mug to get the information for free, though this might result in hostilities.
If you skip this step, you can head directly to the windmill to find Squint.

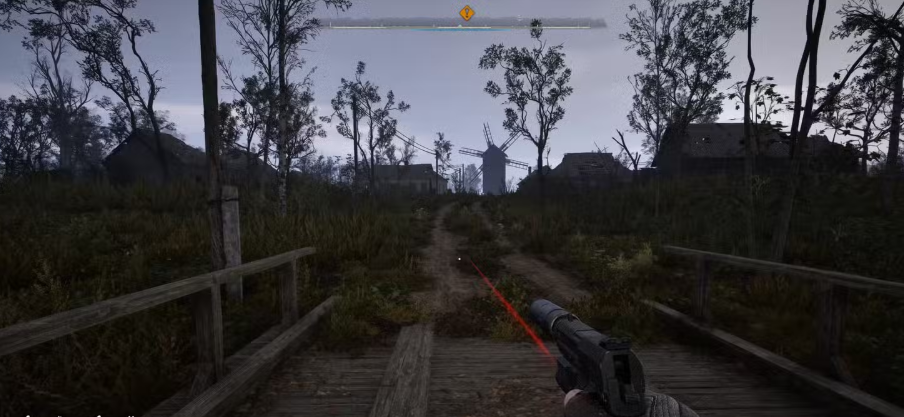
Confronting Squint
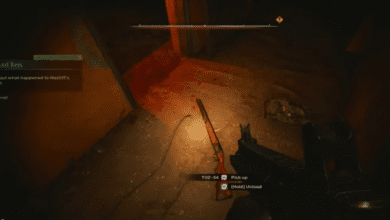
Squint is hiding in a booby-trapped windmill east of Zalissya. Upon reaching the windmill, tread carefully. The interior is rigged with:
- Tripwires and shotgun traps on the stairs.
- Noise traps, such as cans, which can alert Squint.
Use stealth and disarm traps to safely ascend the stairs. Once you reach Squint, the mission splits into two paths help him or kill him.
Option 1: Help Squint
If you choose to help Squint, he’ll tell you about his desire to escape the Lesser Zone, and his need for a Mold Artifact to make it happen. This launches the “Piece of Cake” side quest, where you’ll venture into a nearby cave to retrieve the artifact.
Retrieving the Mold Artifact
- Enter the cave: Exit the windmill and follow the blue waypoint to a house nearby. Look for a large hole in the ground leading into the cave.
- Prepare for battle: Loot the body near the entrance for ammunition and medical supplies, then ready yourself for a fight.
- Defeat the Bloodsucker mutant: This enemy is fast, deadly, and invisible until it attacks. Watch for subtle shimmers to track its movements. The best strategy is to backtrack to the cave entrance and fire as it charges. Heal frequently between attacks, as it can kill you with just a few swipes.
Once the Bloodsucker is defeated, delve deeper into the cave to find the Mold Artifact.
Navigating the Gas Anomalies
- Use your Scanner to locate the Mold Artifact.
- Toss screws into the anomalies to trigger their effects and safely navigate through the gas fields.
- When you find the Artifact, it may “jump” to another location. Repeat the scanning process until it stays stationary.
Returning to Squint
With the Mold Artifact in hand, return to Squint. At this point, you have another choice:
- Give him the Artifact as promised to receive the Ward Sensors.
- Attack him and take both the Artifact and the Ward Sensors.

Option 2: Kill Squint
Alternatively, you can immediately attack Squint during your initial confrontation. This option allows you to loot the Ward Sensors from his body, but it might have unforeseen consequences on future quests. Killing Squint means you won’t complete the “Piece of Cake” side quest or obtain the Mold Artifact unless you find it yourself.
Returning the Ward Sensors
After retrieving the Ward Sensors, your next major decision arises: who do you give them to? This choice drastically impacts the game’s storyline and aligns you with a specific faction.
Option 1: Give the Sensors to Richter
Handing the Sensors to Richter, a member of the Free Stalkers, aligns you with their faction. This choice prevents the Ward from cracking down on Zalissya’s stalkers. Future missions will reflect your allegiance to the Free Stalkers, and you’ll exit through the North Checkpoint to progress further into the game.
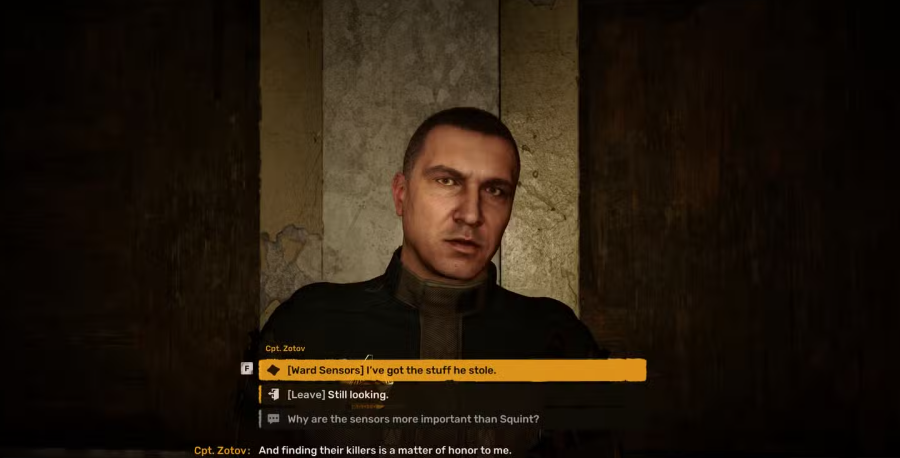
Option 2: Give the Sensors to Captain Zotov
Giving the Sensors to Zotov aligns you with the Ward faction, a more militaristic and authoritarian group. This path affects your future quests and narrative trajectory, as you’ll begin working directly for the Ward. You’ll exit through the Western Checkpoint to continue the story.

Pro Tip: Save your game before making this decision so you can explore both storylines in subsequent playthroughs.
How Your Choices Shape the Game
One of the most compelling features of Stalker 2 is its emphasis on player choice. From deciding whether to help or betray characters like Squint to choosing which faction to support, every decision you make carries weight. These choices influence:
- Faction alliances: Your allies and enemies in the Zone.
- Mission availability: Certain quests become exclusive depending on your choices.
- Endings: Different paths lead to unique conclusions for your character’s story.
Replayability
The branching paths in missions like “Needle in a Haystack” add immense replay value. Whether you side with the Free Stalkers or the Ward, each playthrough offers a distinct experience, encouraging players to explore alternative outcomes.
FAQ
1. Can you avoid fighting the Bloodsucker in the cave?
No, defeating the Bloodsucker is mandatory to retrieve the Mold Artifact. However, careful preparation and positioning can make the fight manageable.
2. What happens if you attack Mug in the warehouse?
Attacking Mug results in a fight, but you’ll still gain intel on Squint’s location after defeating him. Alternatively, you can pay him 1500 Coupons to avoid combat.
3. Does killing Squint lock you out of future quests?
Potentially. Killing Squint removes the option to complete “Piece of Cake” and may affect interactions with other characters or factions later in the game.
4. Can you replay missions to change your choices?
Not directly, but saving your game before major decisions allows you to reload and explore different outcomes.
5. Which faction is better Free Stalkers or Ward?
This depends on your preferred playstyle. The Free Stalkers offer more freedom and align with anti-authoritarian values, while the Ward provides structure and militaristic missions.