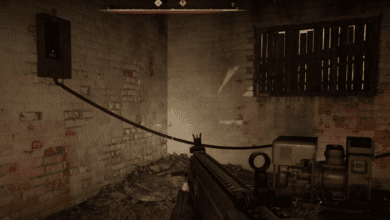
Stalker 2: Heart Of Chornobyl – The Price Goes Up Quest: Where to Find Nestor’s Stash
Key Takeaways
- Mastering the mechanics of anomalies is critical to safely navigating Diode’s workshop.
- Strategic planning and route selection are essential for retrieving Nestor’s stash atop Slag Heap.
- Choosing between Dig Site and Labyrinth drastically impacts the rewards, so decide based on your preferred loot and challenges.
Stalker 2: Heart of Chornobyl is packed with immersive storytelling, intense action, and thrilling quests, and one of the most engaging of these is “The Price Goes Up.” This quest is a continuation of “Answers Come at a Price,” where your journey leads to Slag Heap and the enigmatic character, Diode. The quest comes with unique challenges, from mastering explosive anomalies to tackling tough combat scenarios. This walkthrough will guide you step-by-step through the quest, ensuring you’re prepared for every twist and turn.
How to Enter Diode’s Workshop
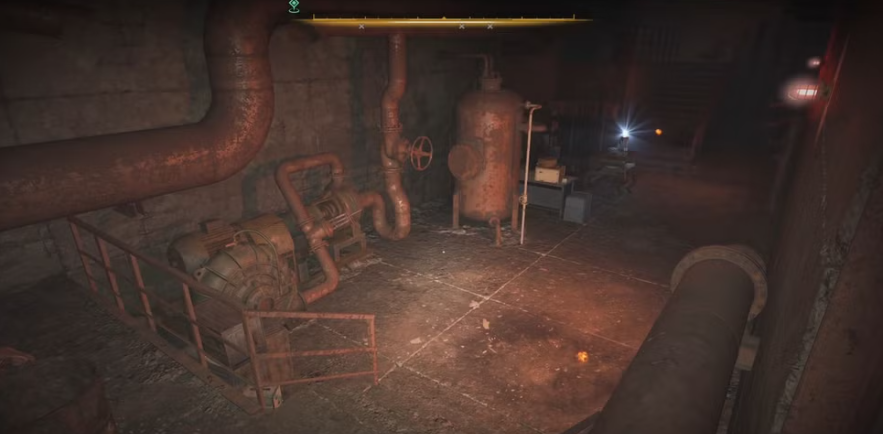
The first step in “The Price Goes Up” is gaining access to Diode’s workshop. Sounds easy, right? Not so fast. This part of the quest introduces you to a deadly anomaly mechanic a spark explosion that can follow your movements.
As you approach the workshop, you’ll notice a small spark spawning near you. This anomaly isn’t just for show; it tracks your movement and detonates after a couple of seconds. To bypass it safely:
- Bait the spark: Move in one direction to trigger the anomaly, then quickly change course to avoid the explosion.
- Head to the well: Keep dodging until you reach a small well near the main workshop building. This is your way in.
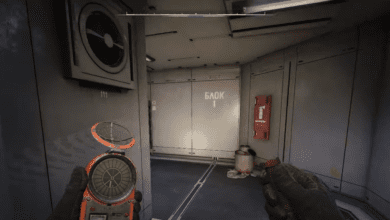
Once inside the well, break through the wooden planks to descend deeper into the area. Here, you’ll find a scanner surrounded by electrical anomalies and some unfortunate corpses. Don’t rush in blindly—wait for the scanner to stop emitting electricity before approaching. Once it’s safe, interact with the scanner to deactivate it and the nearby fire anomalies.
After neutralizing the dangers, you can search the area for loot. Key items include a drive and a keycard—both necessary to progress. With these in hand, head to the other end of the underground space. Use the ladder to climb back up and the keycard to unlock the exit.
How to Find Nestor’s Stash
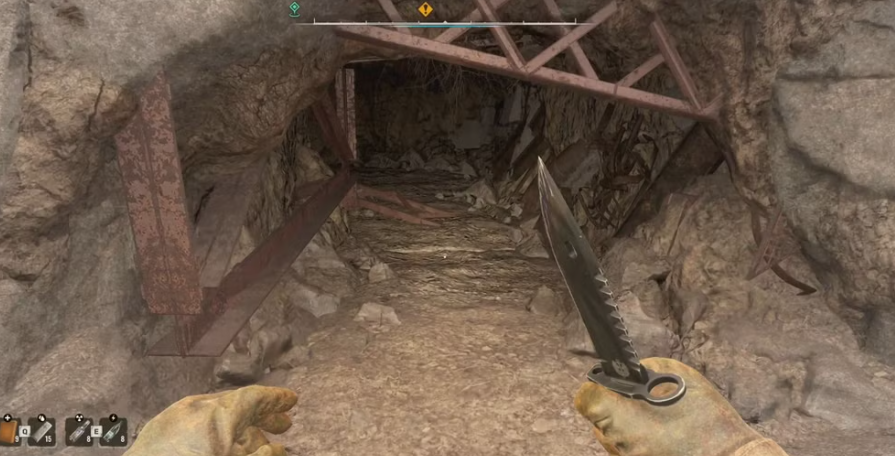
With the items from Diode’s workshop secured, the next phase of the quest kicks off. Diode sends you on another mission to retrieve Nestor’s stash, which is perched high atop Slag Heap. This part of the quest can be tricky due to its verticality and precise pathfinding requirements, so follow these steps carefully:
- Climb strategically: Locate a path that takes you through a series of cranes and ledges leading to the top of Slag Heap.
- Retrieve the stash: Once at the top, collect the loot from Nestor’s bag.
- Descend carefully: Heading back down isn’t as straightforward as retracing your steps. Take the route marked by a sign featuring two people. Follow this path to a second sign pointing to a hole in the ground, which will guide you out of the first cave you encountered on the ascent.
Once you’re back at the base, the path becomes familiar, and you can safely return to Diode to report your progress.
Choosing Between Dig Site and Labyrinth
For the final phase of “The Price Goes Up,” you’ll need to uncover clues about the scanner scheme. To do this, you’ll visit either Labyrinth or Dig Site. Note that you can only explore one of these locations during the quest, and your choice will influence the challenges and rewards you encounter.
Dig Site Walkthrough
If you decide to visit Dig Site, your objective is straightforward but dangerous. Locate a small shack upon entering the area this serves as the gateway to a cave where the action ramps up.
Inside the cave, prepare for a challenging fight against a special mutant. This formidable foe isn’t just a physical powerhouse; it also has the ability to:
- Use surrounding weapons to fire at you.
- Disarm you by making your character drop their gun.
- Hurl objects with deadly precision.
To defeat this mutant, stay mobile, use cover, and focus on high-damage attacks. Once the monster is vanquished, search the area for clues and loot. However, keep in mind that the Dig Site doesn’t offer much in the way of high-tier rewards, making it a less optimal choice for players seeking rare items.
Labyrinth Walkthrough
Choosing the Labyrinth route offers a different set of challenges and arguably better rewards. As you enter, you’ll face a massive wave of rodents. These enemies are relentless, so it’s highly recommended to bring grenades or explosives to thin their numbers quickly.
After dealing with the rodents, search for a van in the middle of the Labyrinth. This vehicle contains valuable items, including two artifacts. However, there’s a catch touching the loot triggers an ambush. A group of NPCs will appear and immediately start attacking you.
Defeat the NPCs using cover and tactical positioning, then search their bodies for additional loot. Once the area is clear, collect the artifacts and exit the Labyrinth. The combination of artifacts and loot makes this route the better choice for players seeking significant rewards.
Tips for Success
- Prepare for anomalies: Always carry enough supplies like medkits, antirad, and energy drinks. Some areas are punishing, and you’ll need to keep your health and stamina up.
- Stock up on grenades: Whether it’s dealing with waves of rodents or an ambush of NPCs, explosives can save your life.
- Upgrade your gear: Before tackling this quest, ensure your weapons and armor are up to the task. The enemies in this mission are no joke.
- Save often: The unpredictability of anomalies and enemies means that a single mistake can be costly. Save your progress frequently to avoid frustration.
FAQ
Q: Which route should I choose Labyrinth or Dig Site?
A: Labyrinth offers better rewards, including two artifacts and more valuable loot. However, it’s more combat-intensive, requiring you to fight off both a rodent swarm and a group of NPCs. Dig Site is less rewarding but may be easier for players who prefer simpler encounters.
Q: How do I deal with the spark anomaly near Diode’s workshop?
A: The spark anomaly tracks your movement and explodes after a couple of seconds. Bait it by moving in one direction, then quickly change course to avoid the explosion. Repeat this process until you reach the well leading into the workshop.
Q: Can I revisit Labyrinth or Dig Site after completing the quest?
A: No, you can only visit one location during the quest, so choose wisely based on your preferred challenges and rewards.
Q: What’s the best way to fight the special mutant at Dig Site?
A: Stay mobile and use cover to avoid its ranged attacks. Focus on landing high-damage shots when it’s vulnerable, and don’t let it disarm you by staying aware of its attacks.
