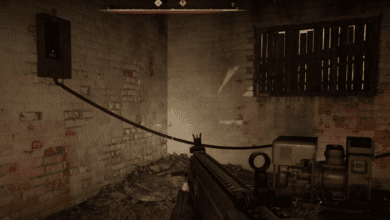
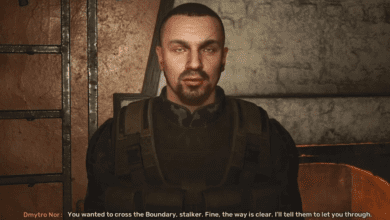
The Price Goes Up Quest Guide: Mastering Stalker 2’s Most Intriguing Mission
Key Takeaways:
- The Price Goes Up mission is pivotal for unravelling the mysteries of Stalker 2’s story, introducing new mechanics, areas, and dangerous challenges.
- You’ll need to navigate the perilous Slag Heap, solve puzzles, and combat anomalies, bandits, and mutants to progress.
- Your decisions at the mission’s end, whether to tackle the Digsite or Labyrinth, will significantly impact your gameplay experience and resources.
Stalker 2: Heart of Chornobyl is a game defined by its atmospheric exploration, dangerous anomalies, and branching storylines. Among its many quests, “The Price Goes Up” stands out as a key turning point, blending tension-filled gameplay with crucial story revelations. Whether you’re a newcomer to the Zone or a seasoned Stalker, this guide will help you navigate the twists and turns of this lengthy mission.

In this walkthrough, we’ll cover everything you need to know to complete The Price Goes Up quest efficiently, including exploring the Garbage Zone, finding Nestor’s stash, and deciding between the Digsite or Labyrinth. Let’s dive into the heart of the Zone and break it all down step by step.
What Is The Price Goes Up Quest?
The Price Goes Up is triggered immediately after completing the “Answers Come at a Price” mission in Stalker 2. This quest introduces you to the central Garbage Zone, a hazardous and anomaly-filled area. Here, you’ll encounter new characters, explore eerie underground workshops, and uncover key story elements.
Your ultimate goal is to track down Nestor, a bandit leader who played a role in an earlier ambush on your character. Along the way, you’ll gather critical intel, make allies (or enemies), and prepare for larger challenges in the main story.
Step 1: Enter the Slag Heap and Meet Diode

Your first stop is the Slag Heap, a key area marked on your map. This new settlement is bustling with NPCs and is central to the quest’s progression. Head straight to the Slag Heap’s technician, Diode, who is waiting in a small room inside the compound.
Diode serves as a typical Stalker technician: he repairs and upgrades your equipment, but more importantly, he’s your source of information. Speak to him to learn about his old workshop, which may contain clues about Nestor’s whereabouts.
Step 2: Finding Diode’s Workshop

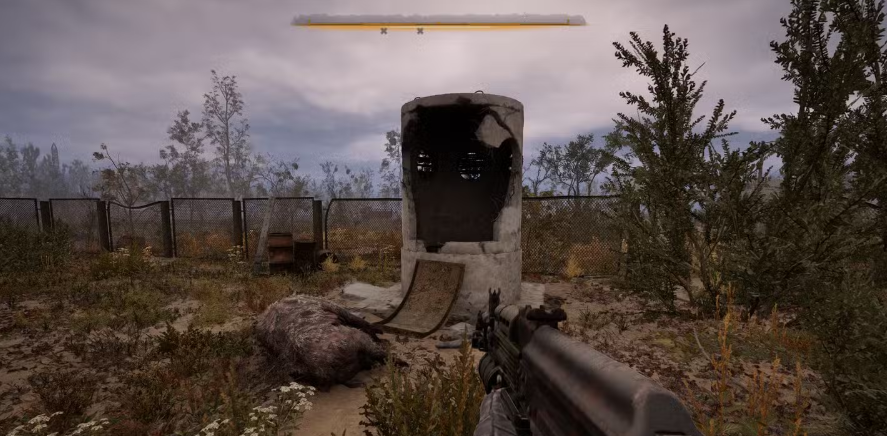
The next step is locating Diode’s Workshop, situated southwest of the Slag Heap. Follow the quest marker to reach this eerie underground facility. Be prepared to encounter plasma anomalies balls of energy that explode at random intervals. These can be avoided by keeping your distance and moving cautiously.
How to Enter the Workshop:
- Locate the broken column near the entrance.
- Hop inside and break through the wooden planks blocking the way.
- Drop down into the corridor below.
Once inside, you’ll encounter a locked door. To open it, you’ll need a keycard.
Step 3: Securing the Keycard and Navigating Anomalies
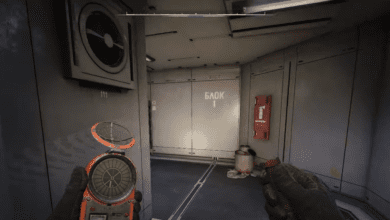
To find the keycard, search the area carefully. You’ll come across a hall full of anomalies. Use bolts to trigger these anomalies and clear a safe path. At the center of the room, you’ll find a scanner device disable it to deactivate the anomalies.
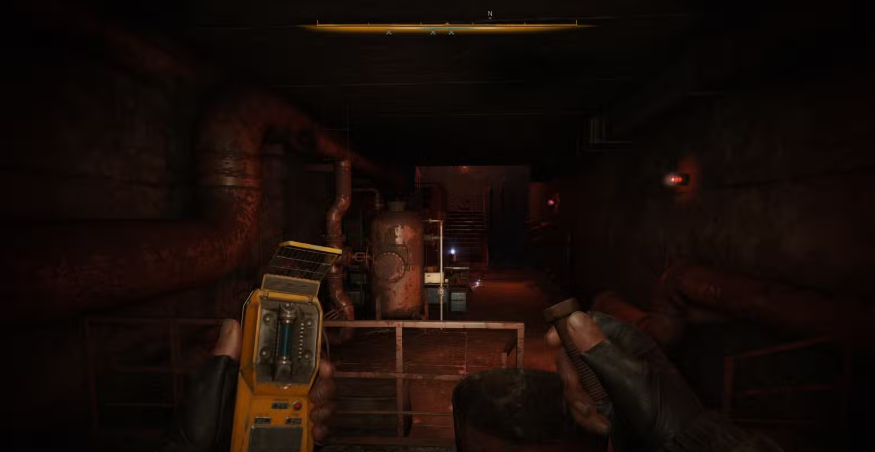
Near the scanner, you’ll find the bodies of two bandits. Loot them to obtain the keycard and a bonus flash drive containing mod schematics for the Integral A SMG. Once you have the keycard, retrace your steps and unlock the workshop door.
Step 4: Returning to Diode
With the keycard in hand, head back to the Slag Heap and present it to Diode. He’ll analyze the information and provide you with coordinates for Nestor’s Stash, your next objective.
Step 5: Locating Nestor’s Stash

The stash is located on a hill near the Slag Heap, atop a broken-down crane. However, this area is surrounded by hazardous levels of radiation, which makes a direct approach impossible. No artifact or radiation-resistant gear early in the game can help you here.
Instead, use the scaffolding near the area to find a safer path:
- Climb up the scaffolding and leap onto a fallen column near a fire pit.
- Follow the linear path up to the hill.
- Look for a white mini-bus next to some barbed wire fences.
This will lead you into a cave. Proceed through the cave, following the straightforward route, and climb up to the top of the hill.

Step 6: Meeting Richter and Finding the Stash
At the top of the hill, you’ll encounter Richter, who is singing and dancing on a broken crane arm. Speak with him to progress the story. After your conversation, head to the end of the crane to locate Nestor’s Stash, which contains a flash drive. This flash drive holds information pointing to two possible locations: the Digsite or the Labyrinth.
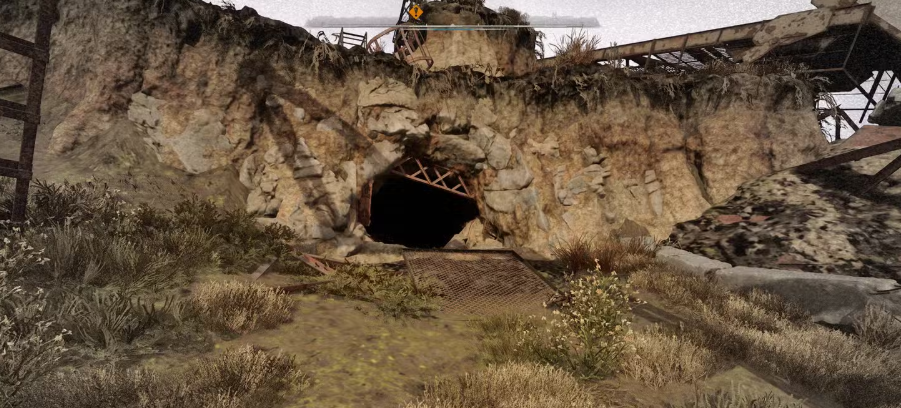
Step 7: Choosing Between the Digsite and the Labyrinth
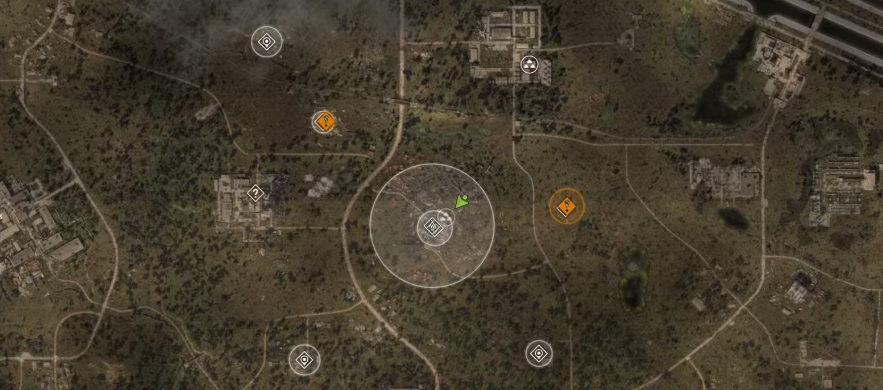
At this point, the quest splits into two paths. Your choice will determine what kind of challenges you’ll face and how you progress further in the story.
Option 1: The Digsite
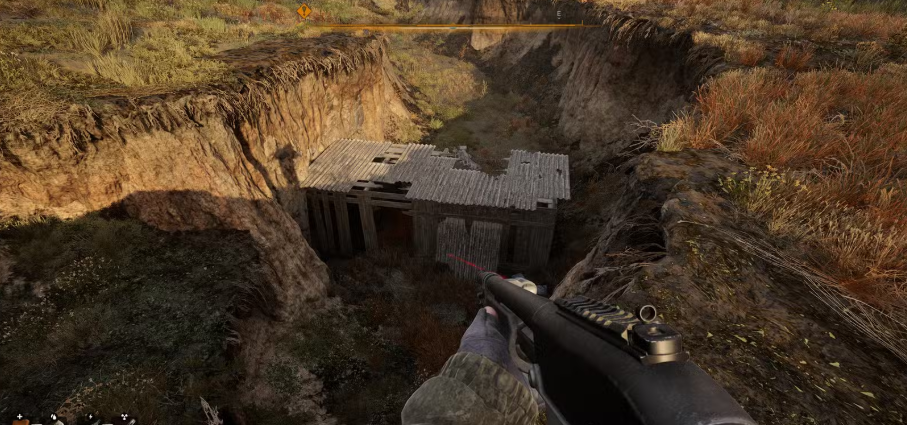
The Digsite is a dark, underground cavern populated by a psychic mutant called a Buer. This creature uses telekinesis to block your attacks and hurl objects at you. Defeating it will require a combination of grenades and close-range shotgun fire.
Inside the Digsite, you’ll also encounter Kiddo, a wounded NPC. Heal him to learn more about Nestor’s operations and gain additional clues for the follow-up mission.
Option 2: The Labyrinth
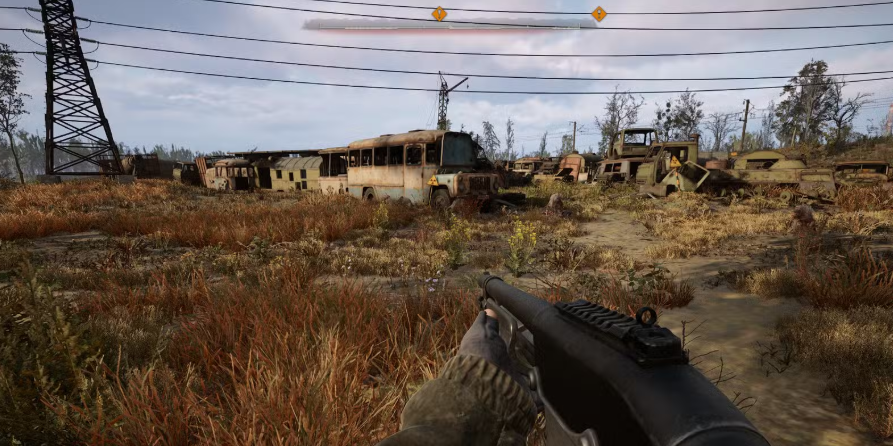
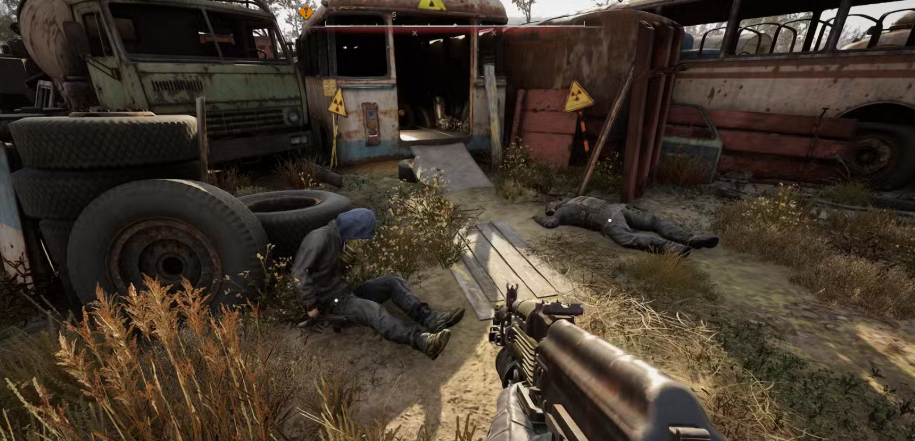
The Labyrinth is a maze of wrecked vehicles northwest of the Slag Heap. Here, you’ll face a swarm of mutated rats followed by an ambush from a gang of bandits. The fight is intense and resource-heavy, so come prepared with plenty of ammunition and healing supplies.
Loot the bandits’ bodies to find a PDA that leads you to Varan, a key figure for the next mission.
Step 8: Preparing for the Next Mission
Completing either path will mark The Price Goes Up quest as complete and unlock the next main mission, Deal with the Devil. This quest introduces even more challenging encounters and deeper dives into the lore of Stalker 2.
Tips for Success
- Manage Resources Carefully: Both the Digsite and Labyrinth consume significant resources. Stock up on ammo, medkits, and grenades before proceeding.
- Use Your Bolts: Anomalies are everywhere in the Garbage Zone. Toss bolts frequently to detect and avoid hazards.
- Save Often: Stalker 2’s non-linear story means you might make irreversible decisions. Save your game before choosing between the Digsite and Labyrinth.
- Upgrade Your Gear: Diode can upgrade your equipment take advantage of this before tackling tougher enemies.
FAQ
Q: Can I complete both the Digsite and Labyrinth paths?
A: No, you’ll need to choose one. Each offers a unique experience and rewards, but the story will converge afterward.
Q: How can I avoid radiation near Nestor’s Stash?
A: You can’t. Instead, find the alternative route through the scaffolding and cave to bypass the radiation.
Q: Is there a best choice between the Digsite and Labyrinth?
A: The Digsite is easier and less resource-intensive, while the Labyrinth offers more loot but is much harder. Choose based on your current gear and supplies.
Q: What’s the reward for completing The Price Goes Up?
A: You’ll gain access to the next main mission, along with valuable loot, flash drives, and schematics.
